Swirling Keys
In this new instrument making adventure, I will be making clay bars with slip marbling! Glaze can alter the sound of ceramics dramatically, so I am trying this slip marbling instead so the bars can have a visual story to them, without compromising their sound. My teacher Brigitte Fiorille is as always, such an amazing help and guiding me through the process.
Day 1: JANUARY 22, 2026
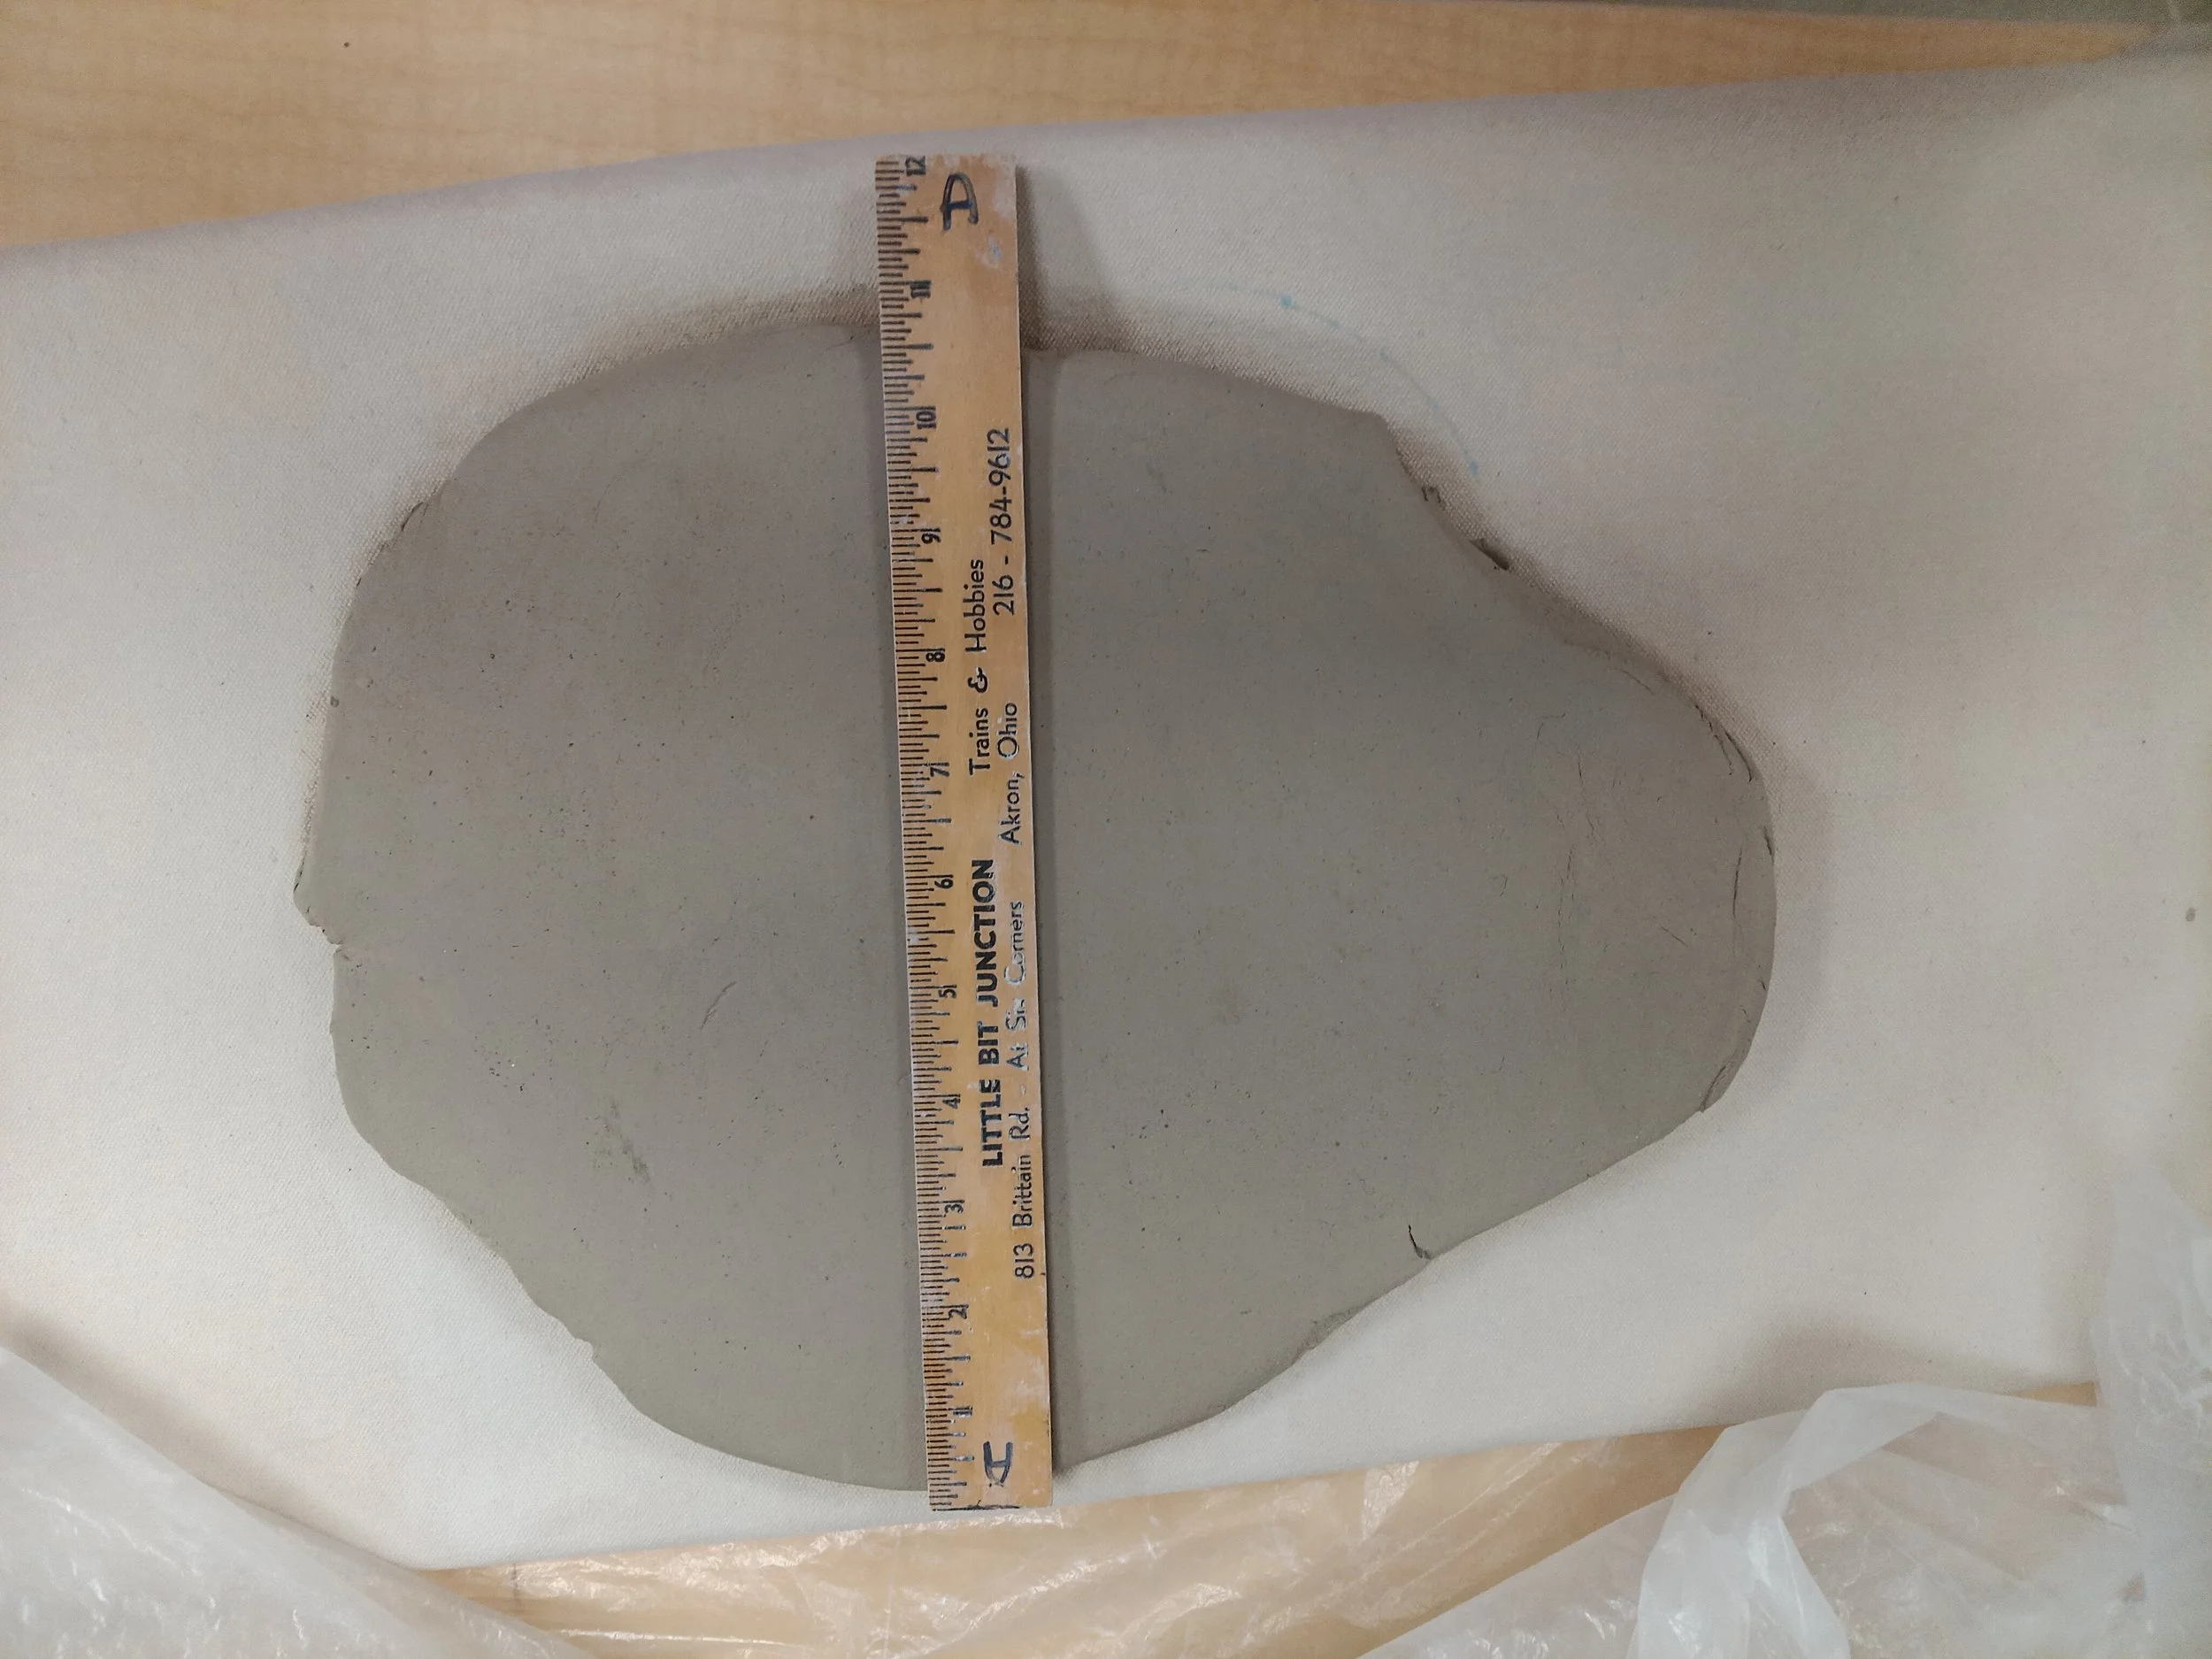
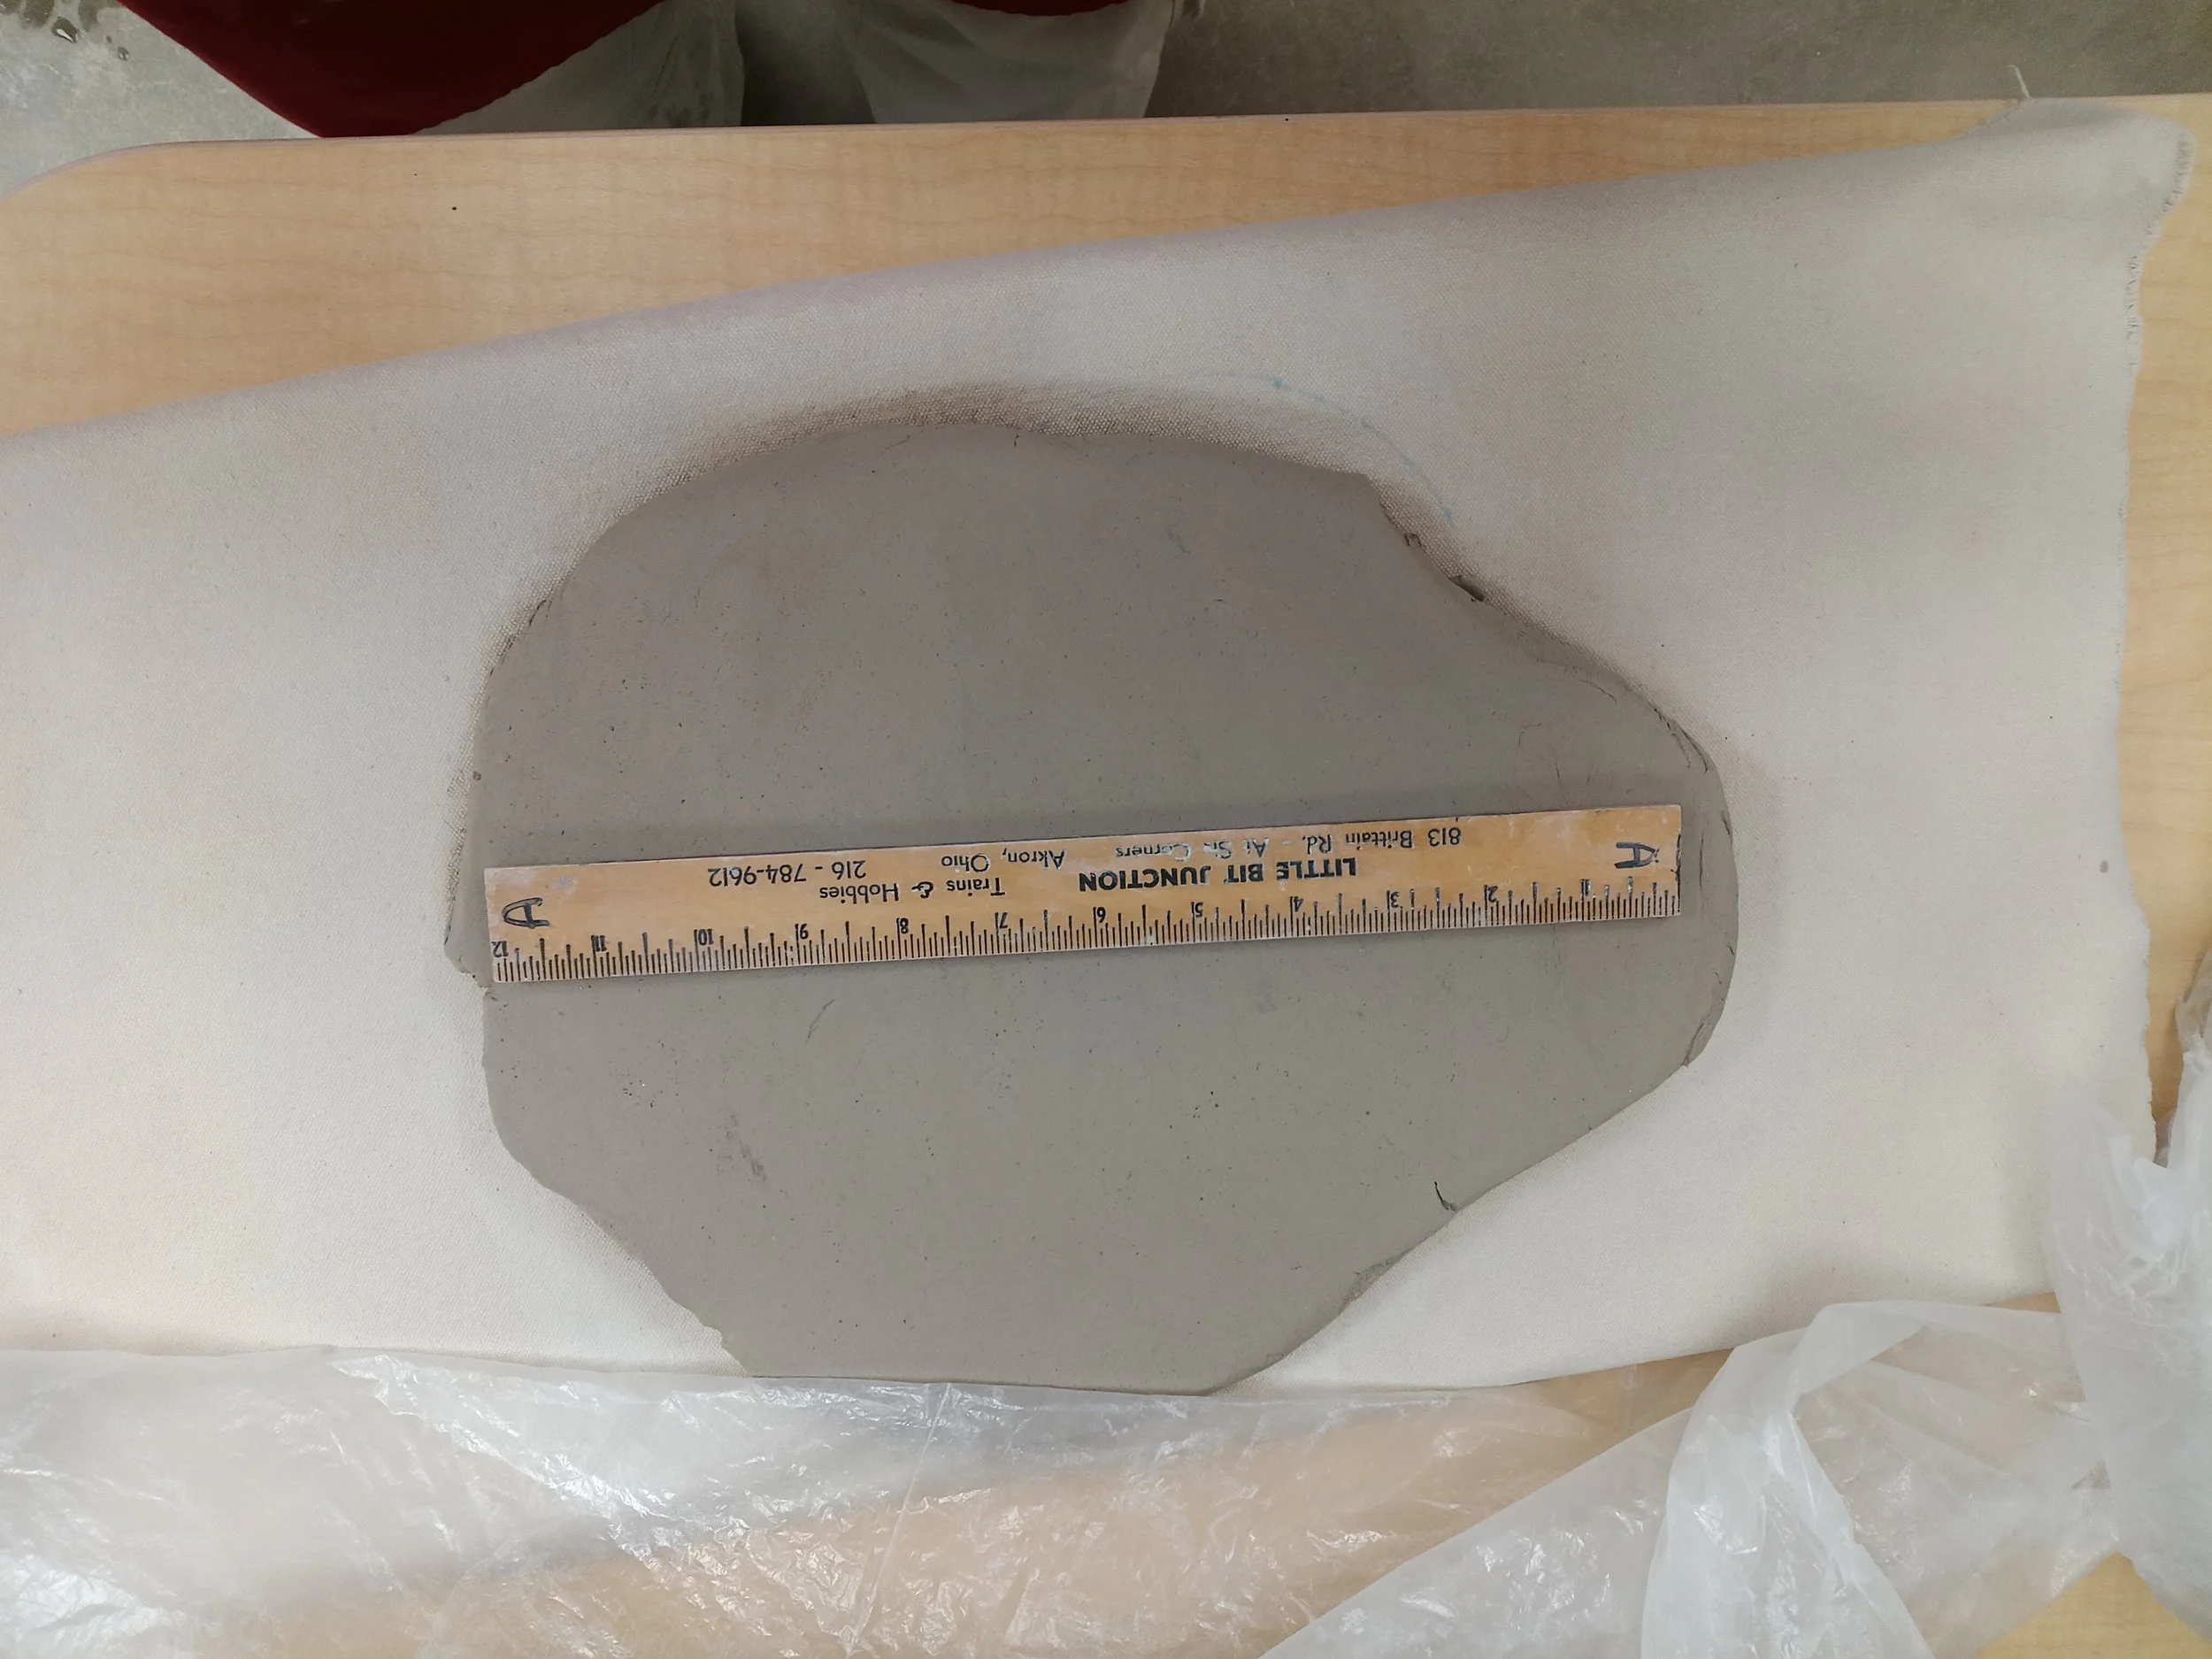
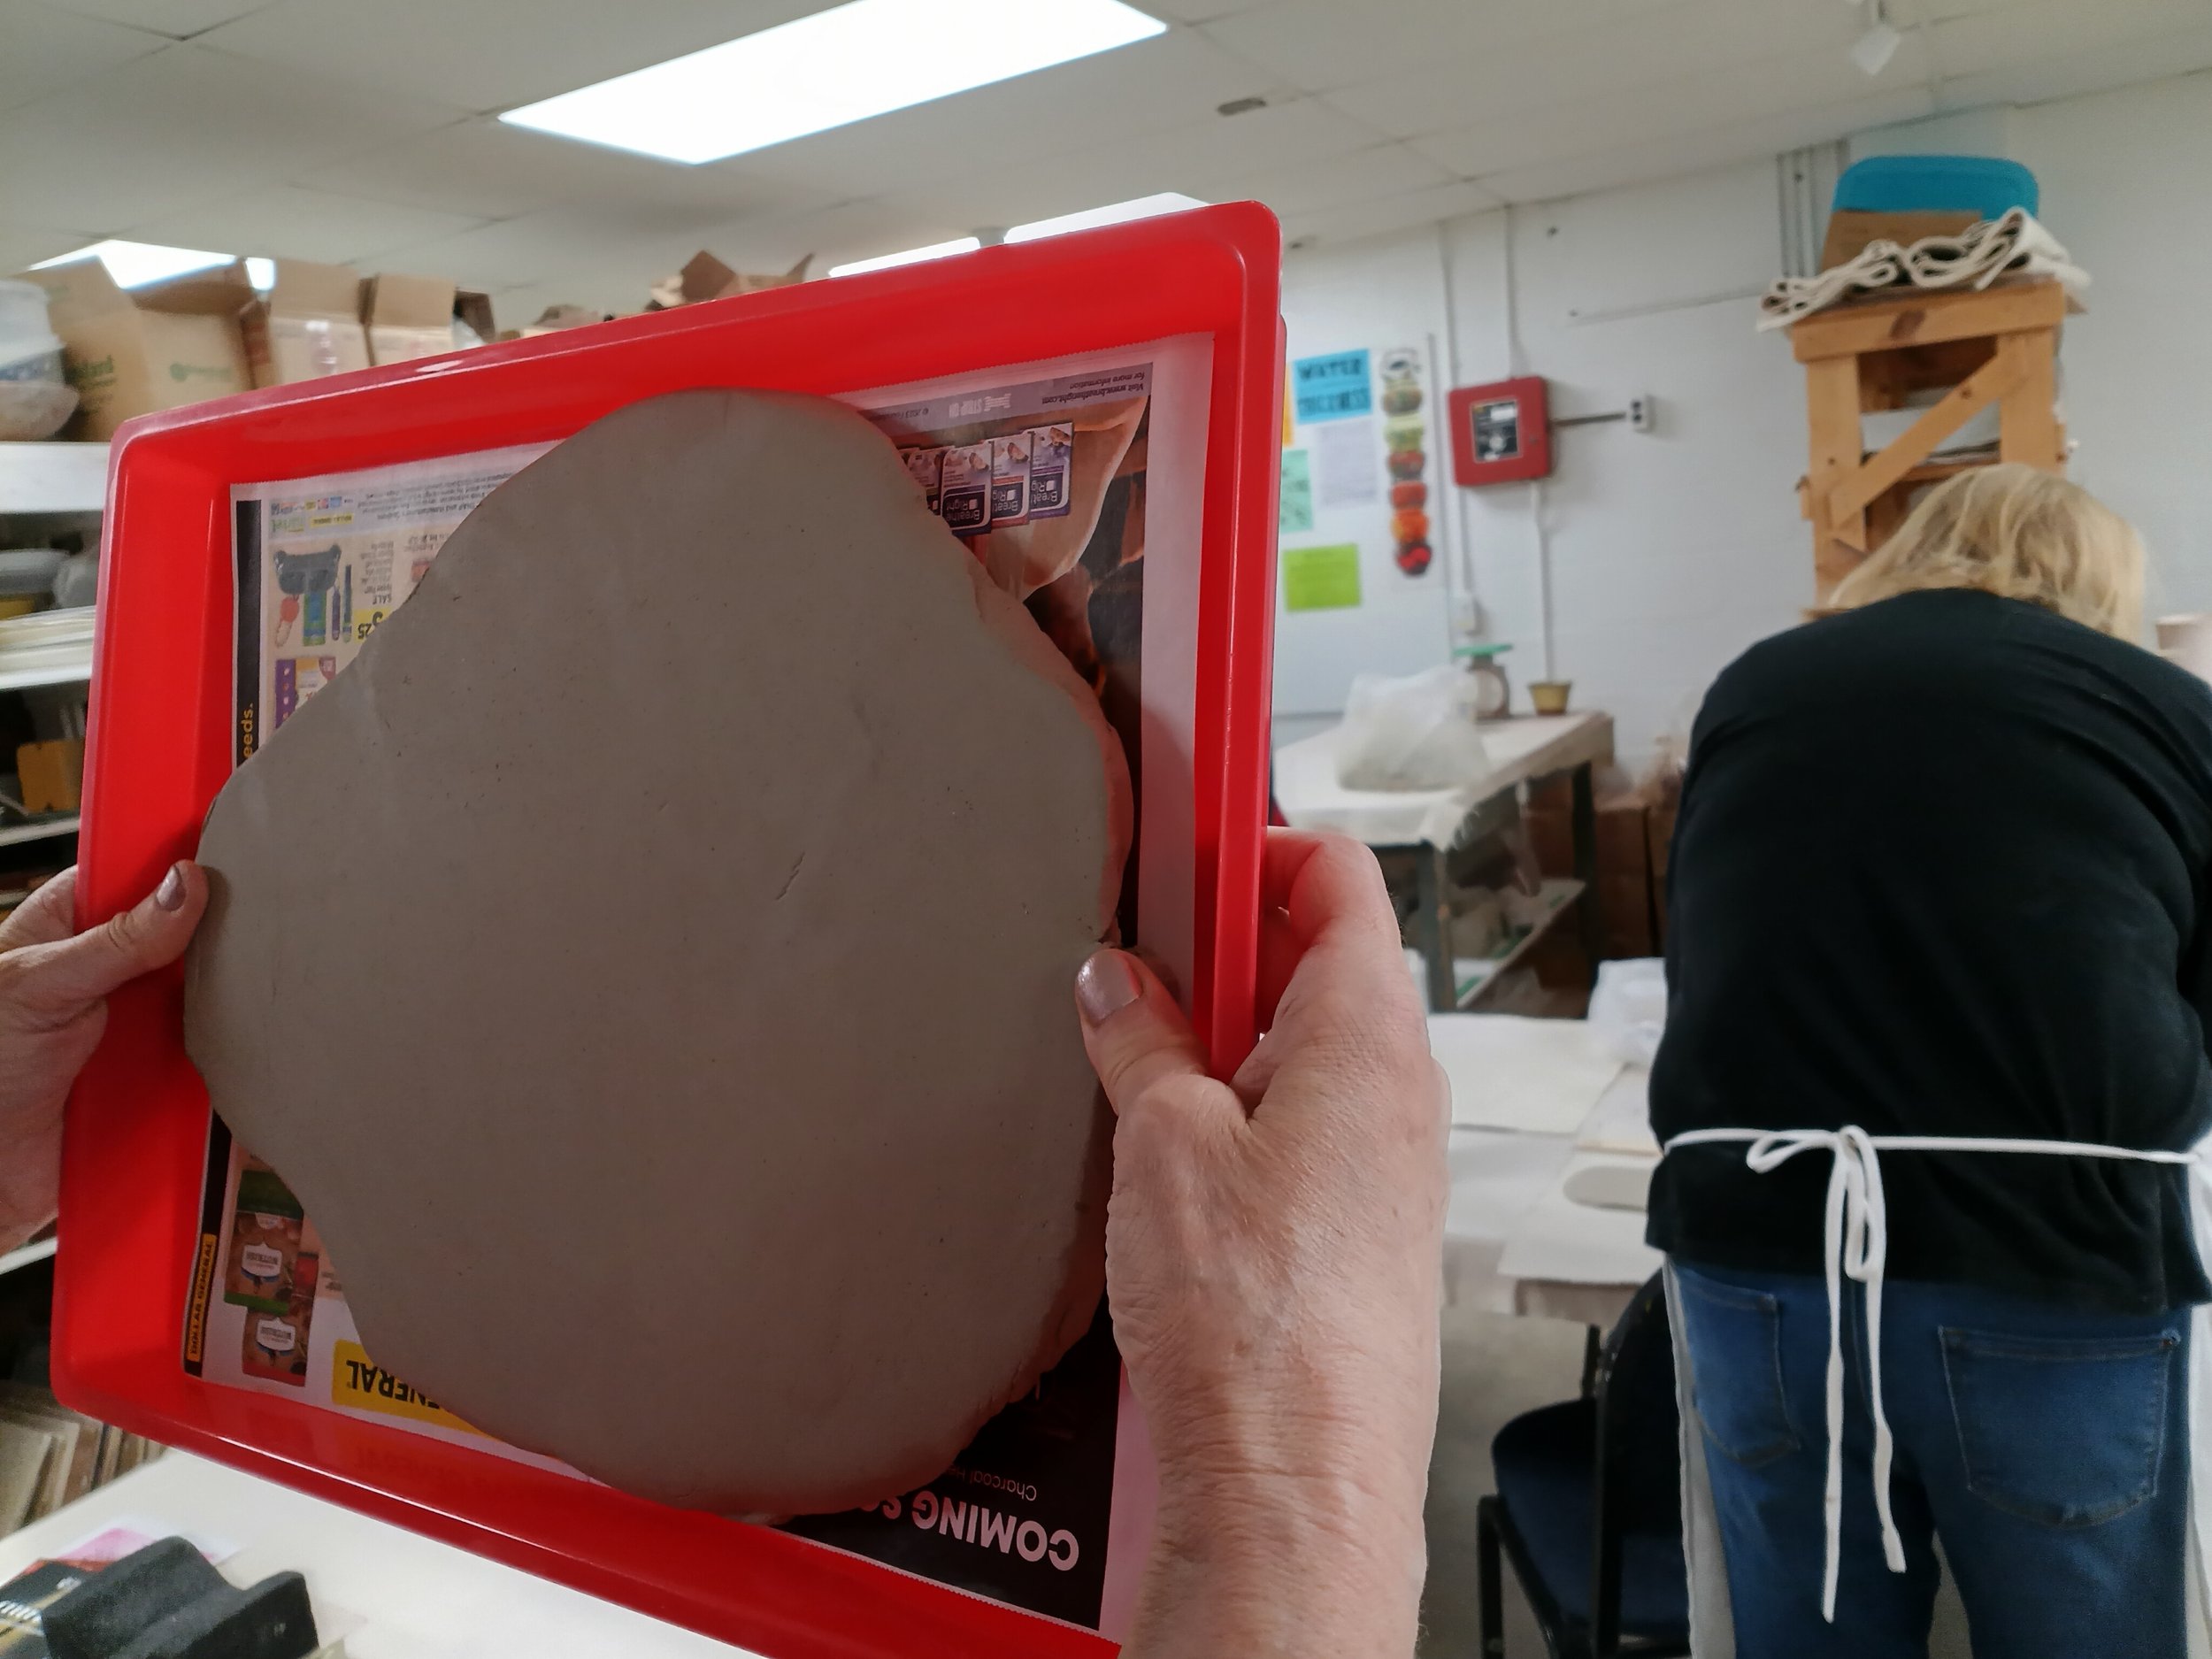
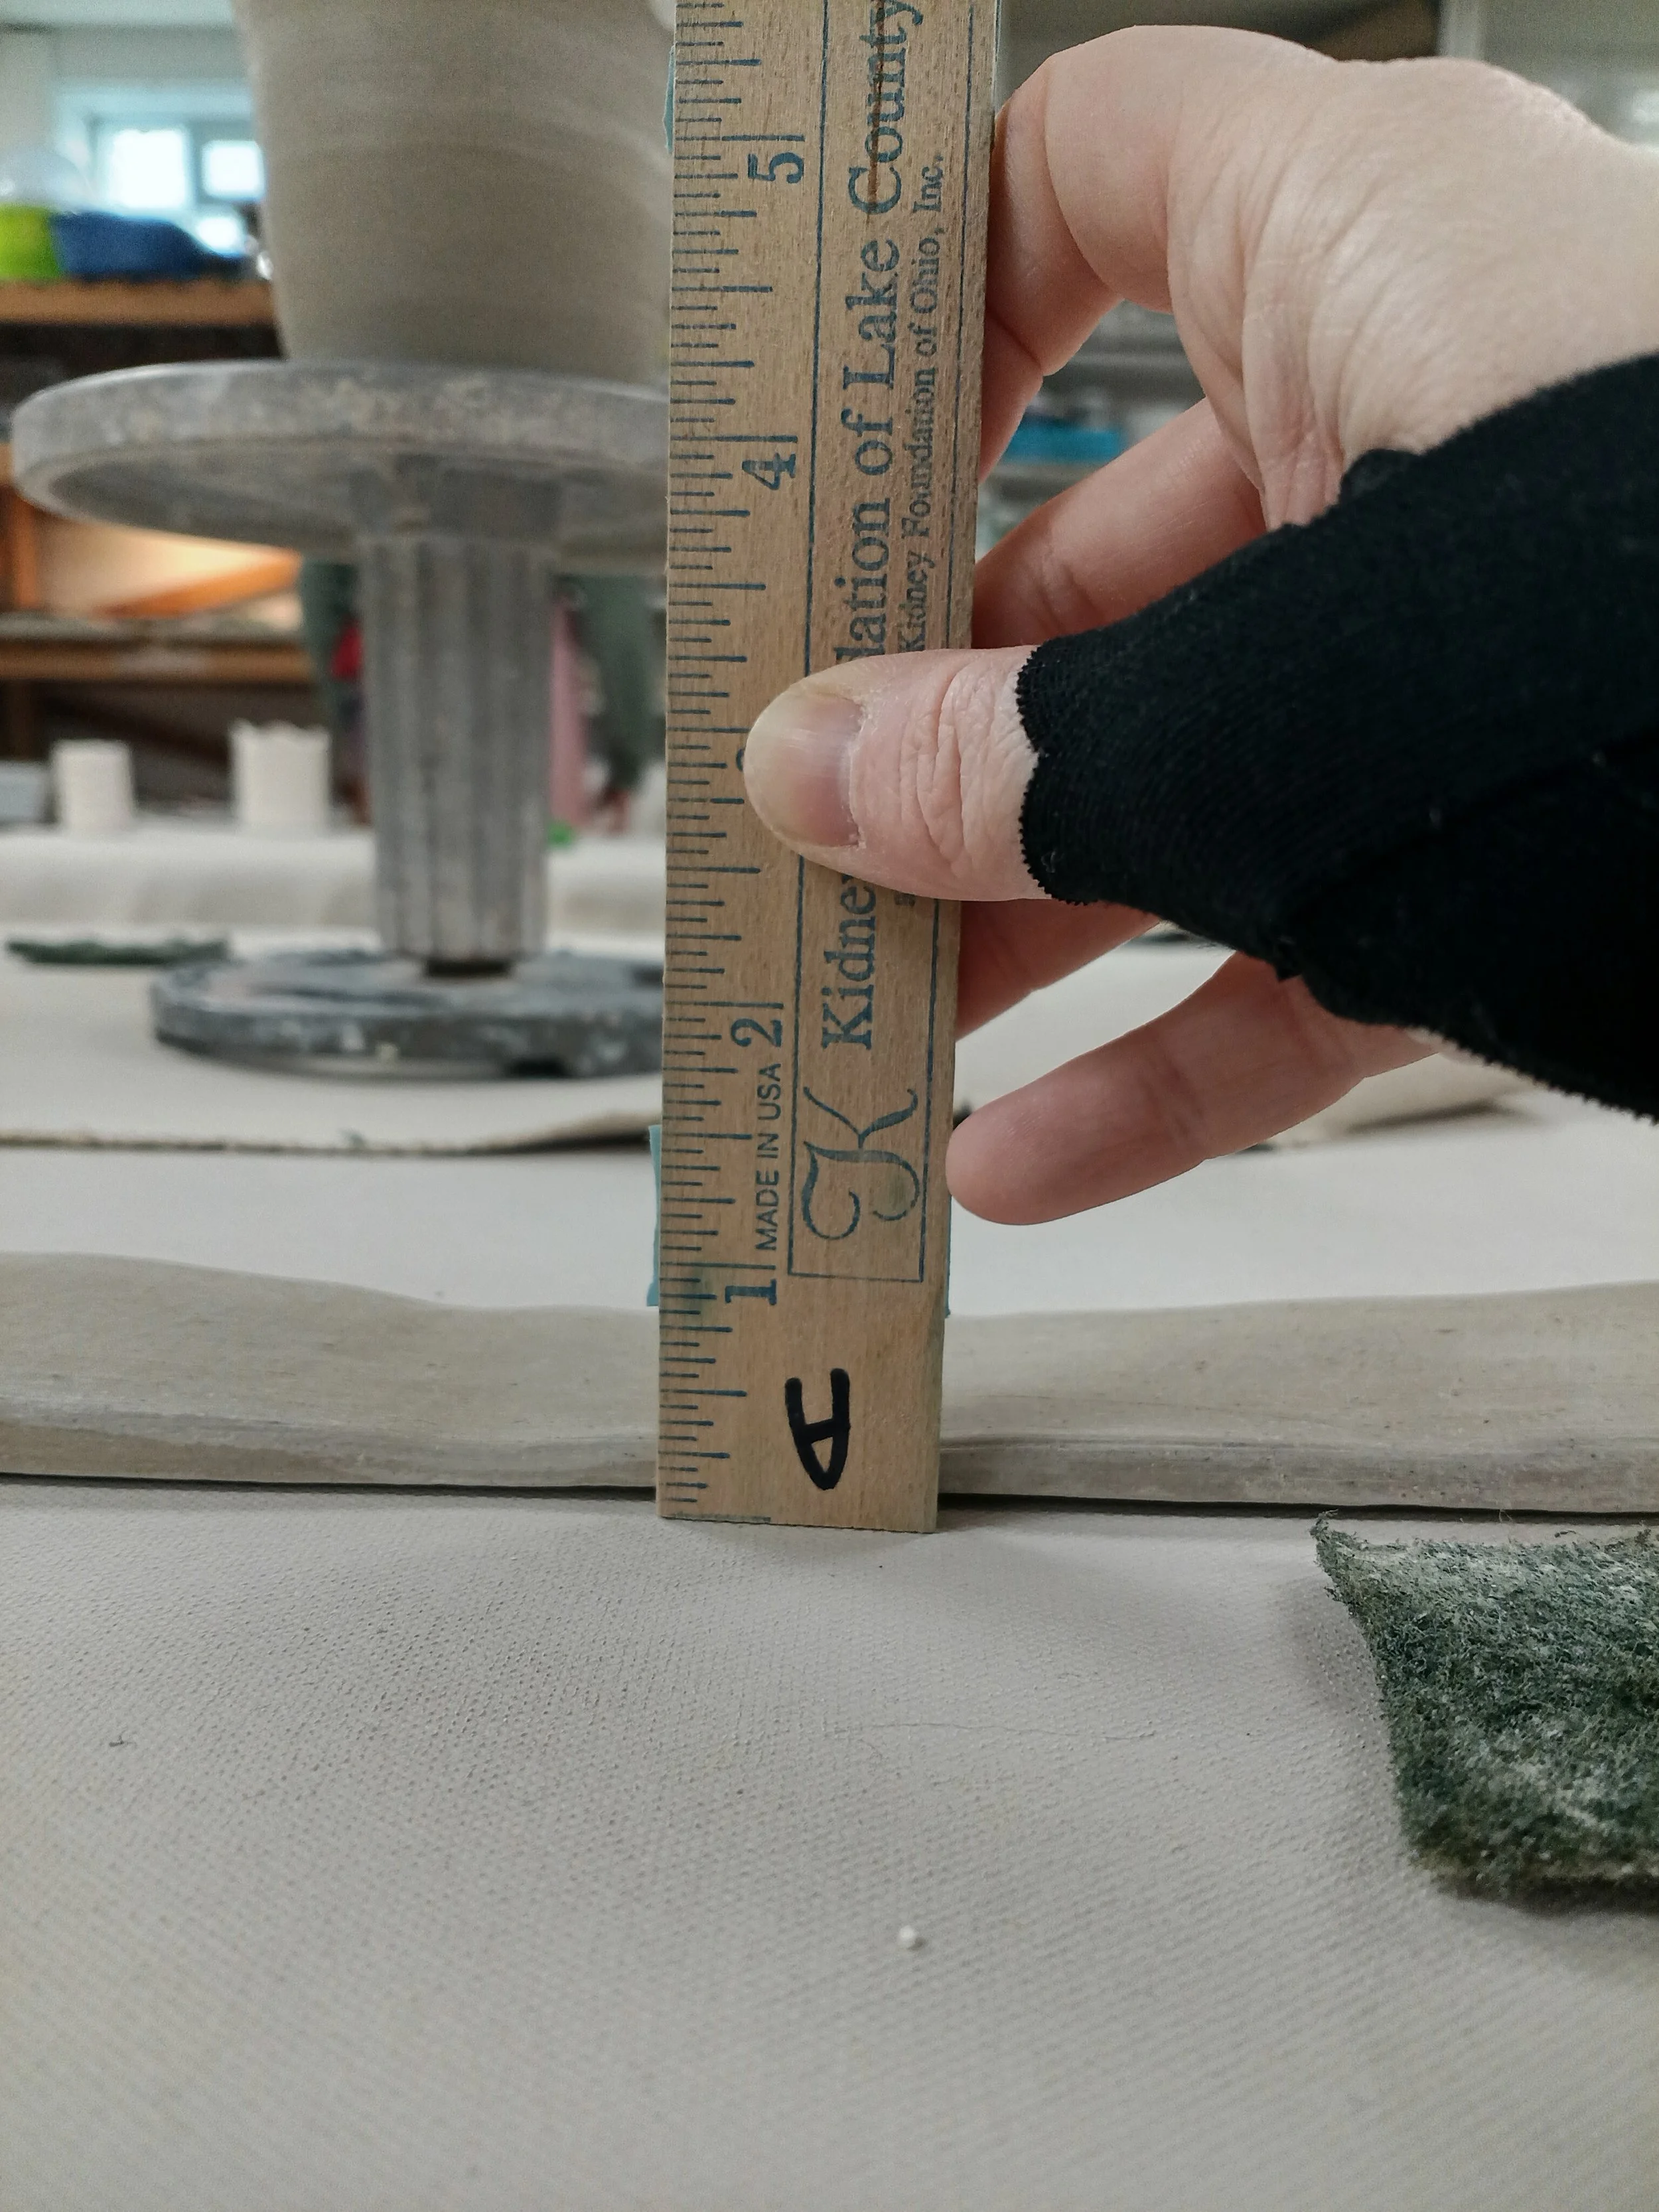
SLAB: 2 B + 1 A thickness (about 6 pounds of clay)
I rolled out a very think slab of white clay. Then it was placed on wood with canvas on top and wrapped with 2 pieces of plastic.
Day 2: January 29, 2026
Marbling
Day 2 was dedicated to marbling. The slab was the perfect dryness, a soft leather hard (enough to make a little imprint if you pressed on the clay, but you would have to press with pressure).
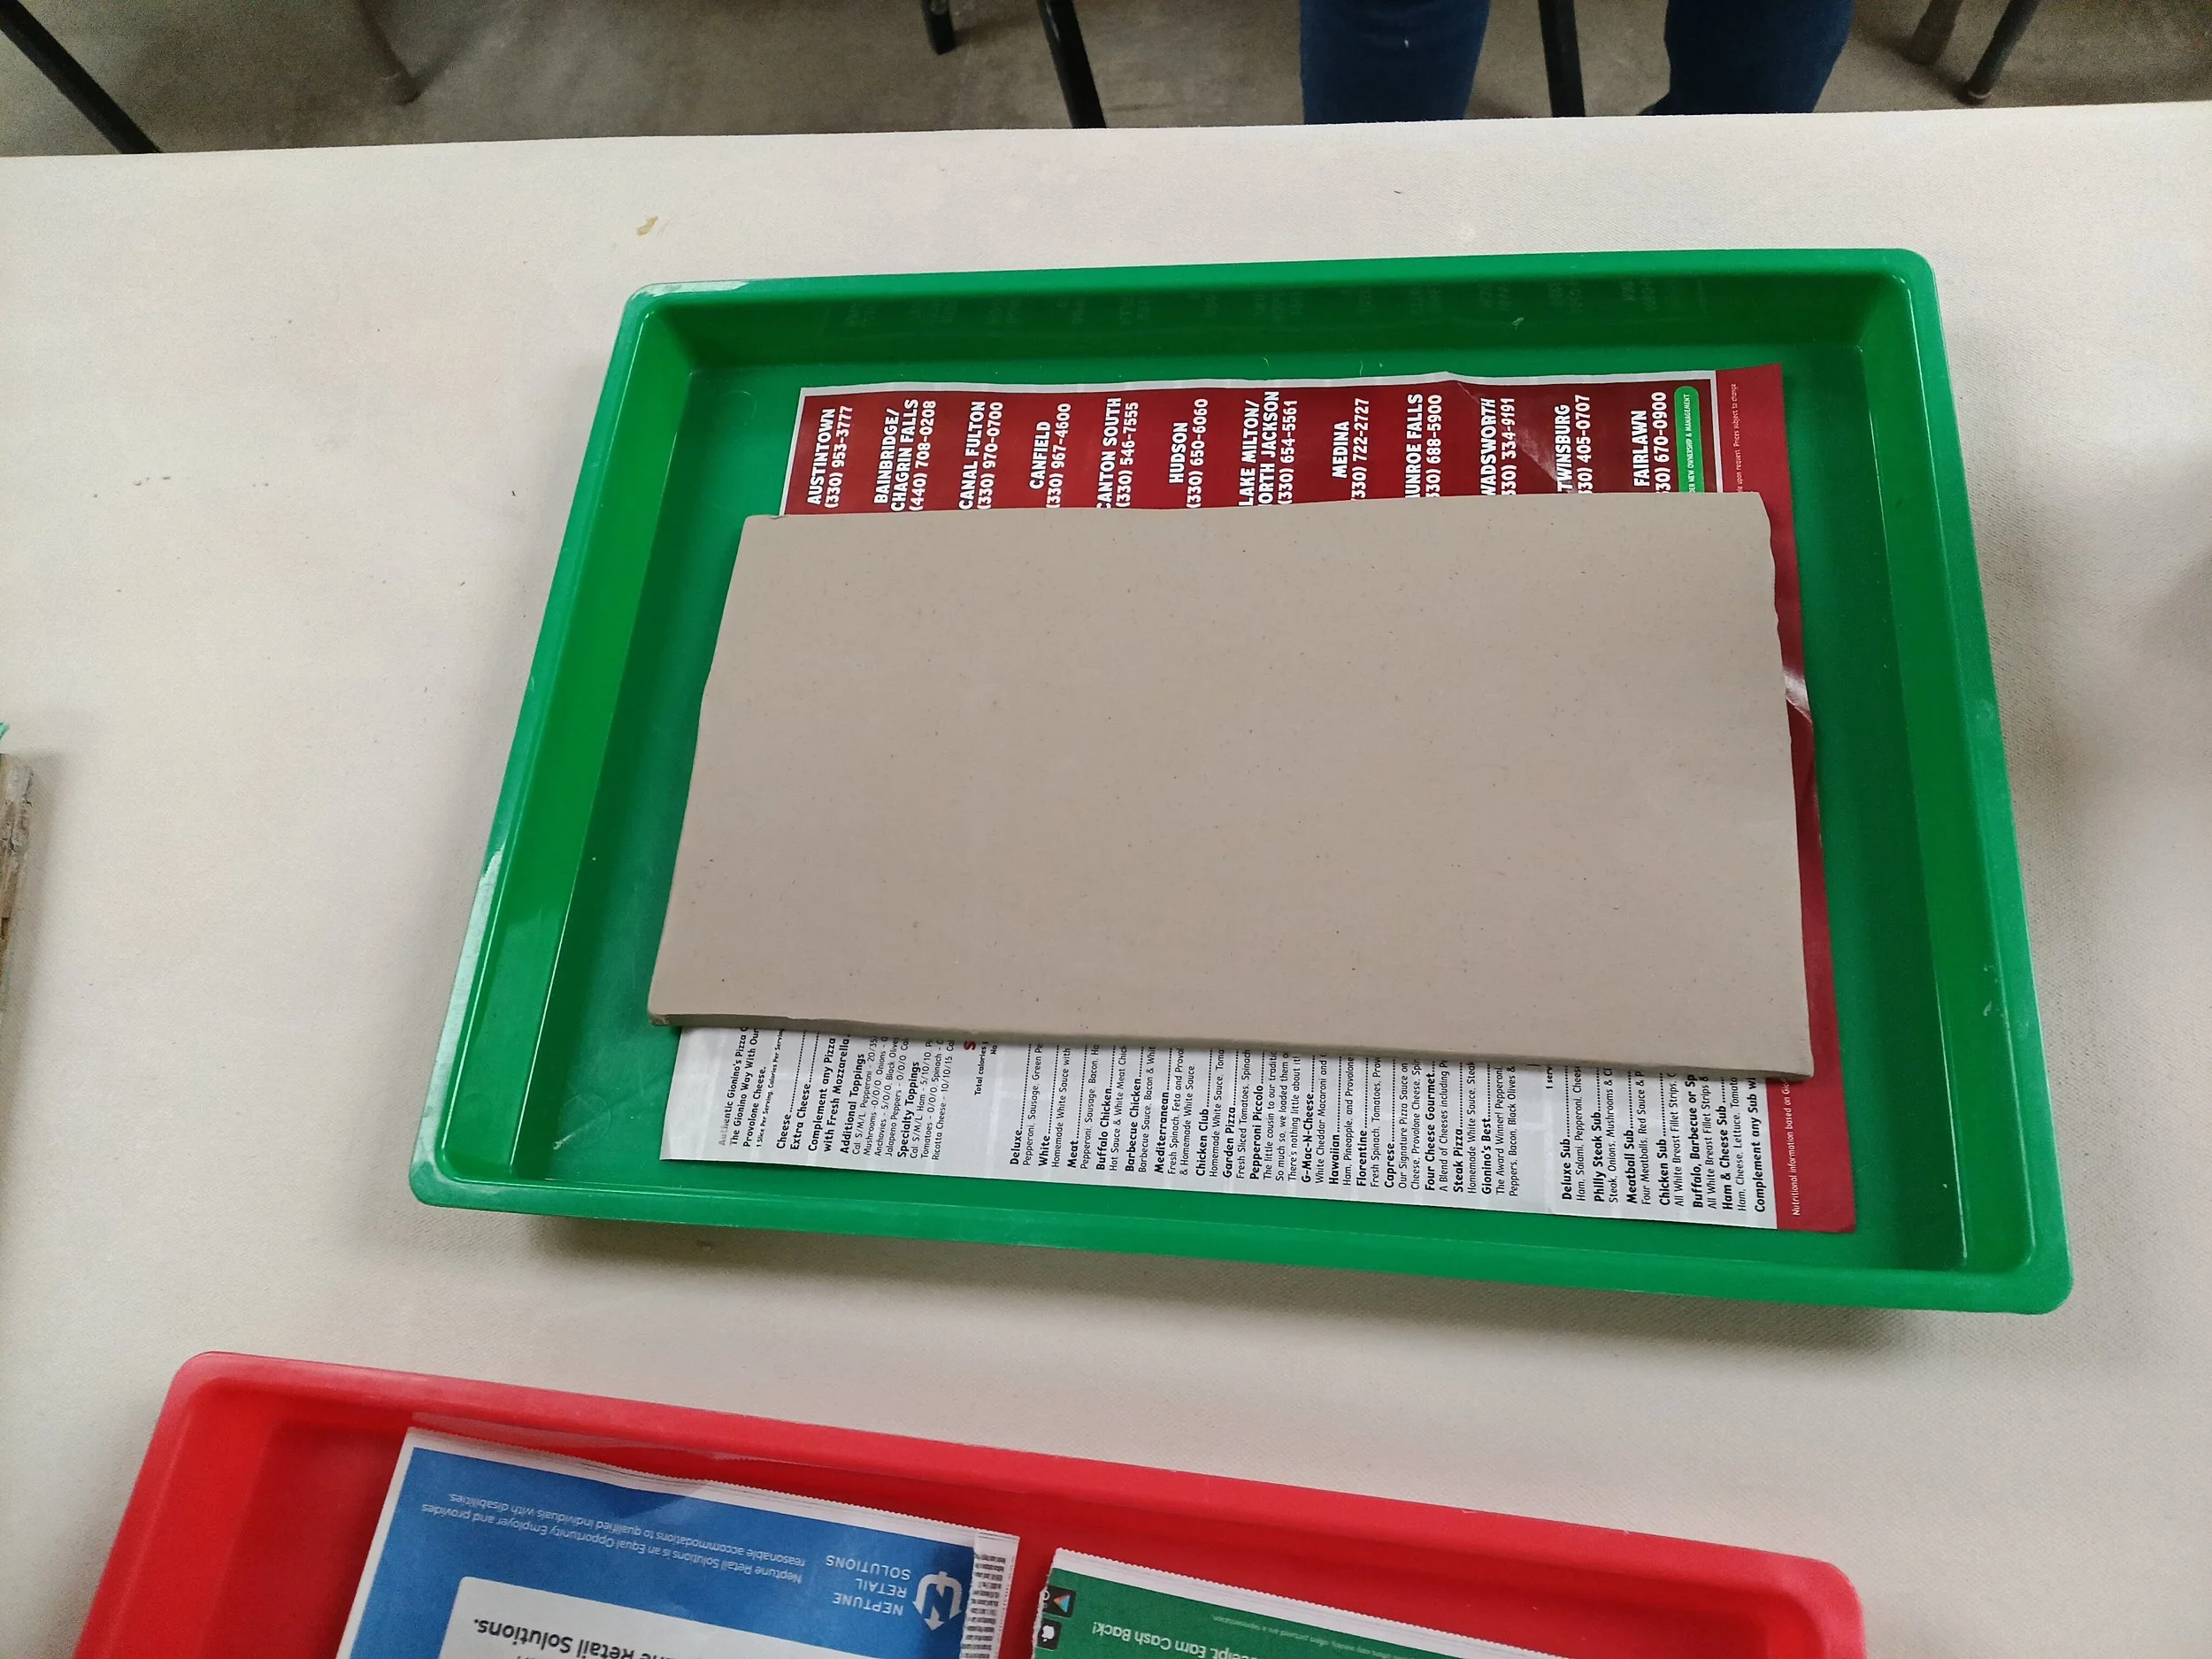
The slab was placed on a tray with some glossy newspaper underneath it.
Then we used blue and white slip to do the marbling The slip was in a dish detergent squeeze bottle, which made it very easy to spread the slip around. The slip must be applied very quickly, as it begins to set immediately. The dryness of the clay is very important for this reason also: the dryer the clay, the faster the slip sets and the less it will move around for the marbling.
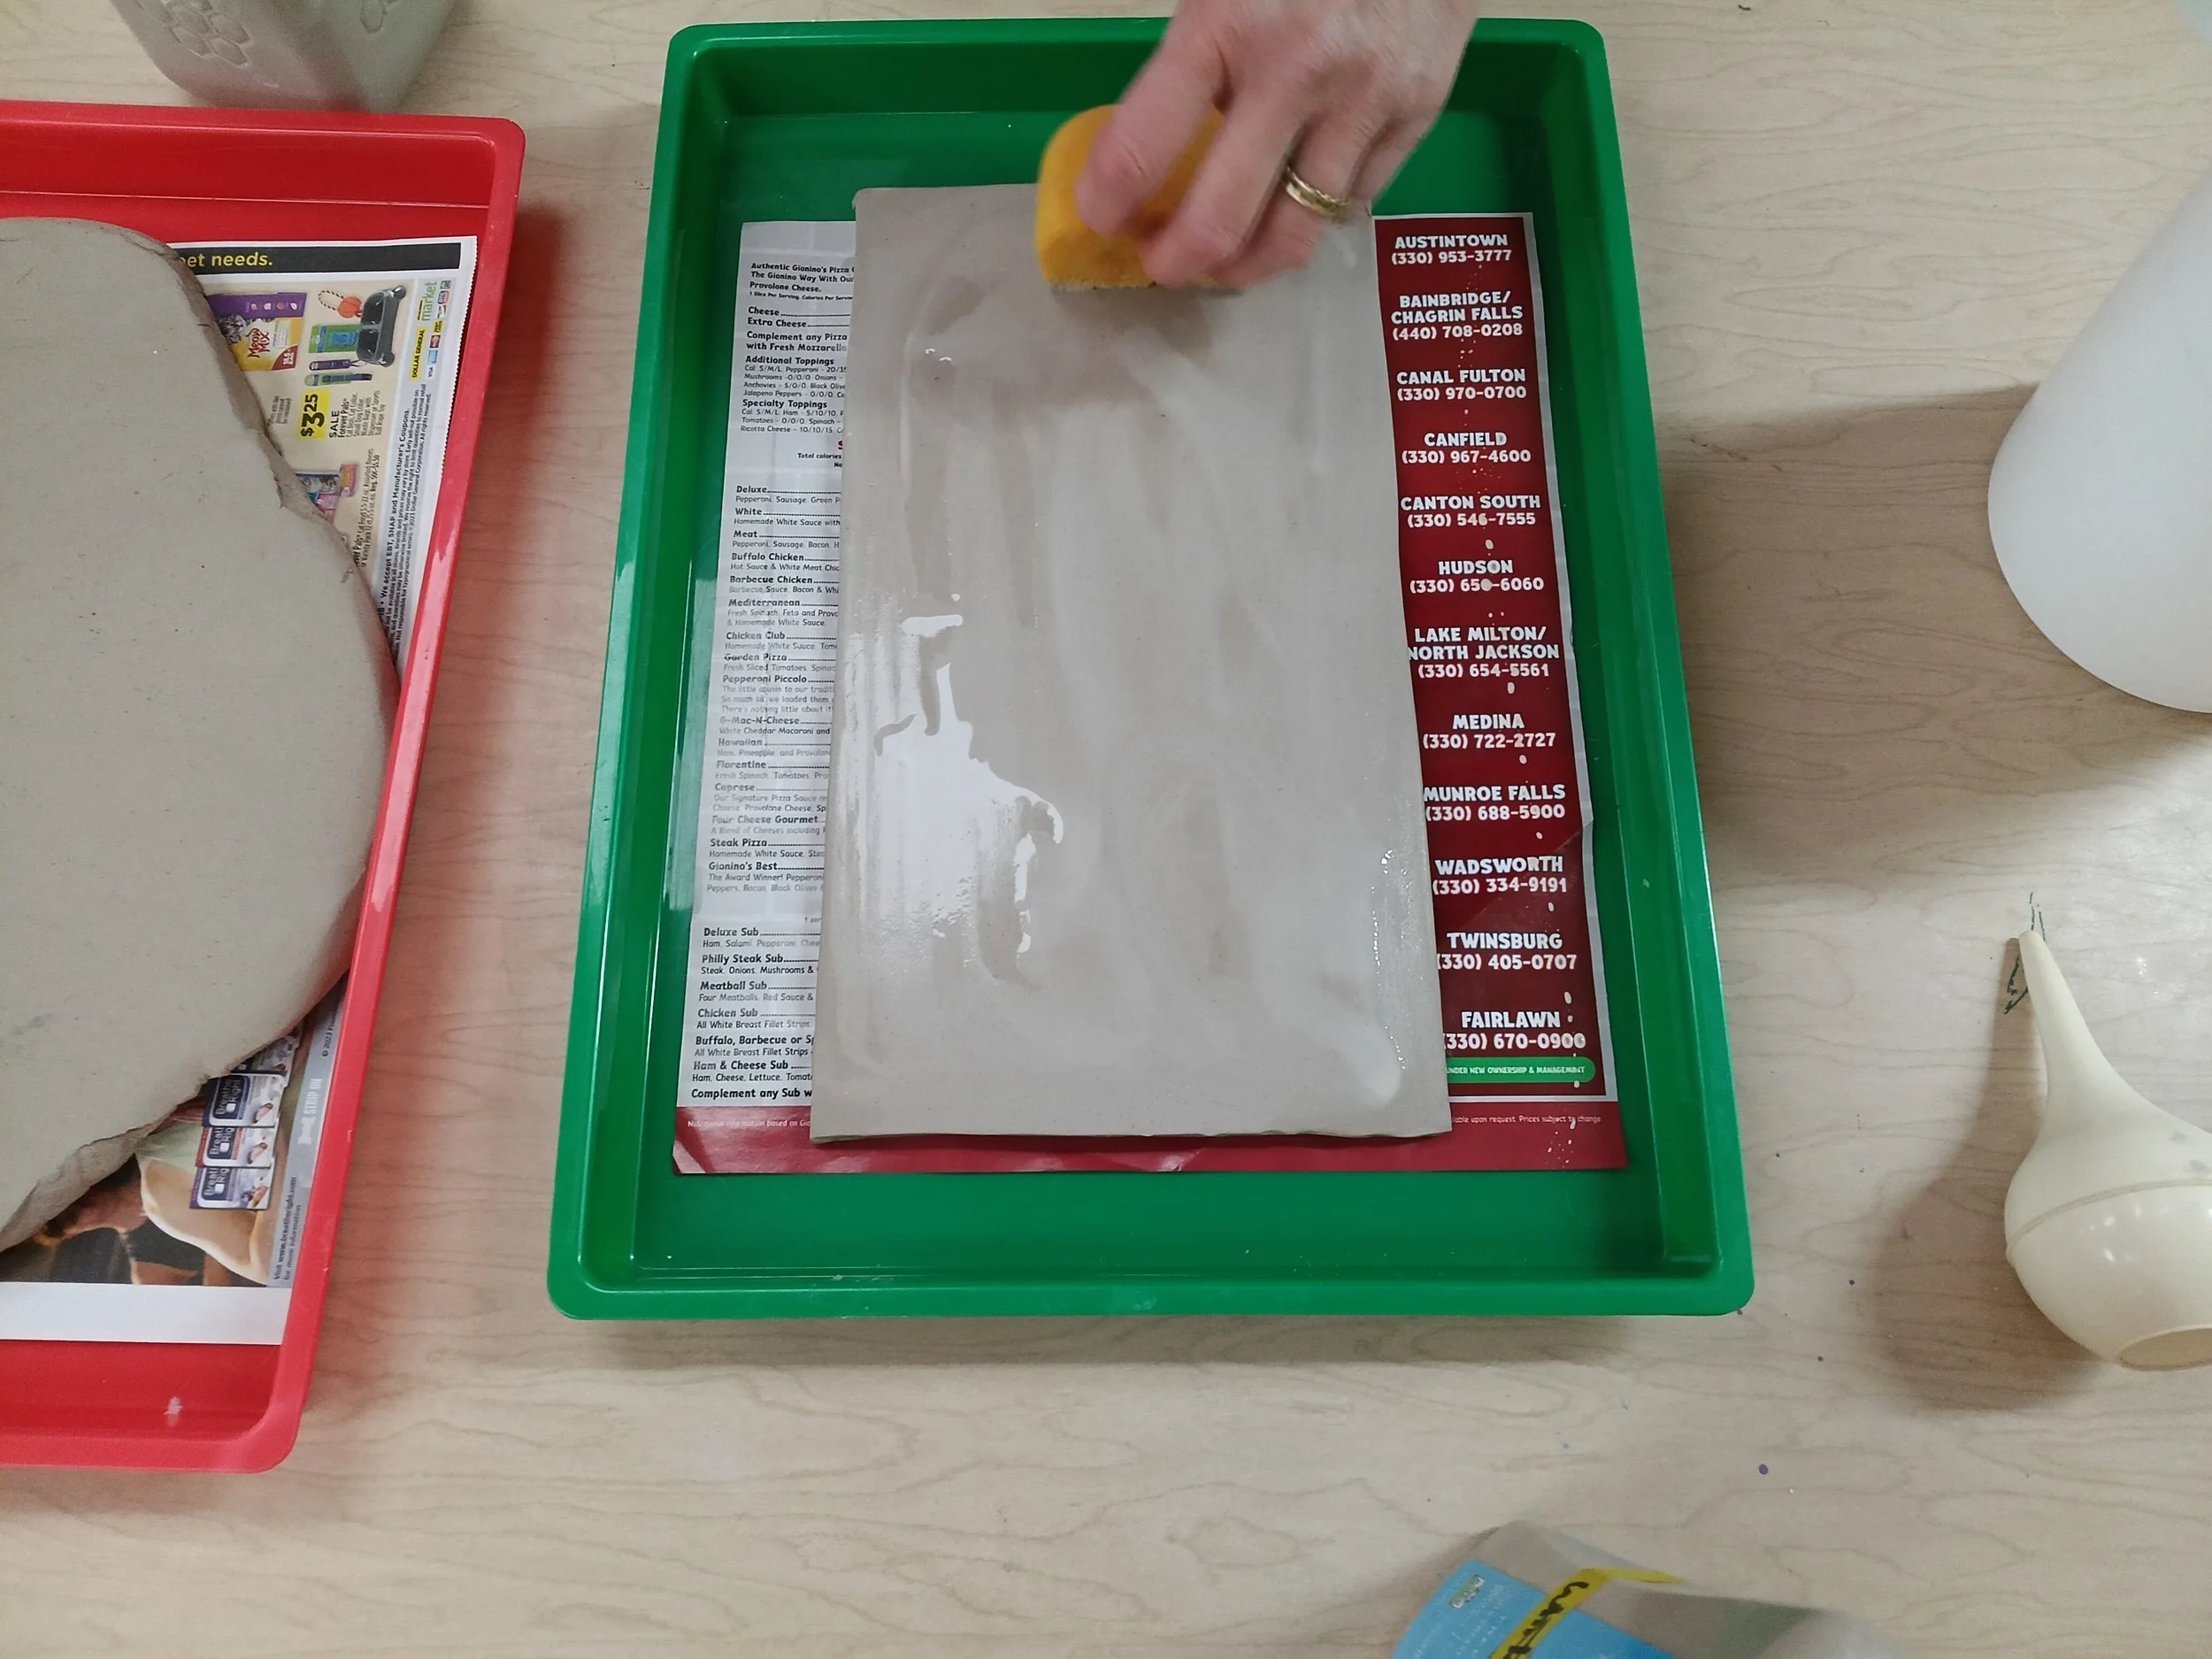
In this session I was also marbling another thinner slab that was a hard leather hard. We applied a bit of water with a sponge on top to allow the slip to move a bit more.
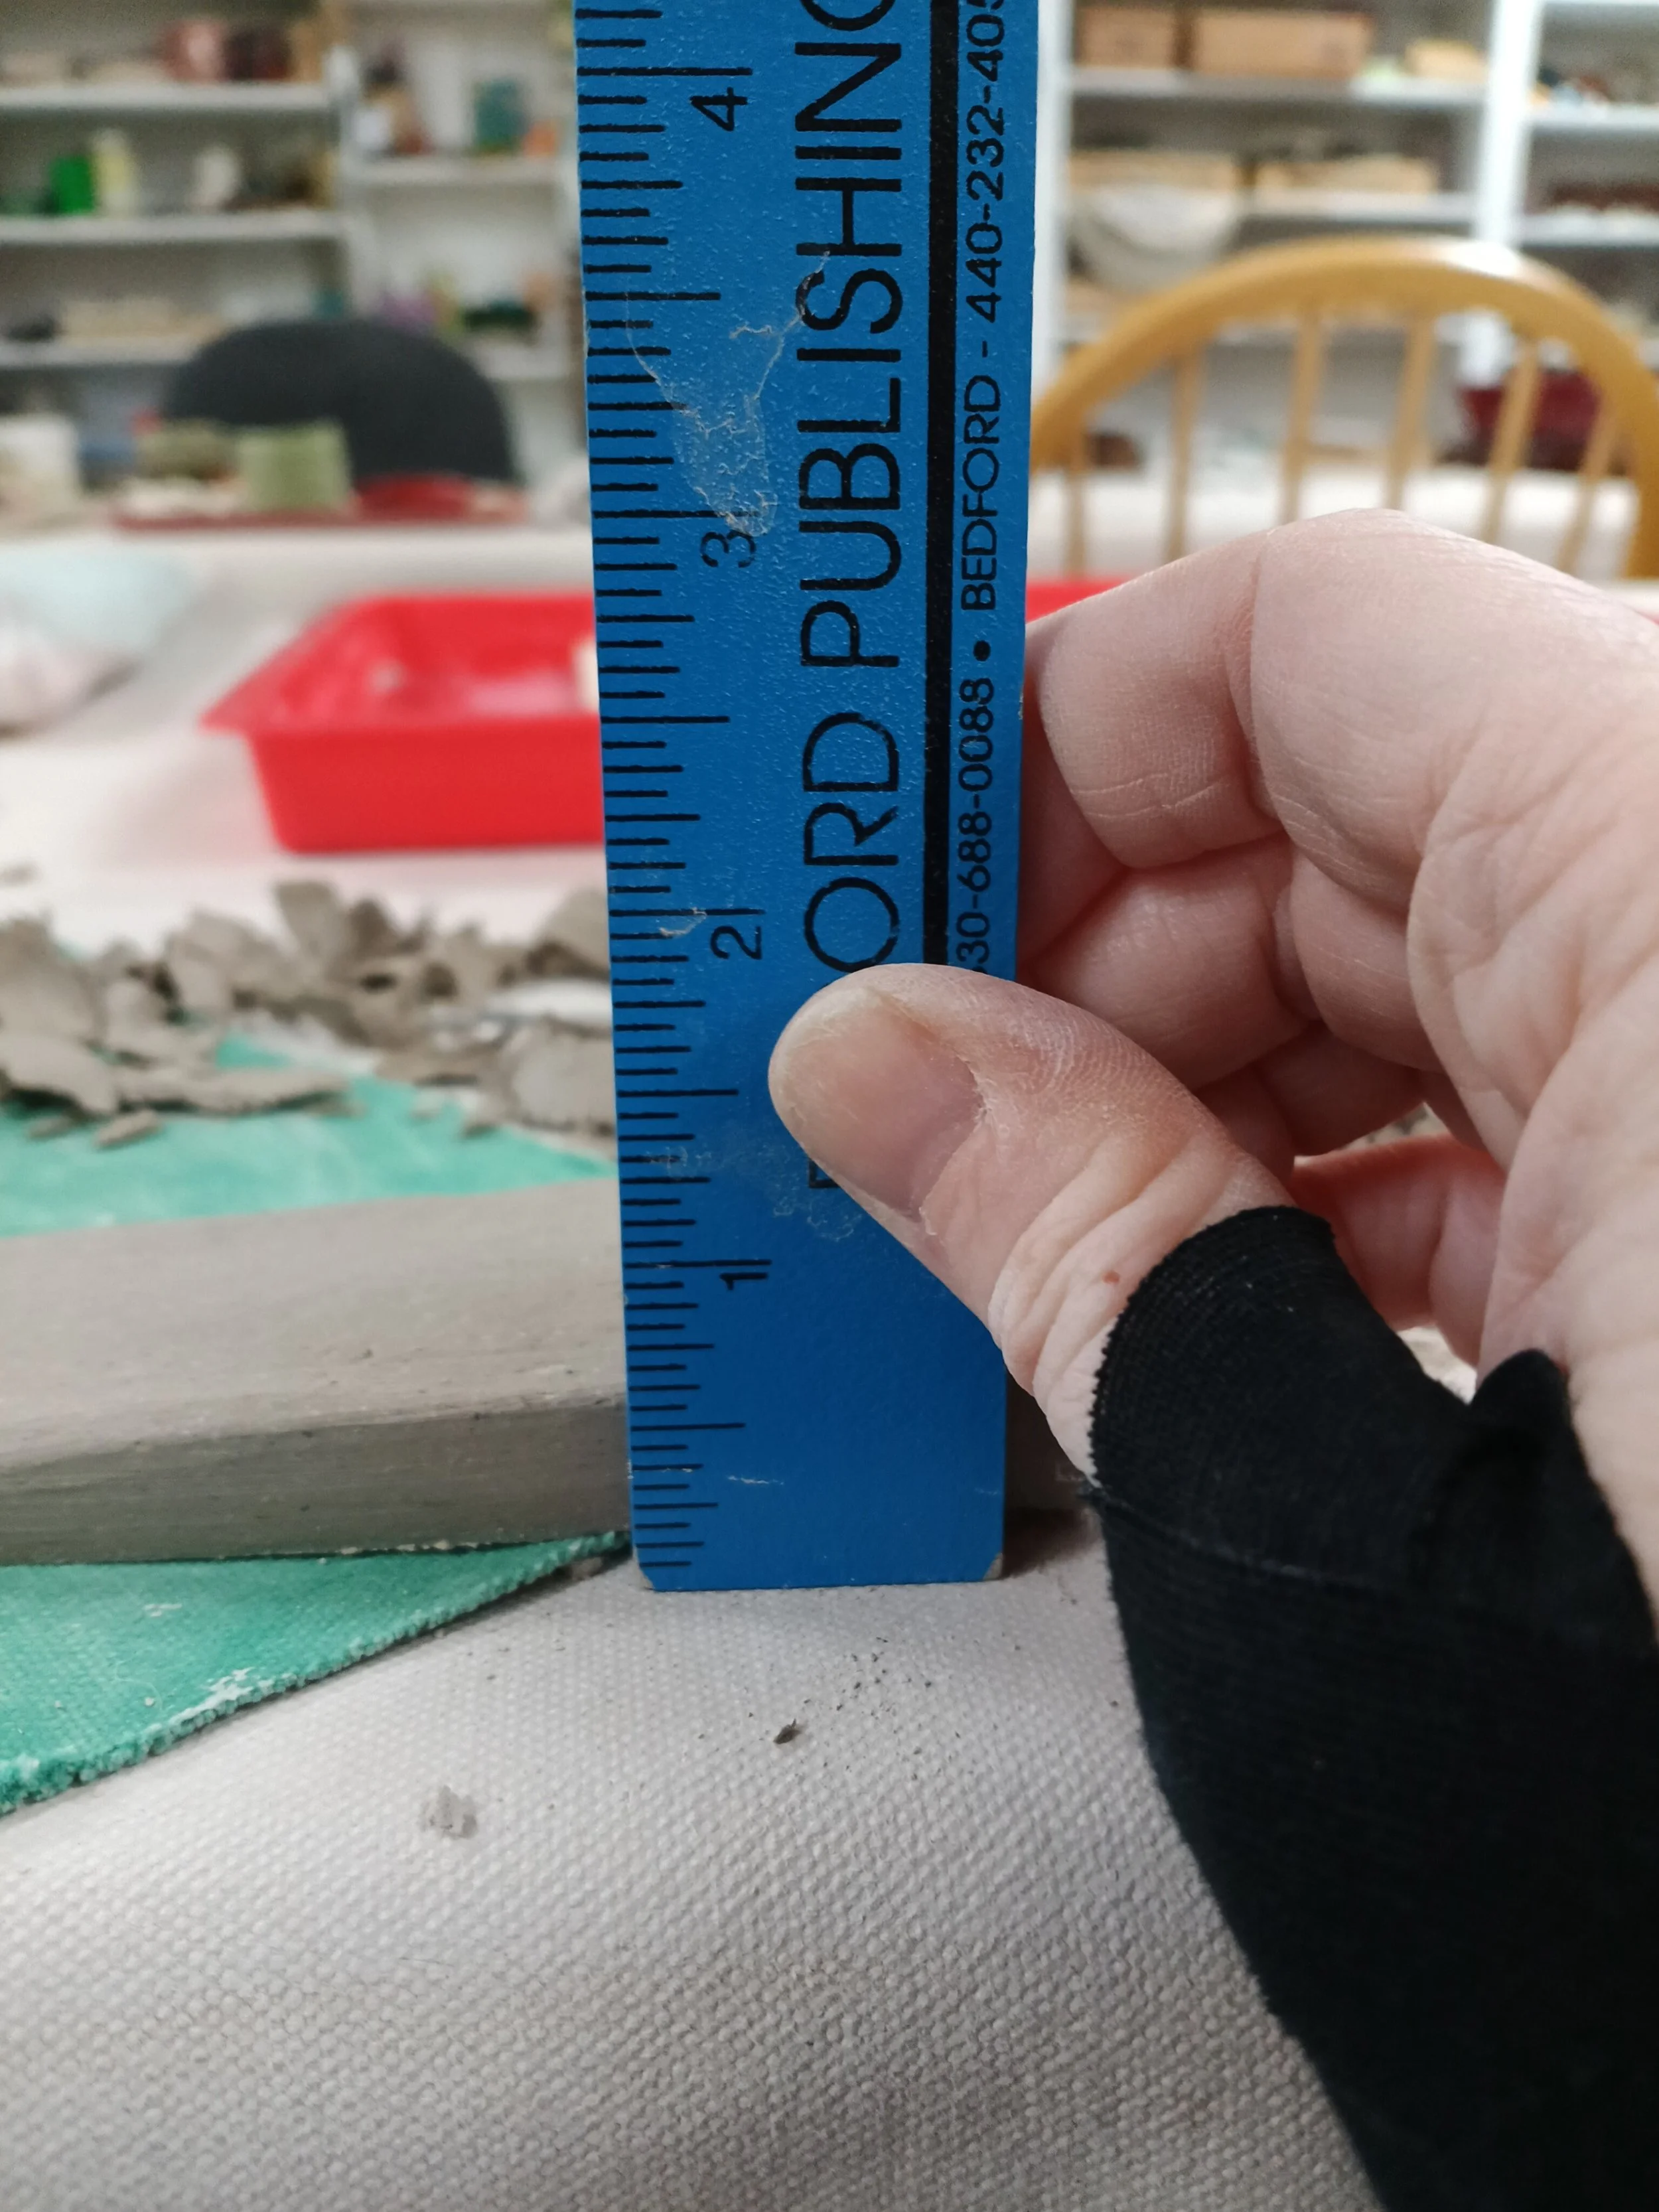
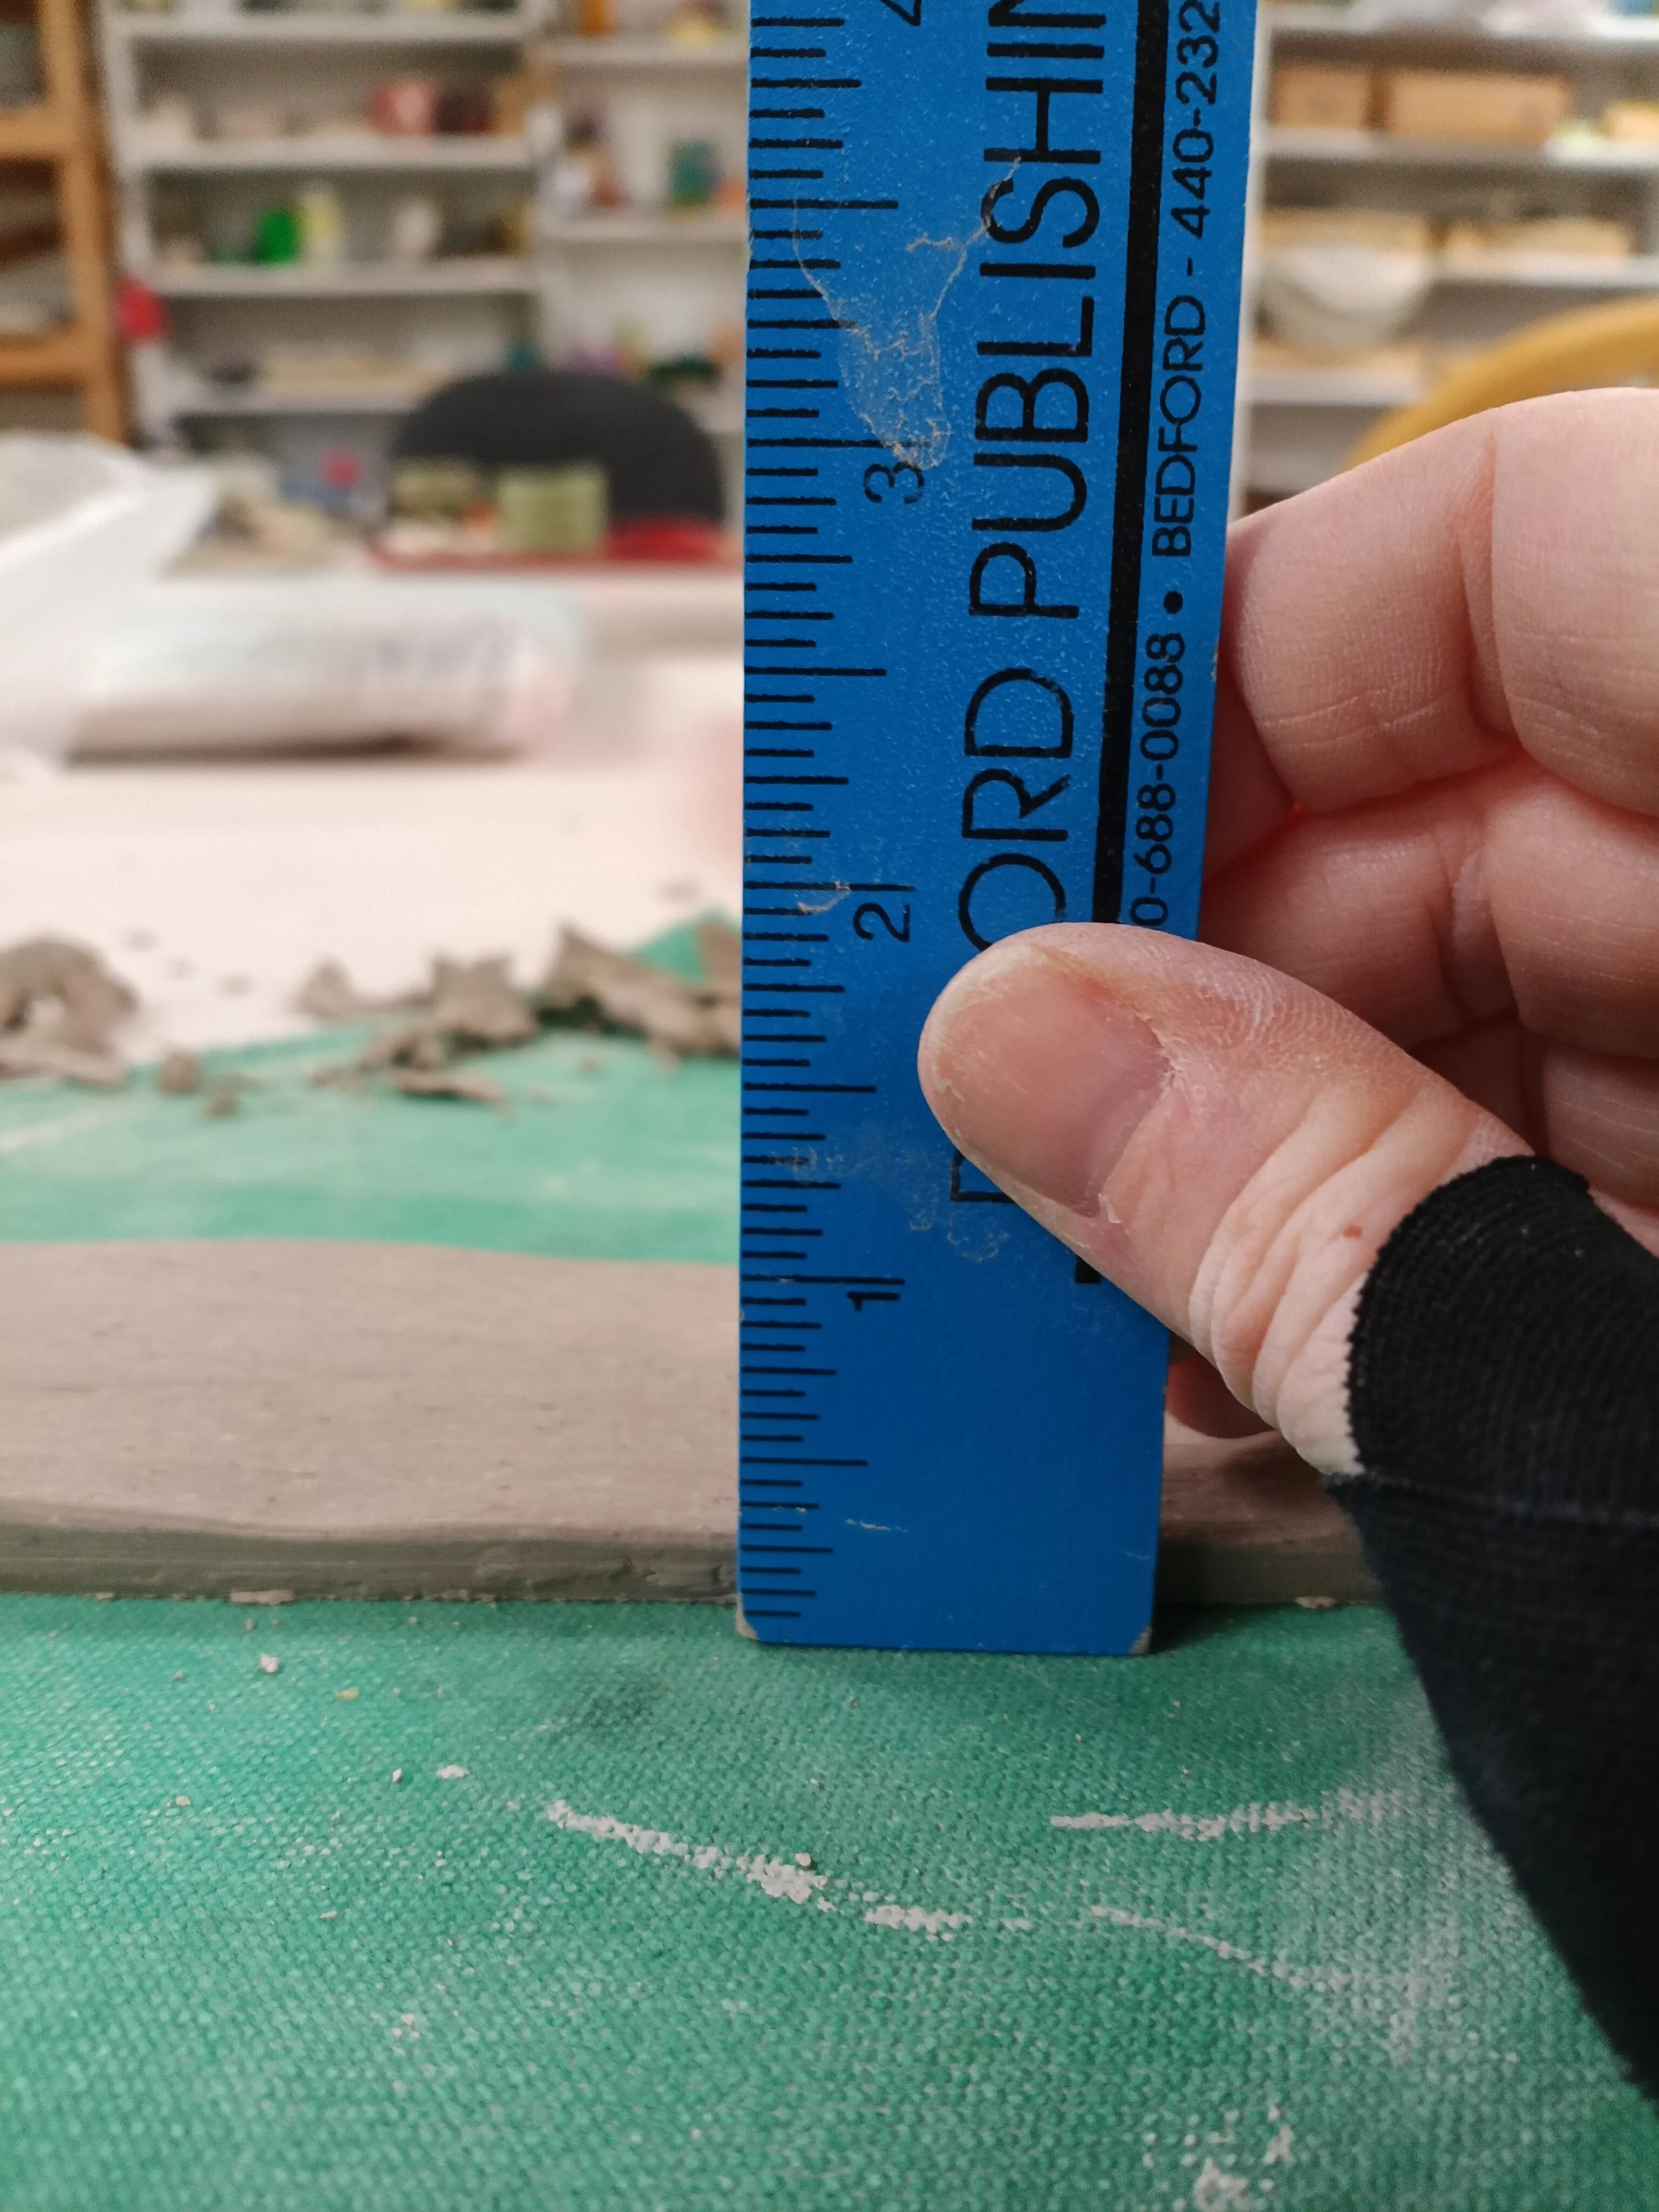
When applying the slip, the blue was applied first. You must put a generous amount on or else it won’t swirl together very well. Cover the entire slab quickly, going up and down vertically. Use a brush to help spread a little if necessary. Then very quickly apply the white slip in horizontal lines, also being generous with the amount. The hold the sides with your thumbs (pressure not on top of the clay pushing down, but holding the sides, see photo below). Move the tray around, watching how the slips are swirling together and let you eye guide you in how you move. Tapping the tray lightly on a table also helps the slips move around. Go slow and take your time. You can also shake it once in a while.
The blue slip is a bit hard to see, but if you look closely, you can see that the soft leather hard slab marbled much nicer than the hard leather hard slab. I also put much more slip on the soft leather hard piece, which helps mobilize the slips.
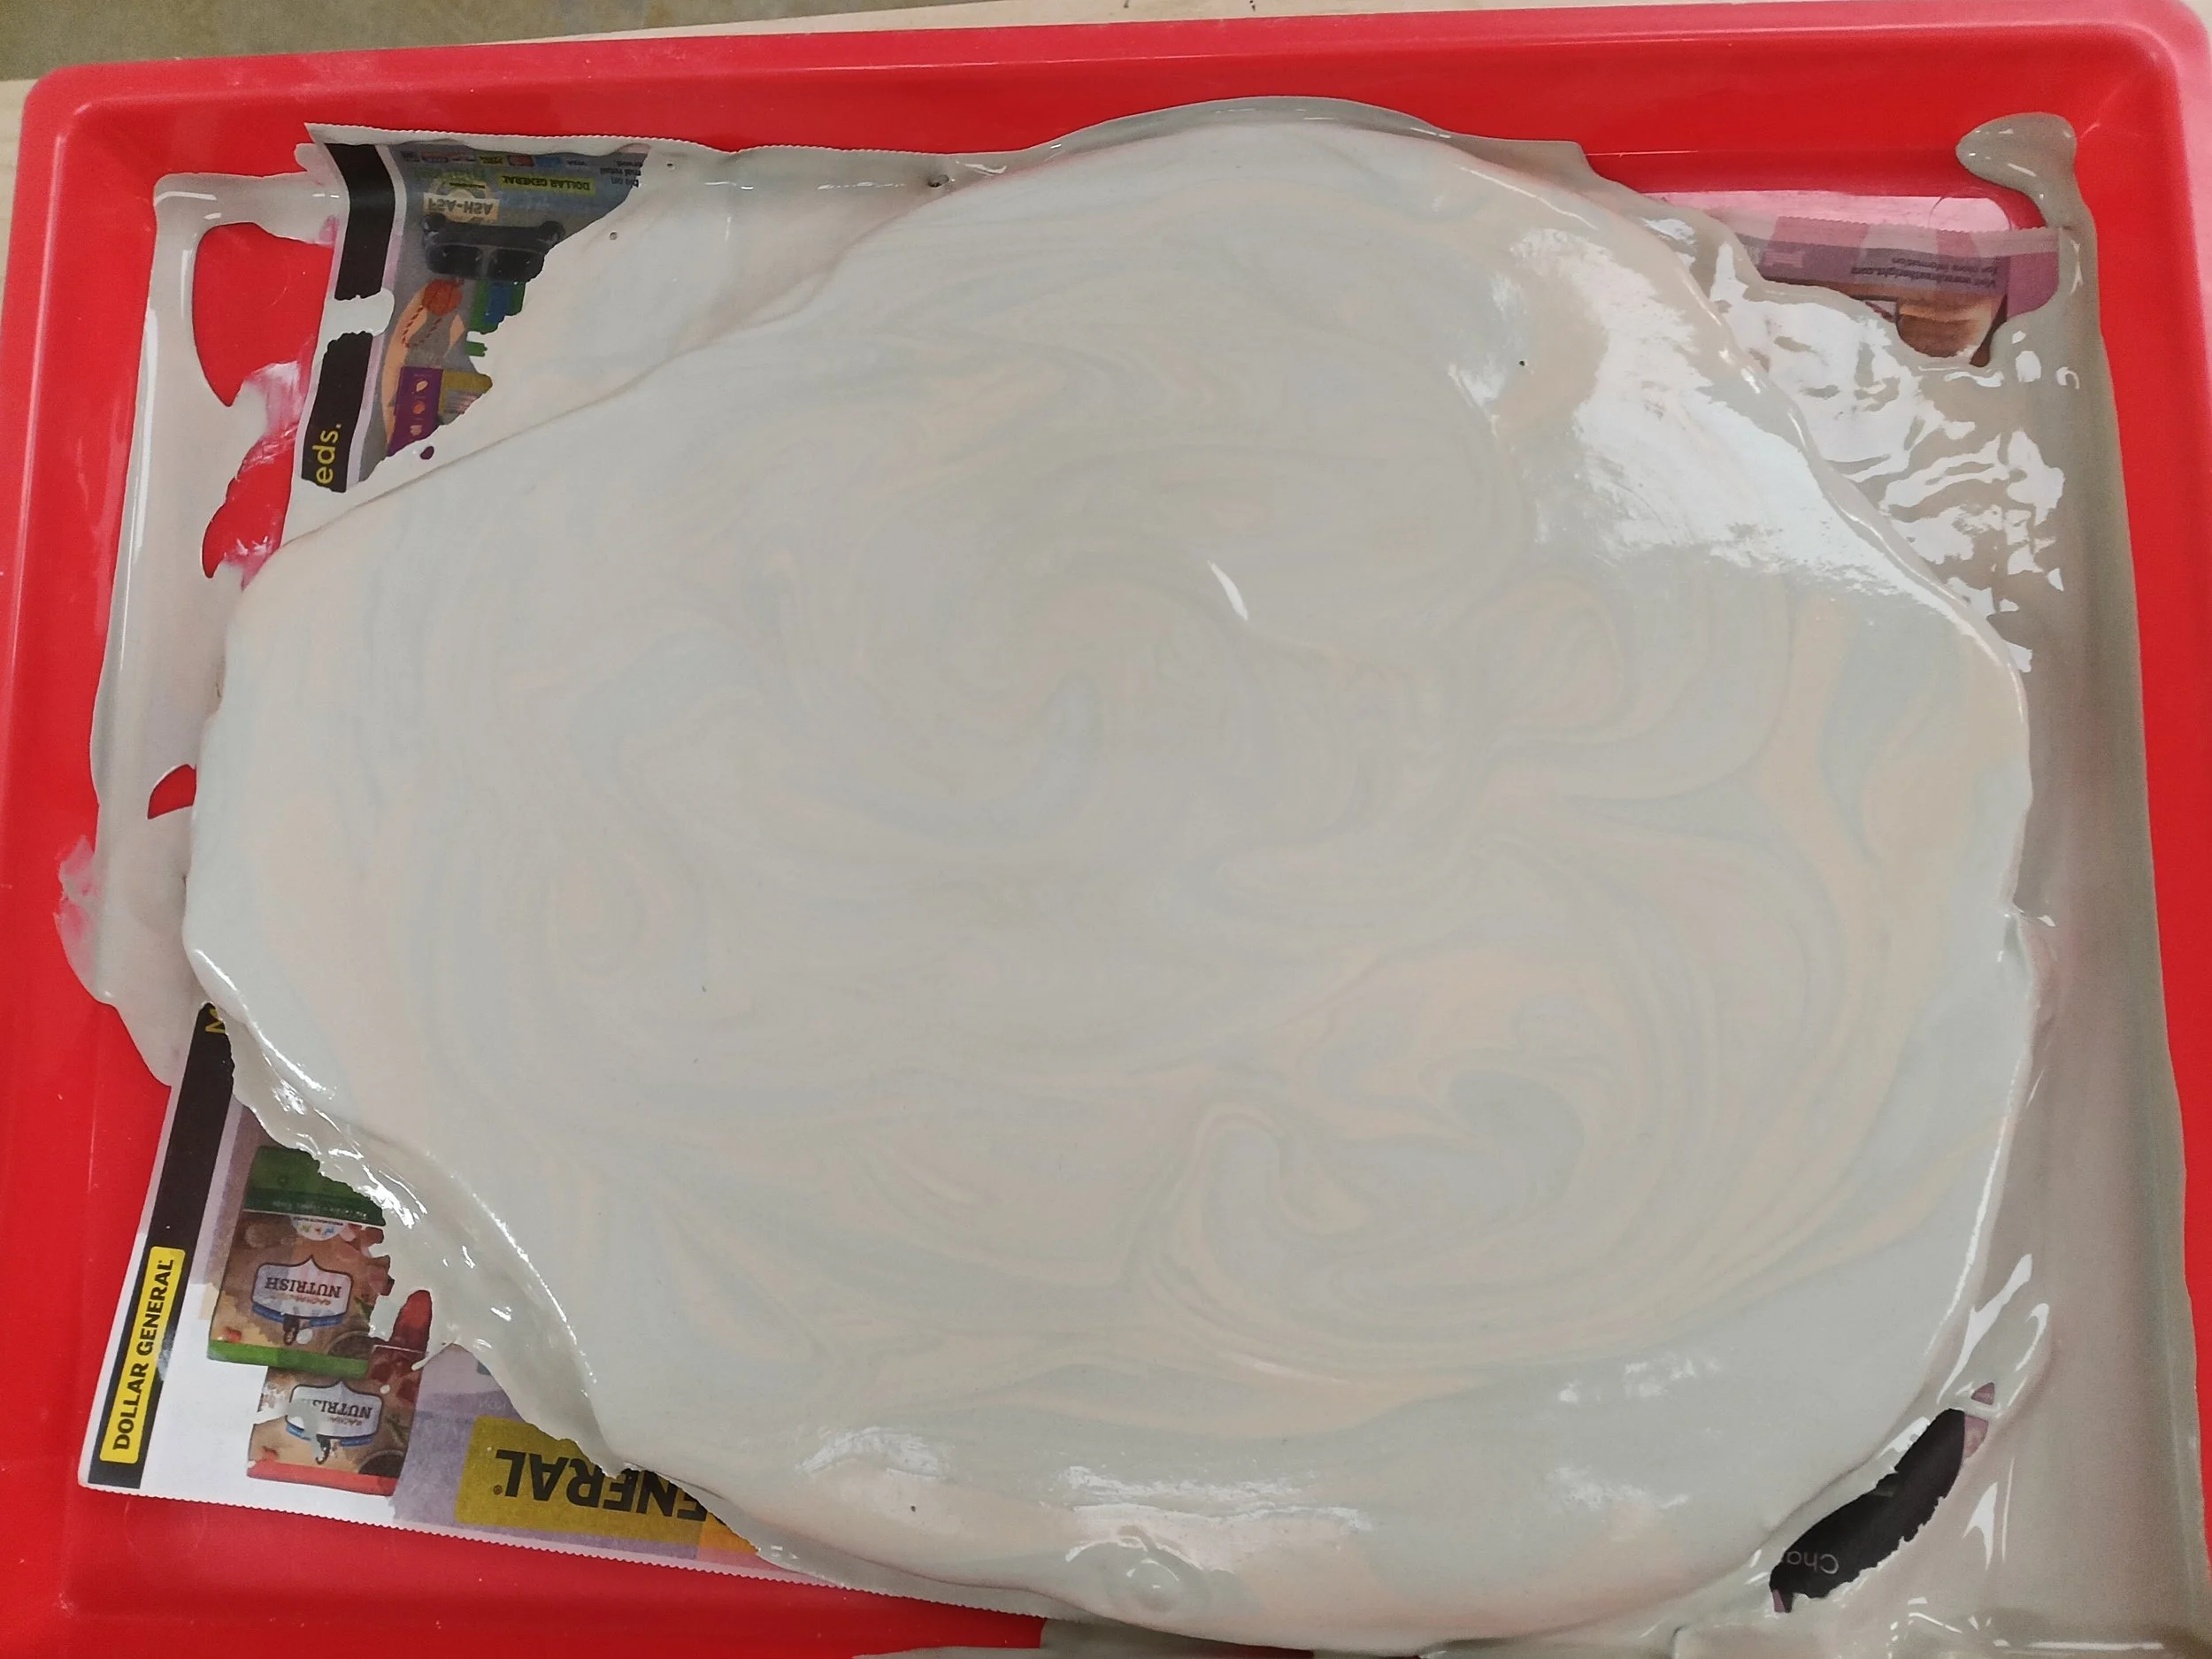
soft leather hard slab
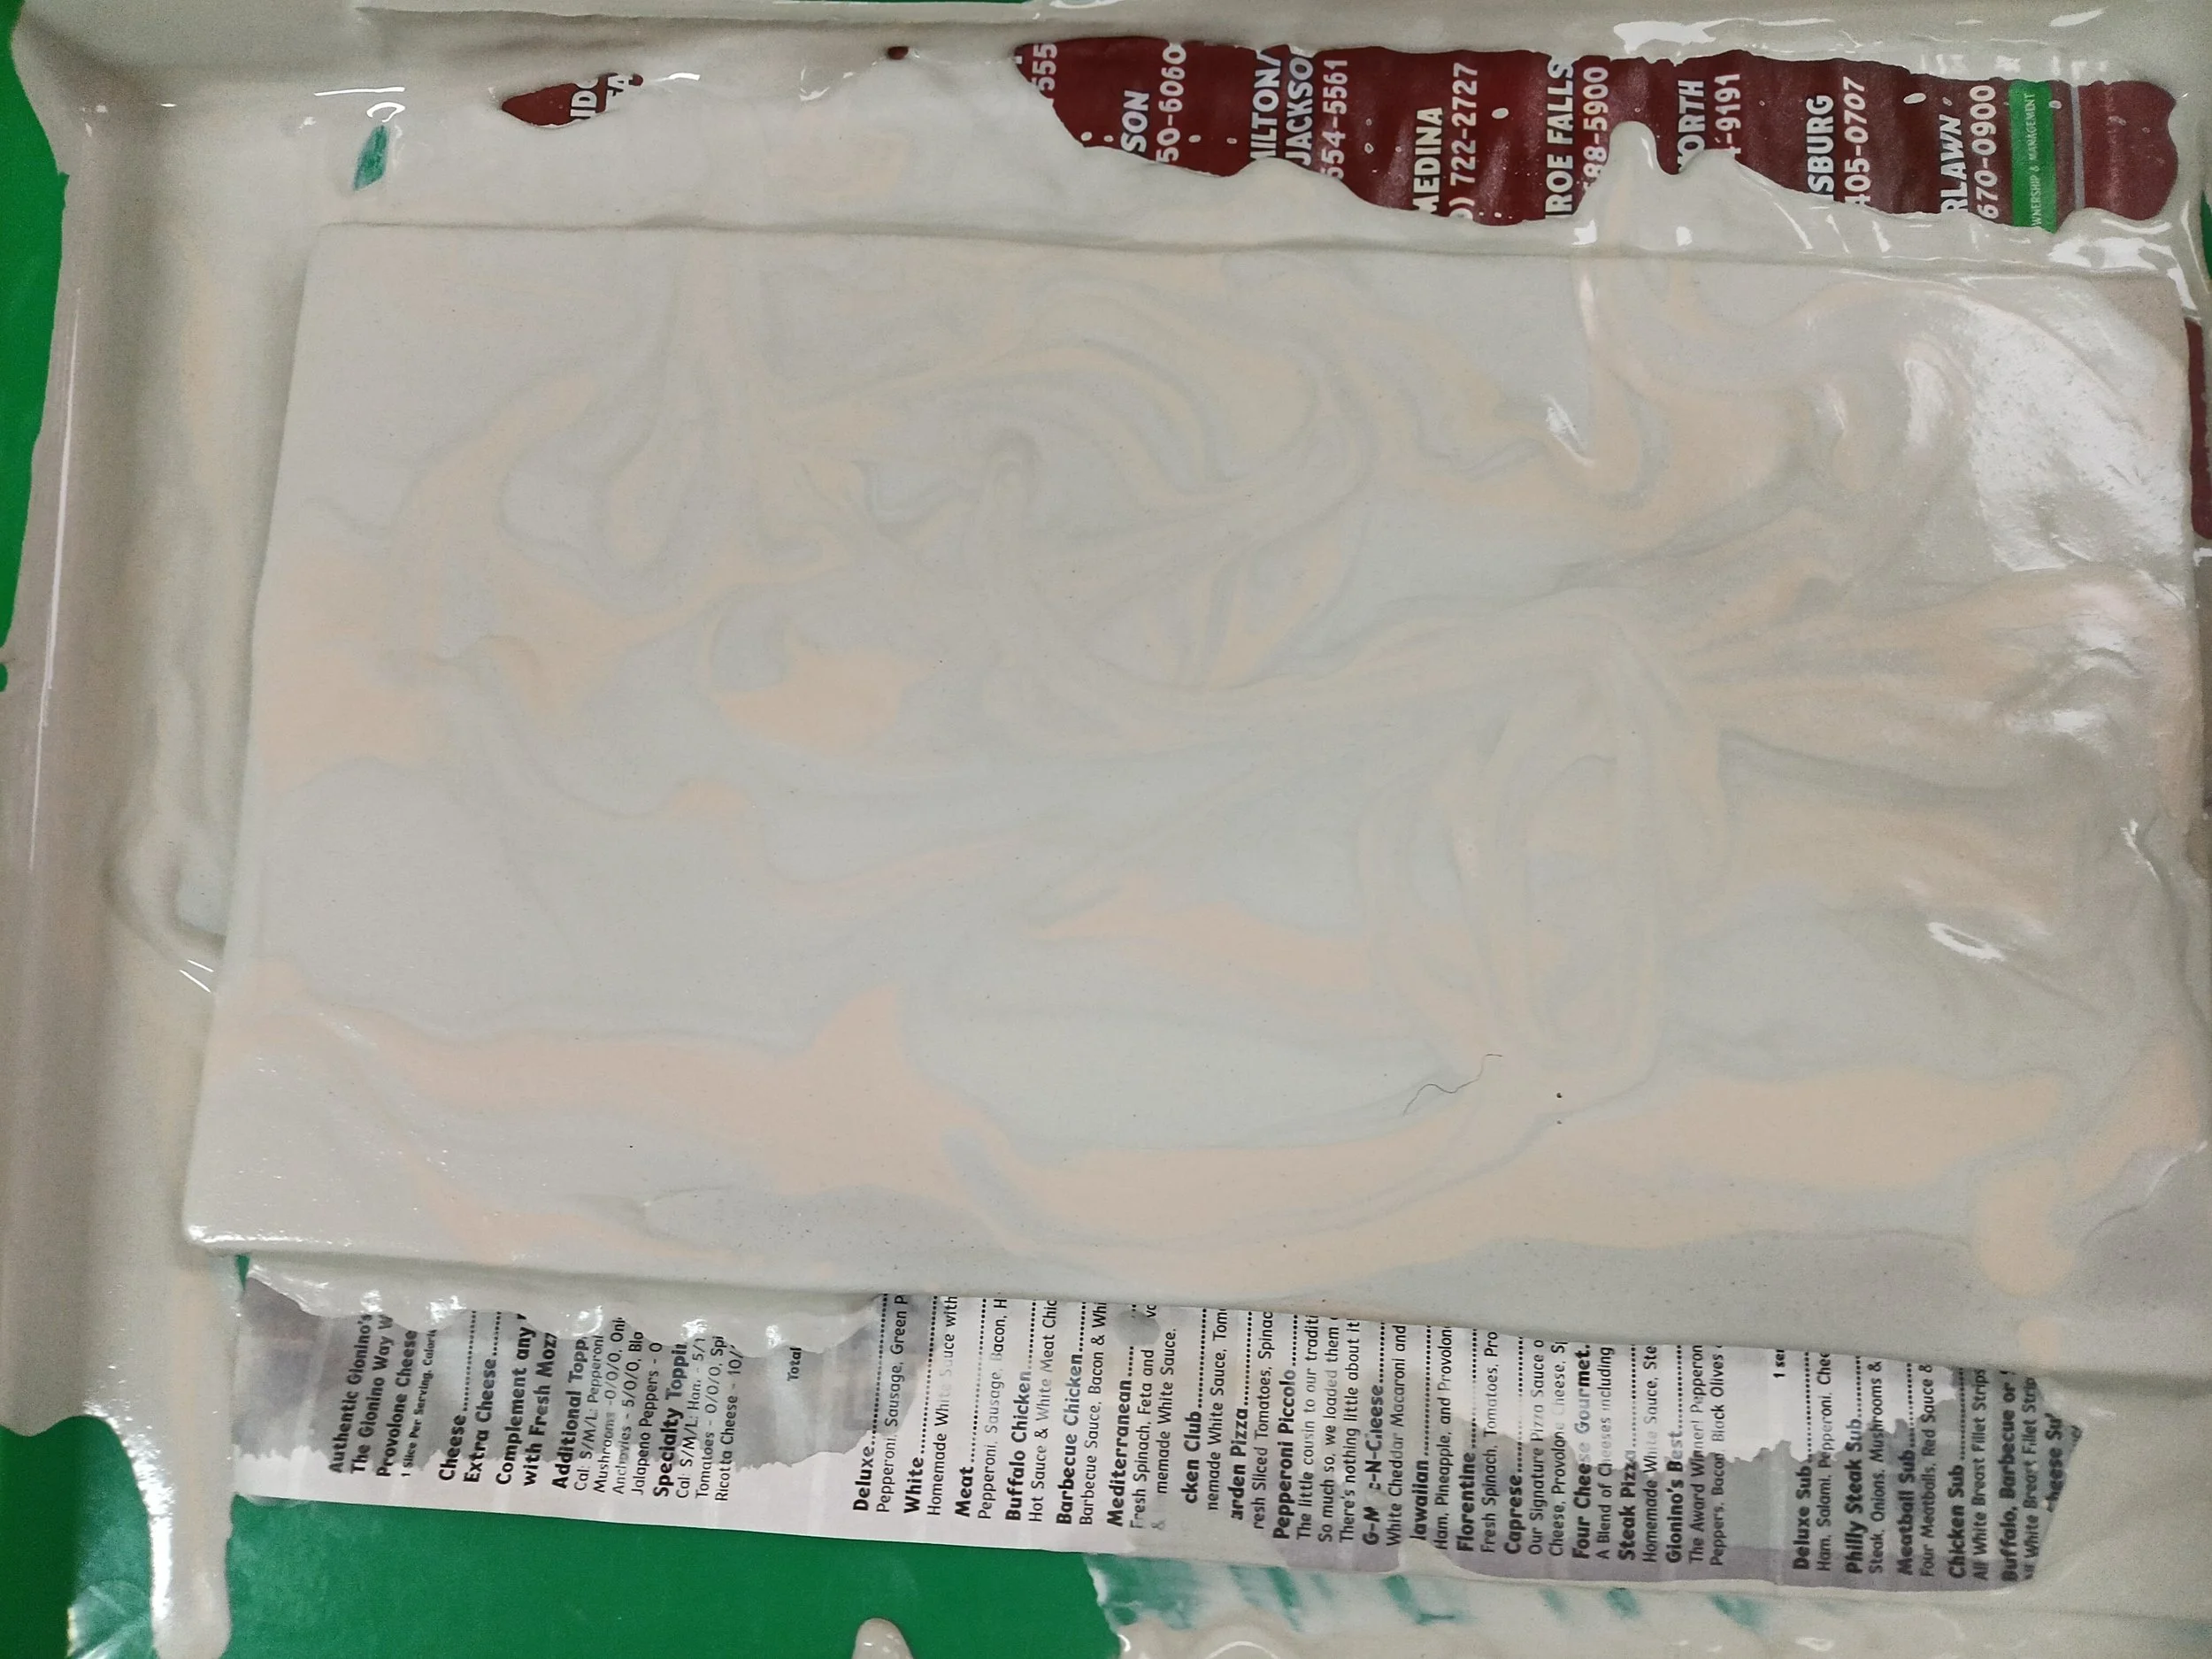
hard leather hard slab
The slabs have to be left out to dry a bit before covering.
Day 3, FEBRUARY 5, 2026
On day 3 of the process, I began to cut out and carve the arch on the bars. The slab was covered with one piece of plastic on the tray and were the perfect dryness for cutting.
Step 1: Cutting (cutting out 5 bars took about 30 minutes).
First, use a ruler and trace out where the bars are to be cut. I made each bar about 2 inches wide, except for the outer ones on the slab which are a bit shorter.
NOTE: Making a sort of cookie cutter would make this go much faster. You can use a wood board to aid in pushing the cookie cutter down onto the slab.

Next, go slowly with a knife, cutting straight down. I found it helpful to hold the ruler in place while doing this.
NOTE: Keep the scraps for possibly making parts of a windchime!
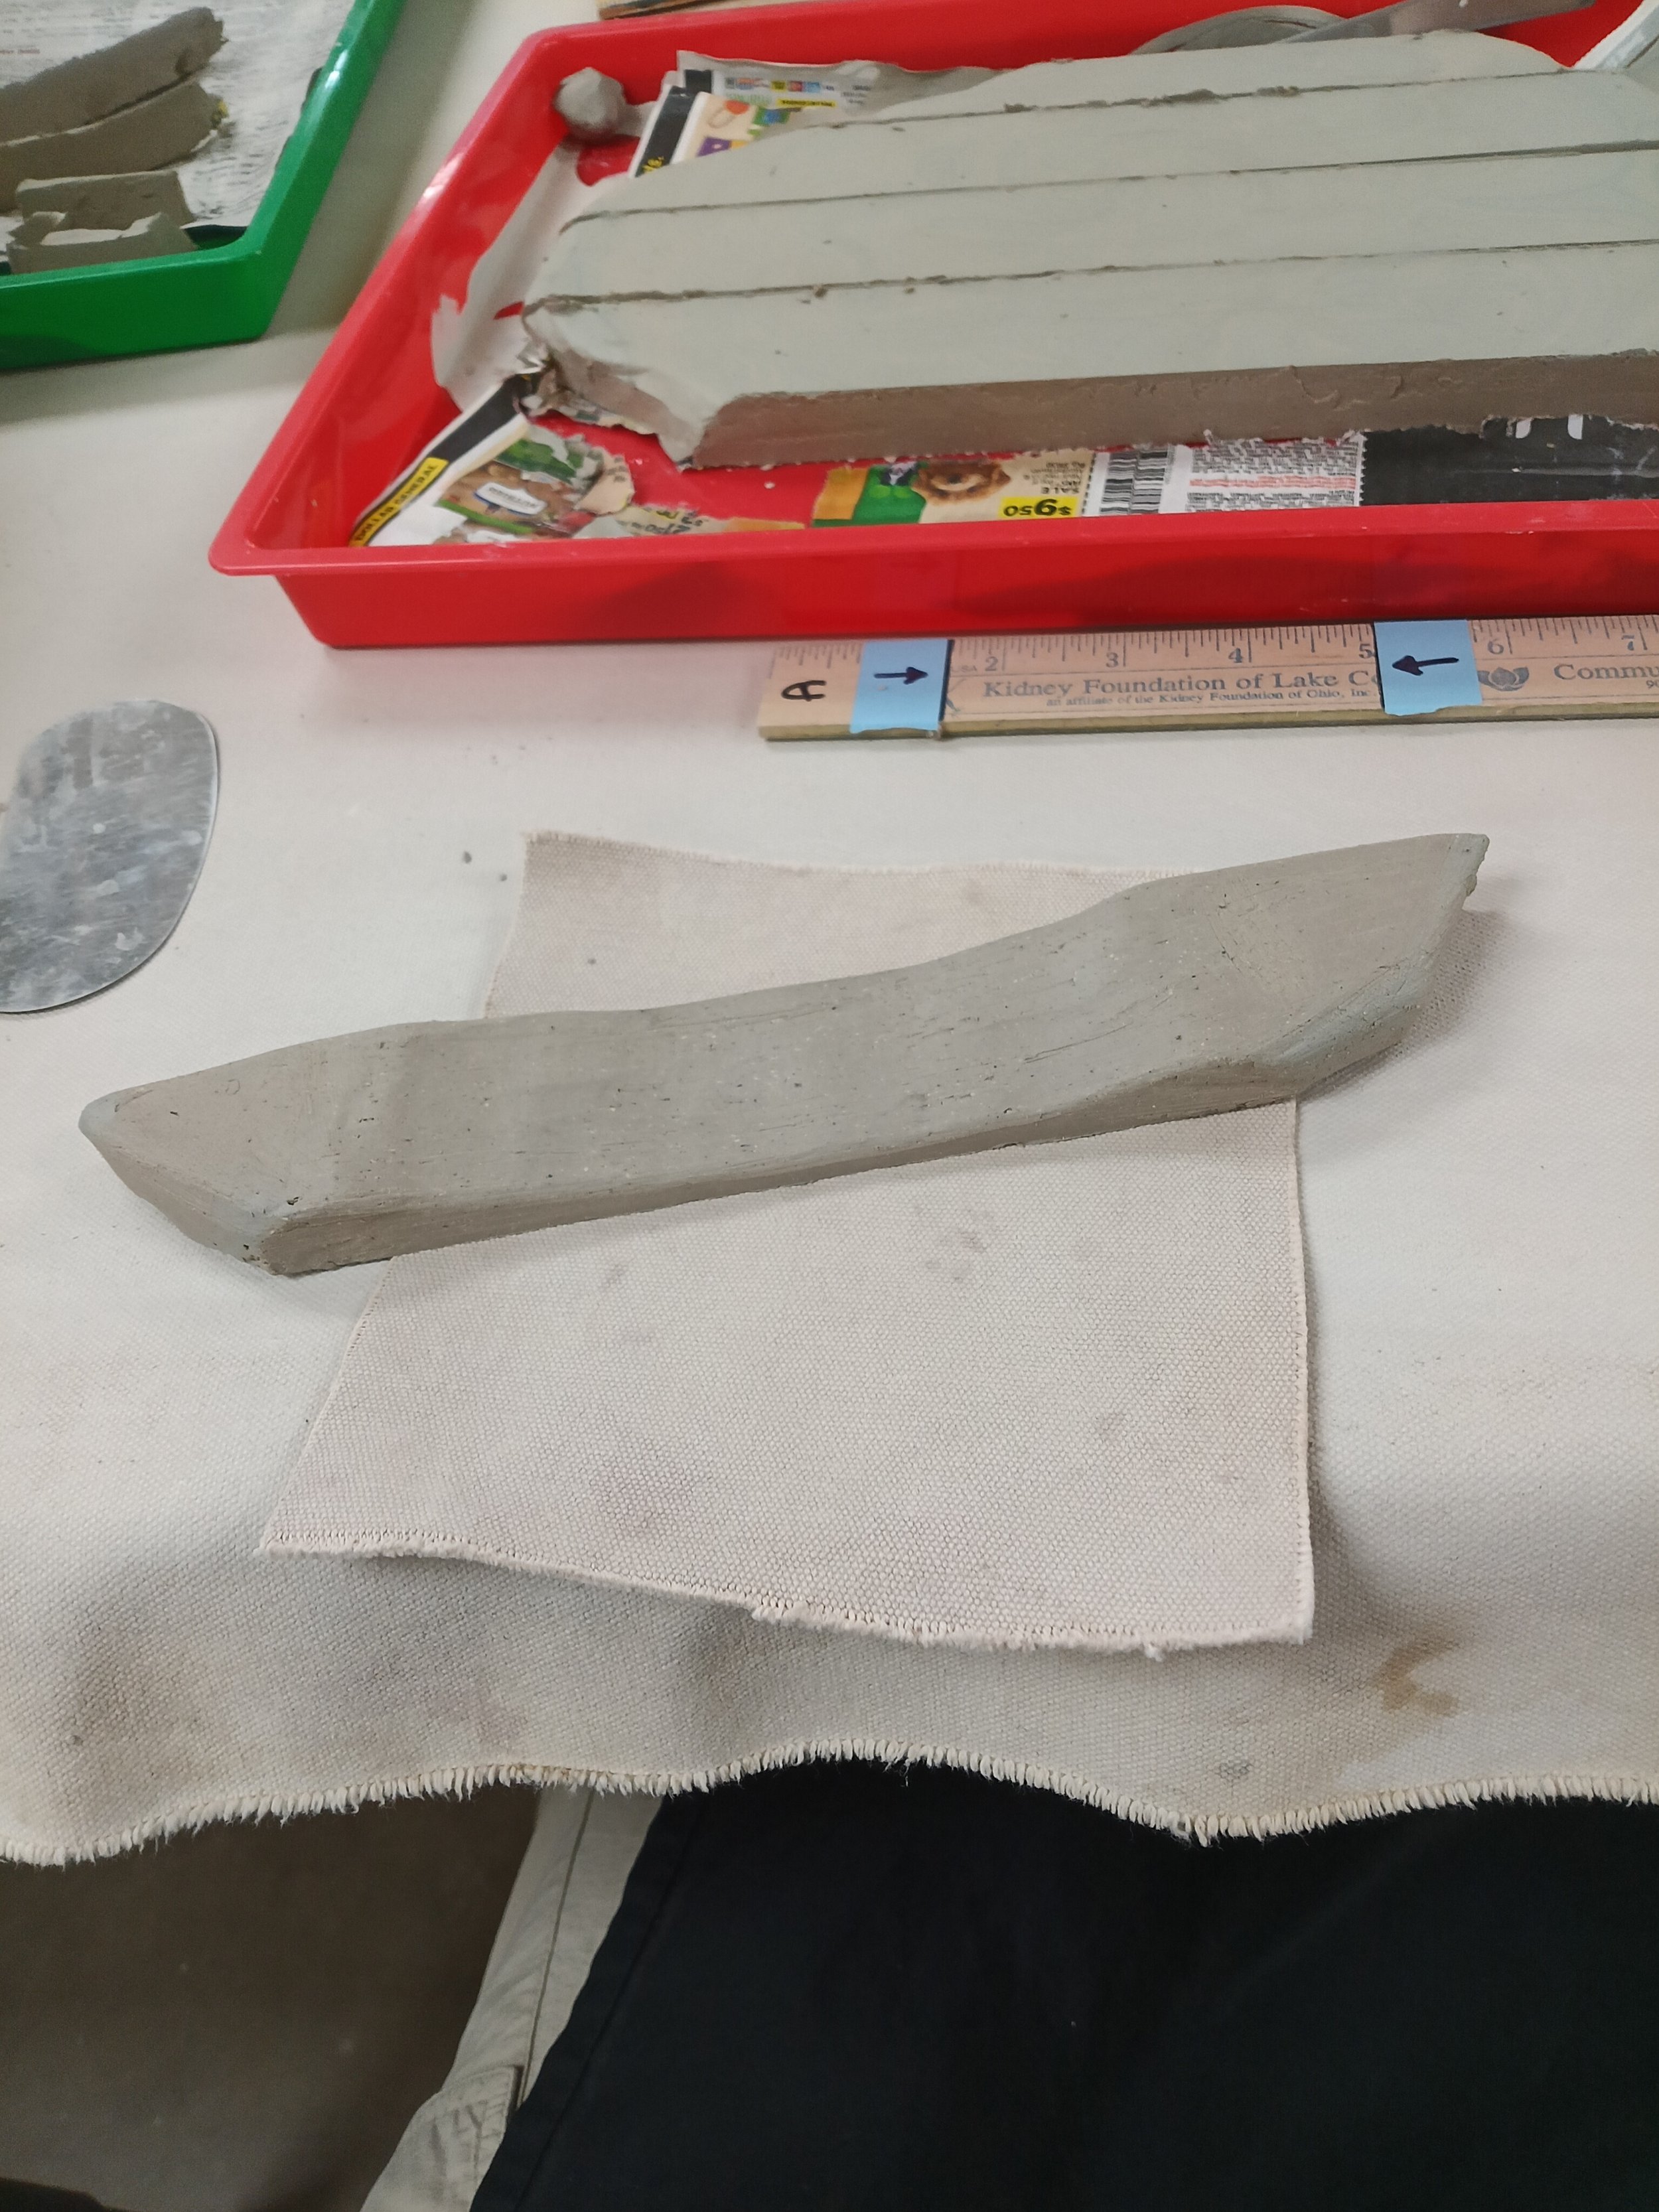
Next carefully remove the bar from the tray onto the canvas. Do not pick up by the two ends. Flip it on the edge and then try to distribute your fingers/hands underneath it. Place in on a little piece of canvas so you can slide it around without picking it up if you need. It may even be best to put it directly on the board it will be drying on to avoid moving it too much and breaking the bar by picking it up once it is carve.
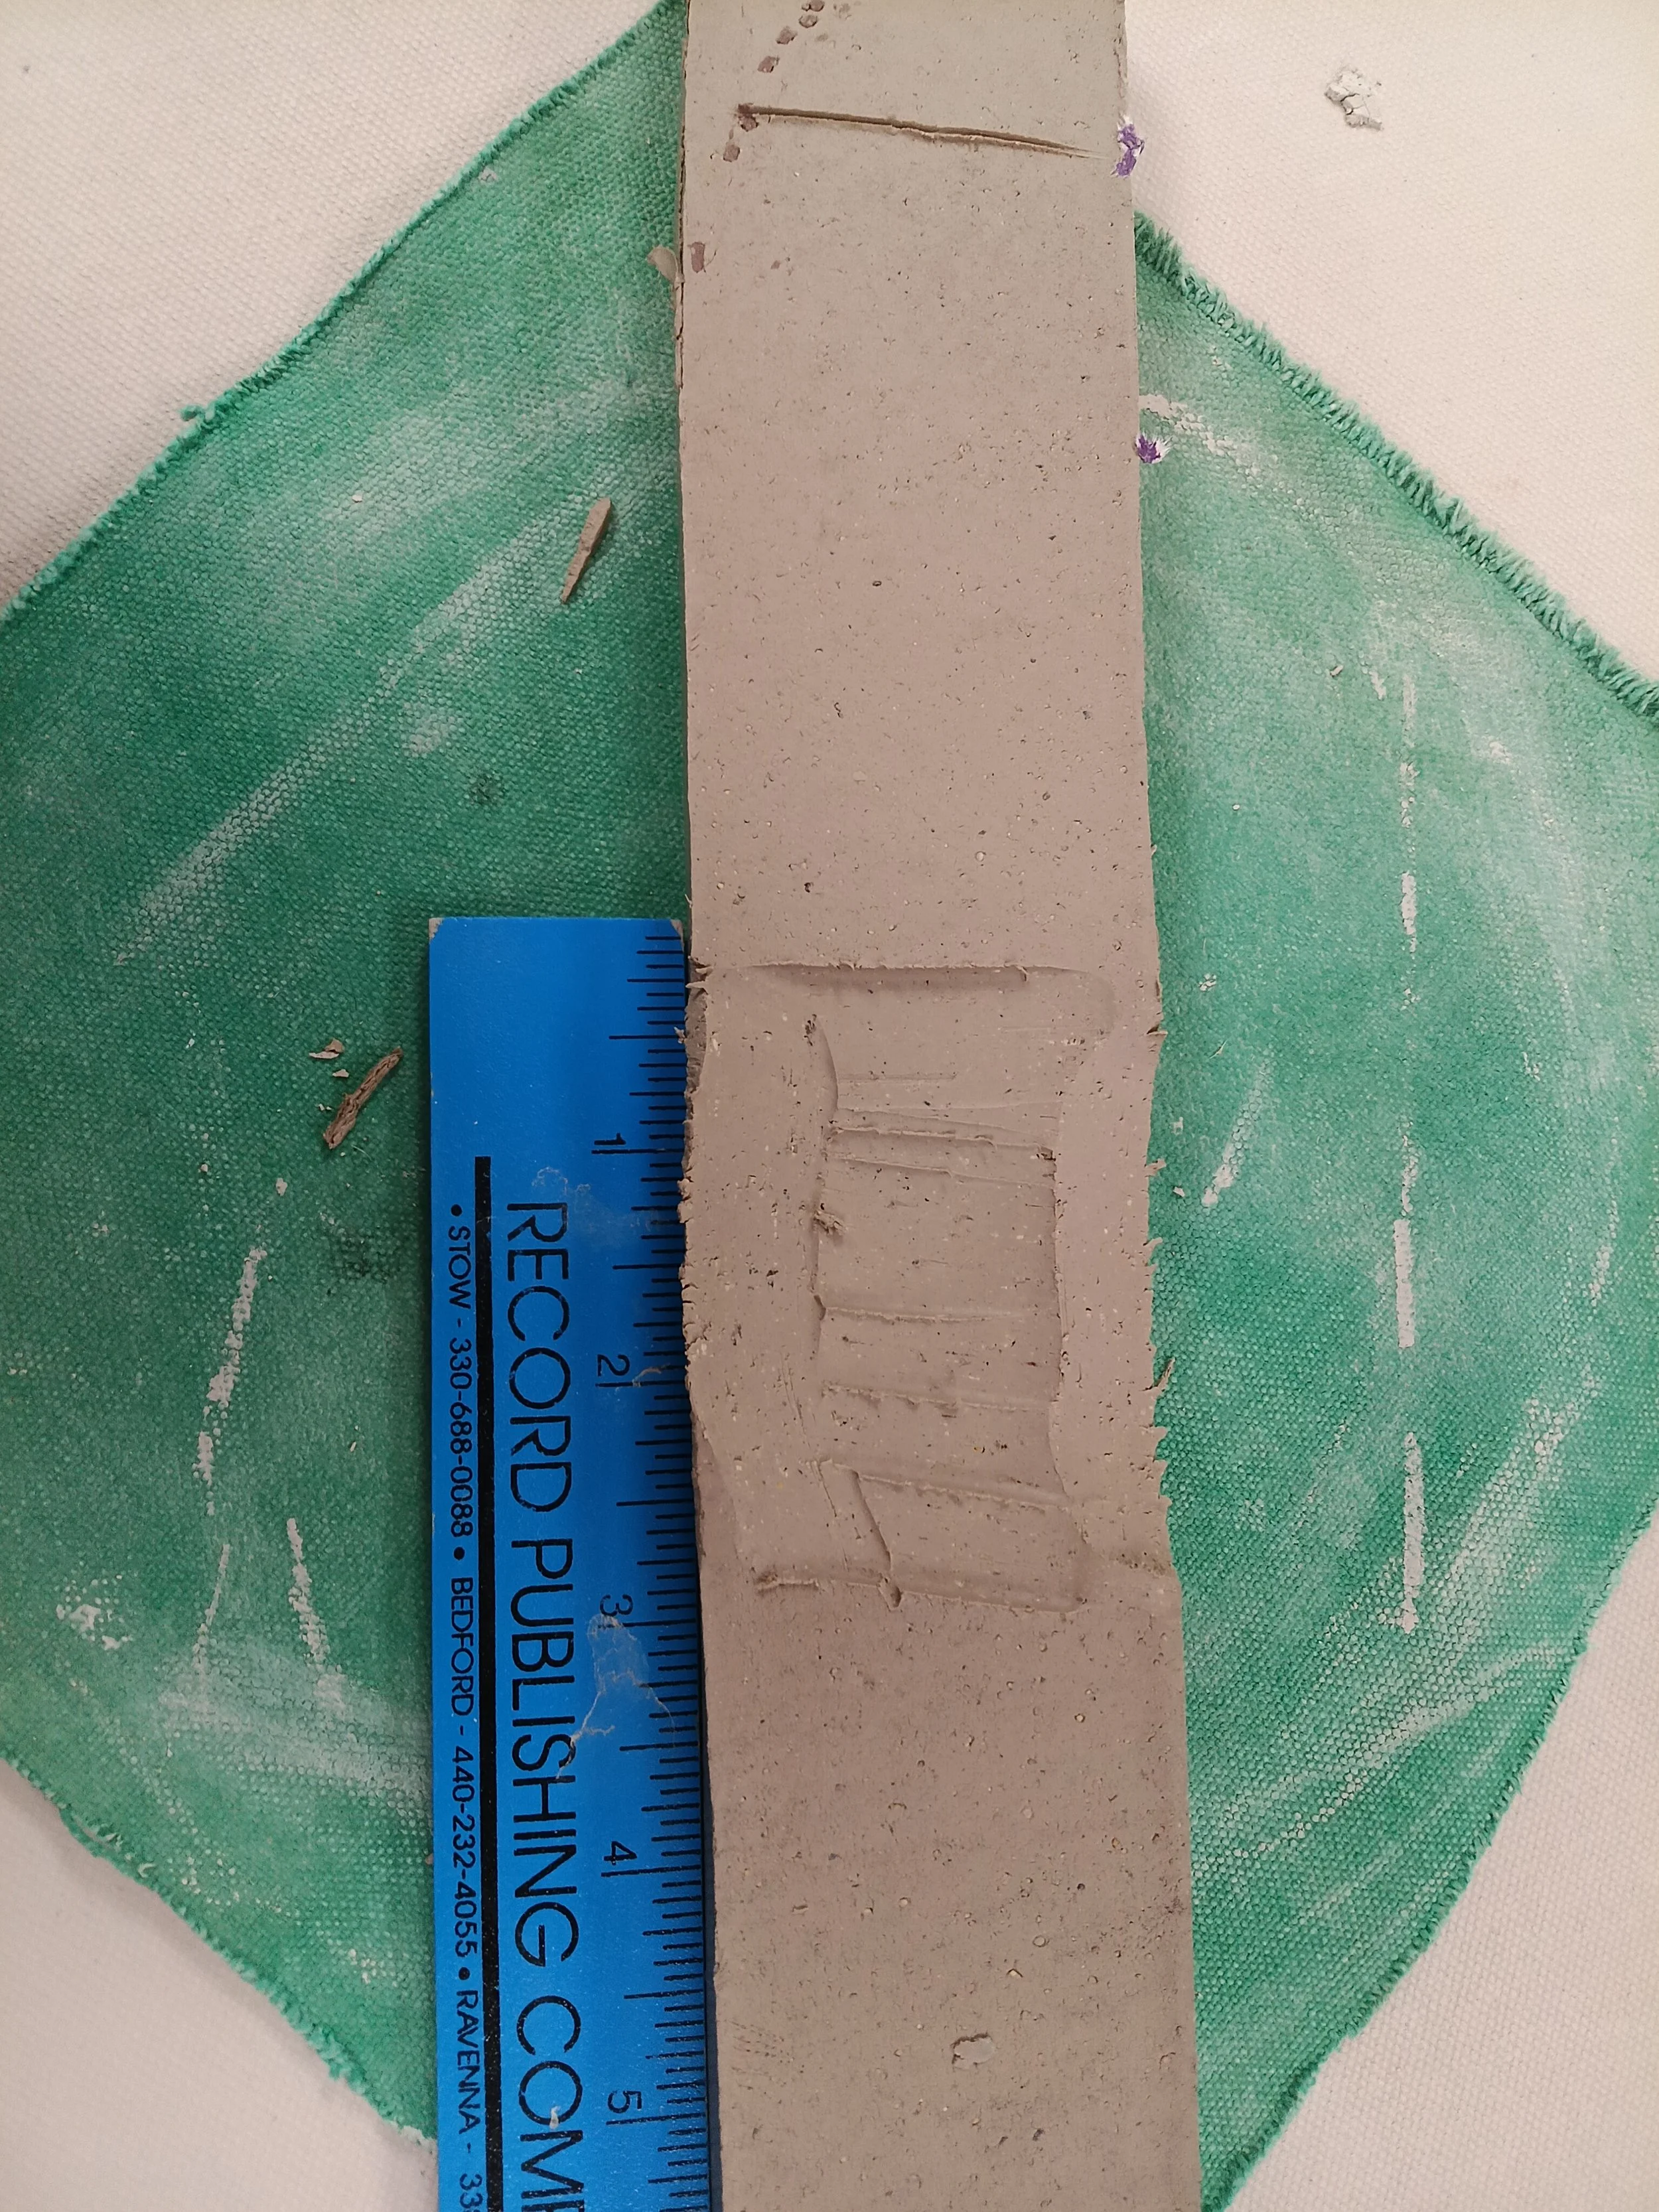
Step 2: Carving the arch (Each bar took me about 10-15 minutes to carve.)
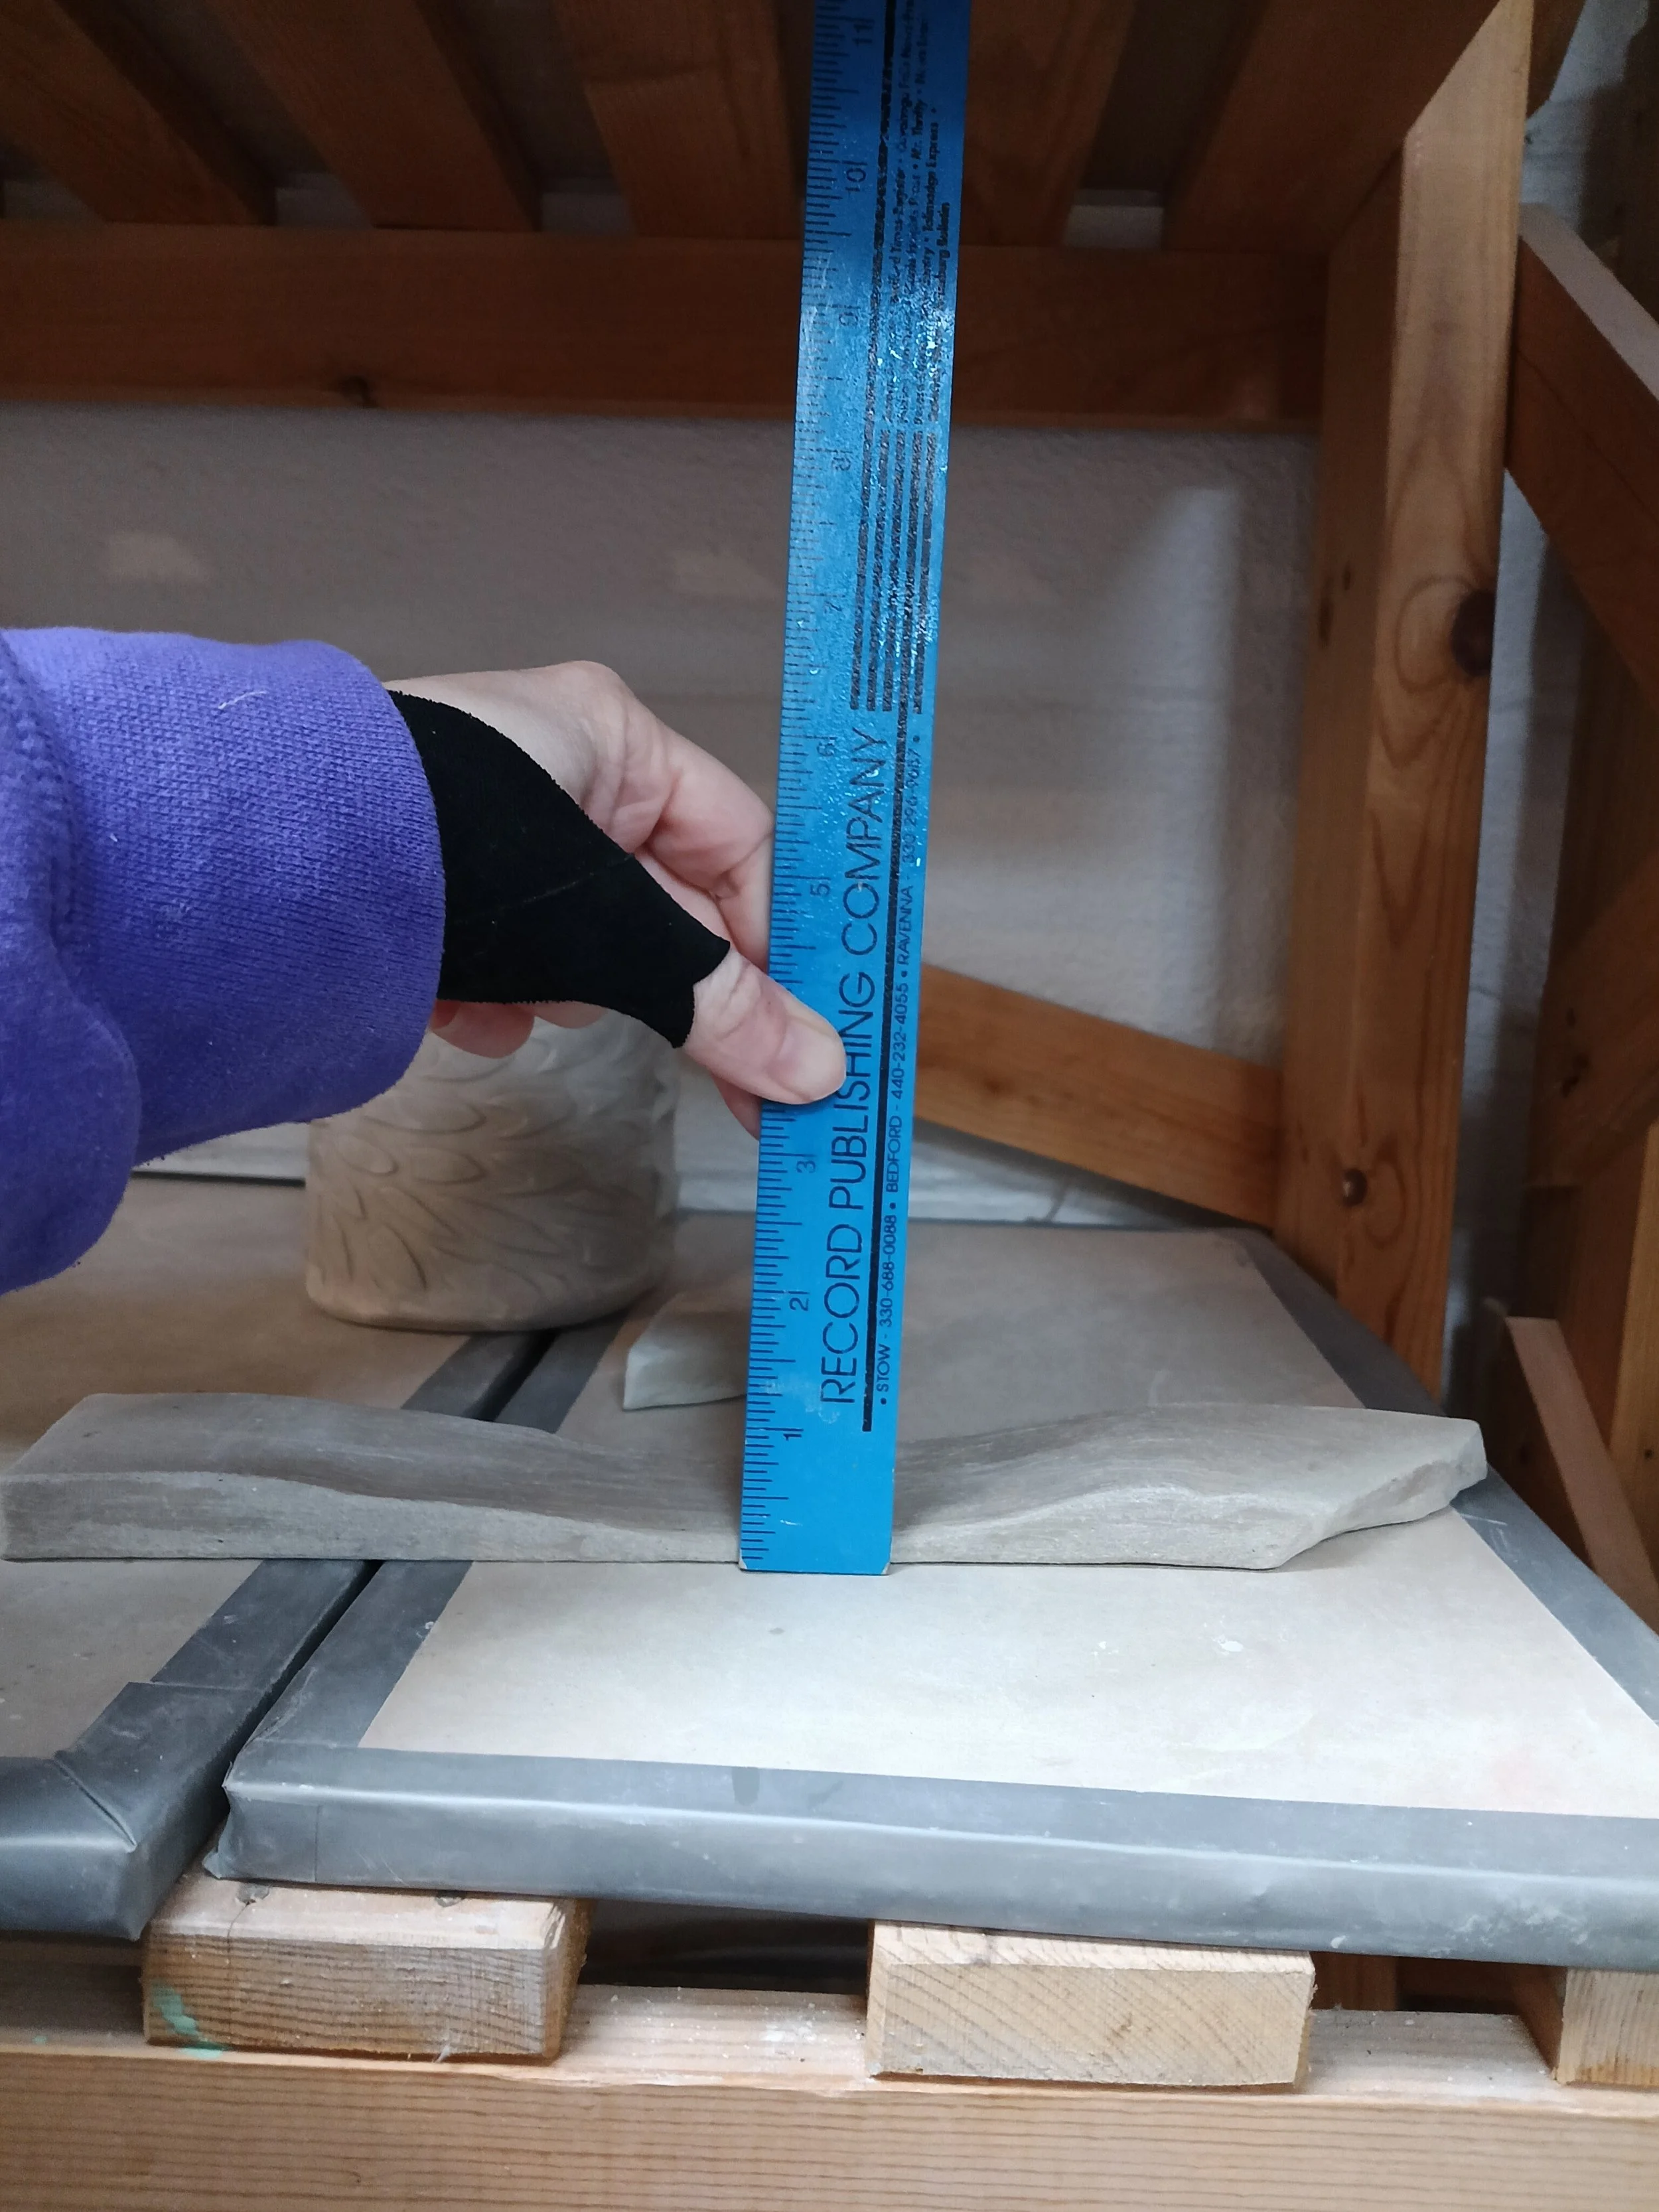
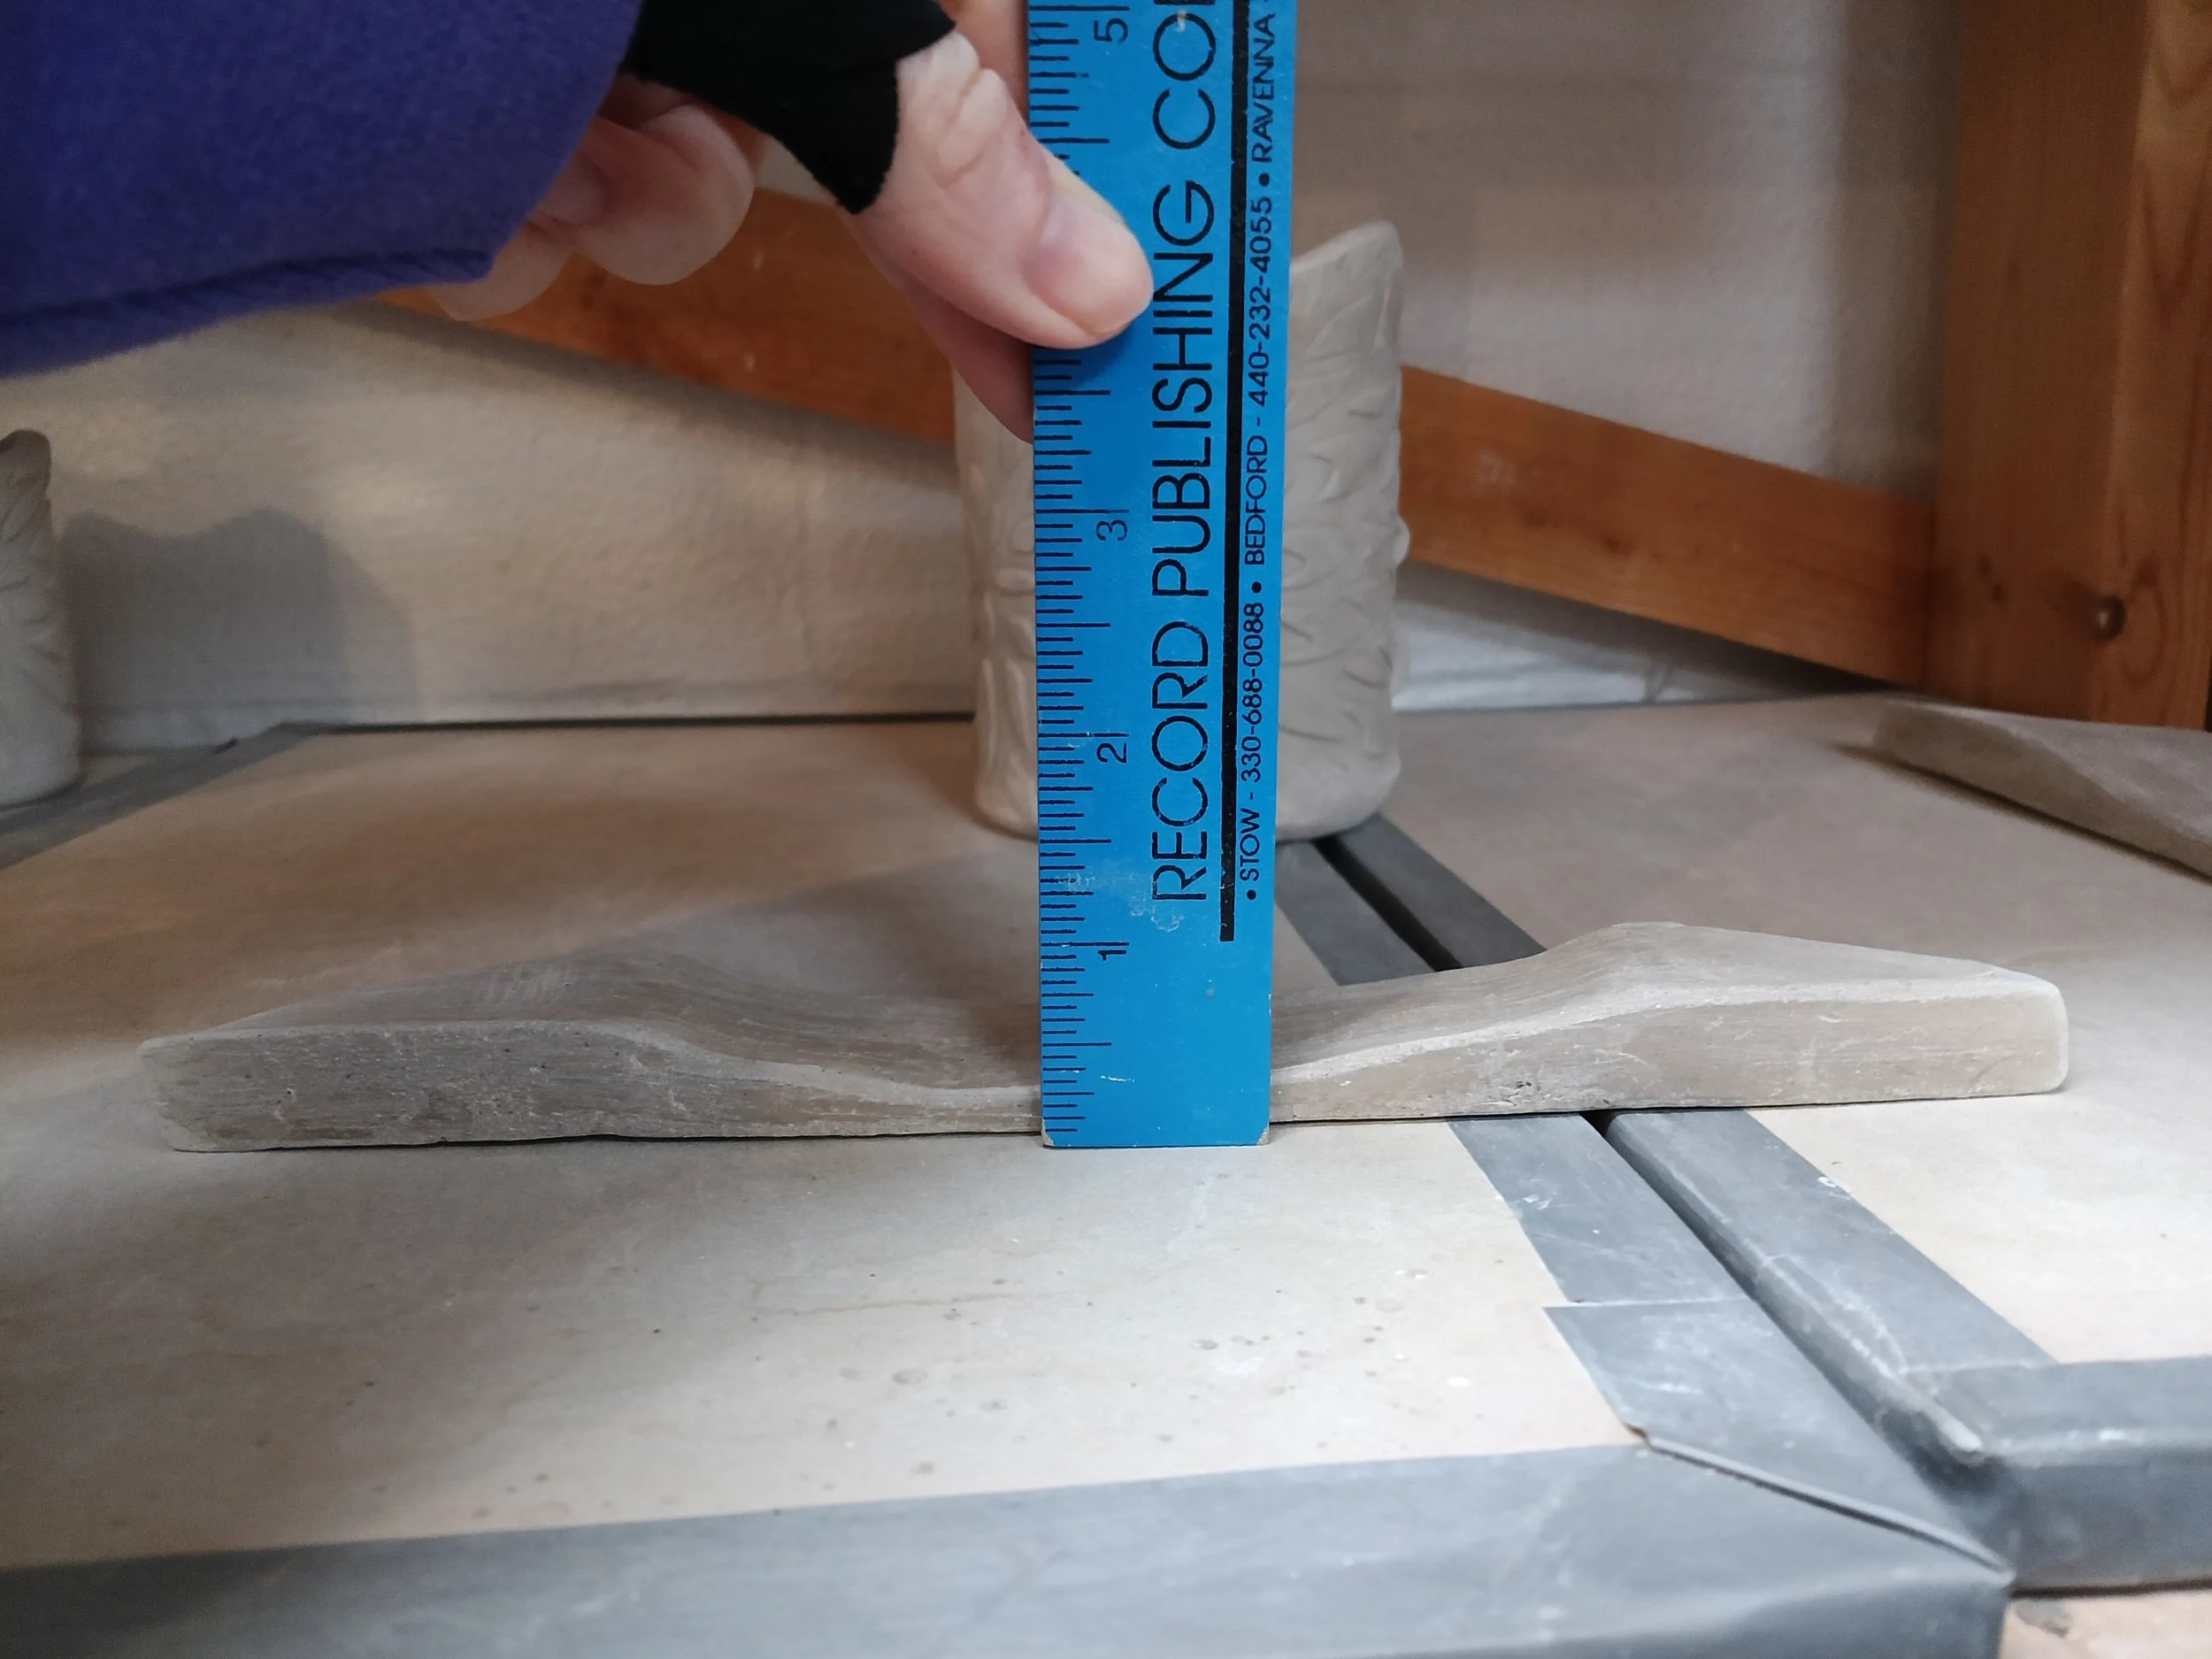
Next, measure the bar and make a mark in the center. Make two other marks approx. 1-2 inches from the end.
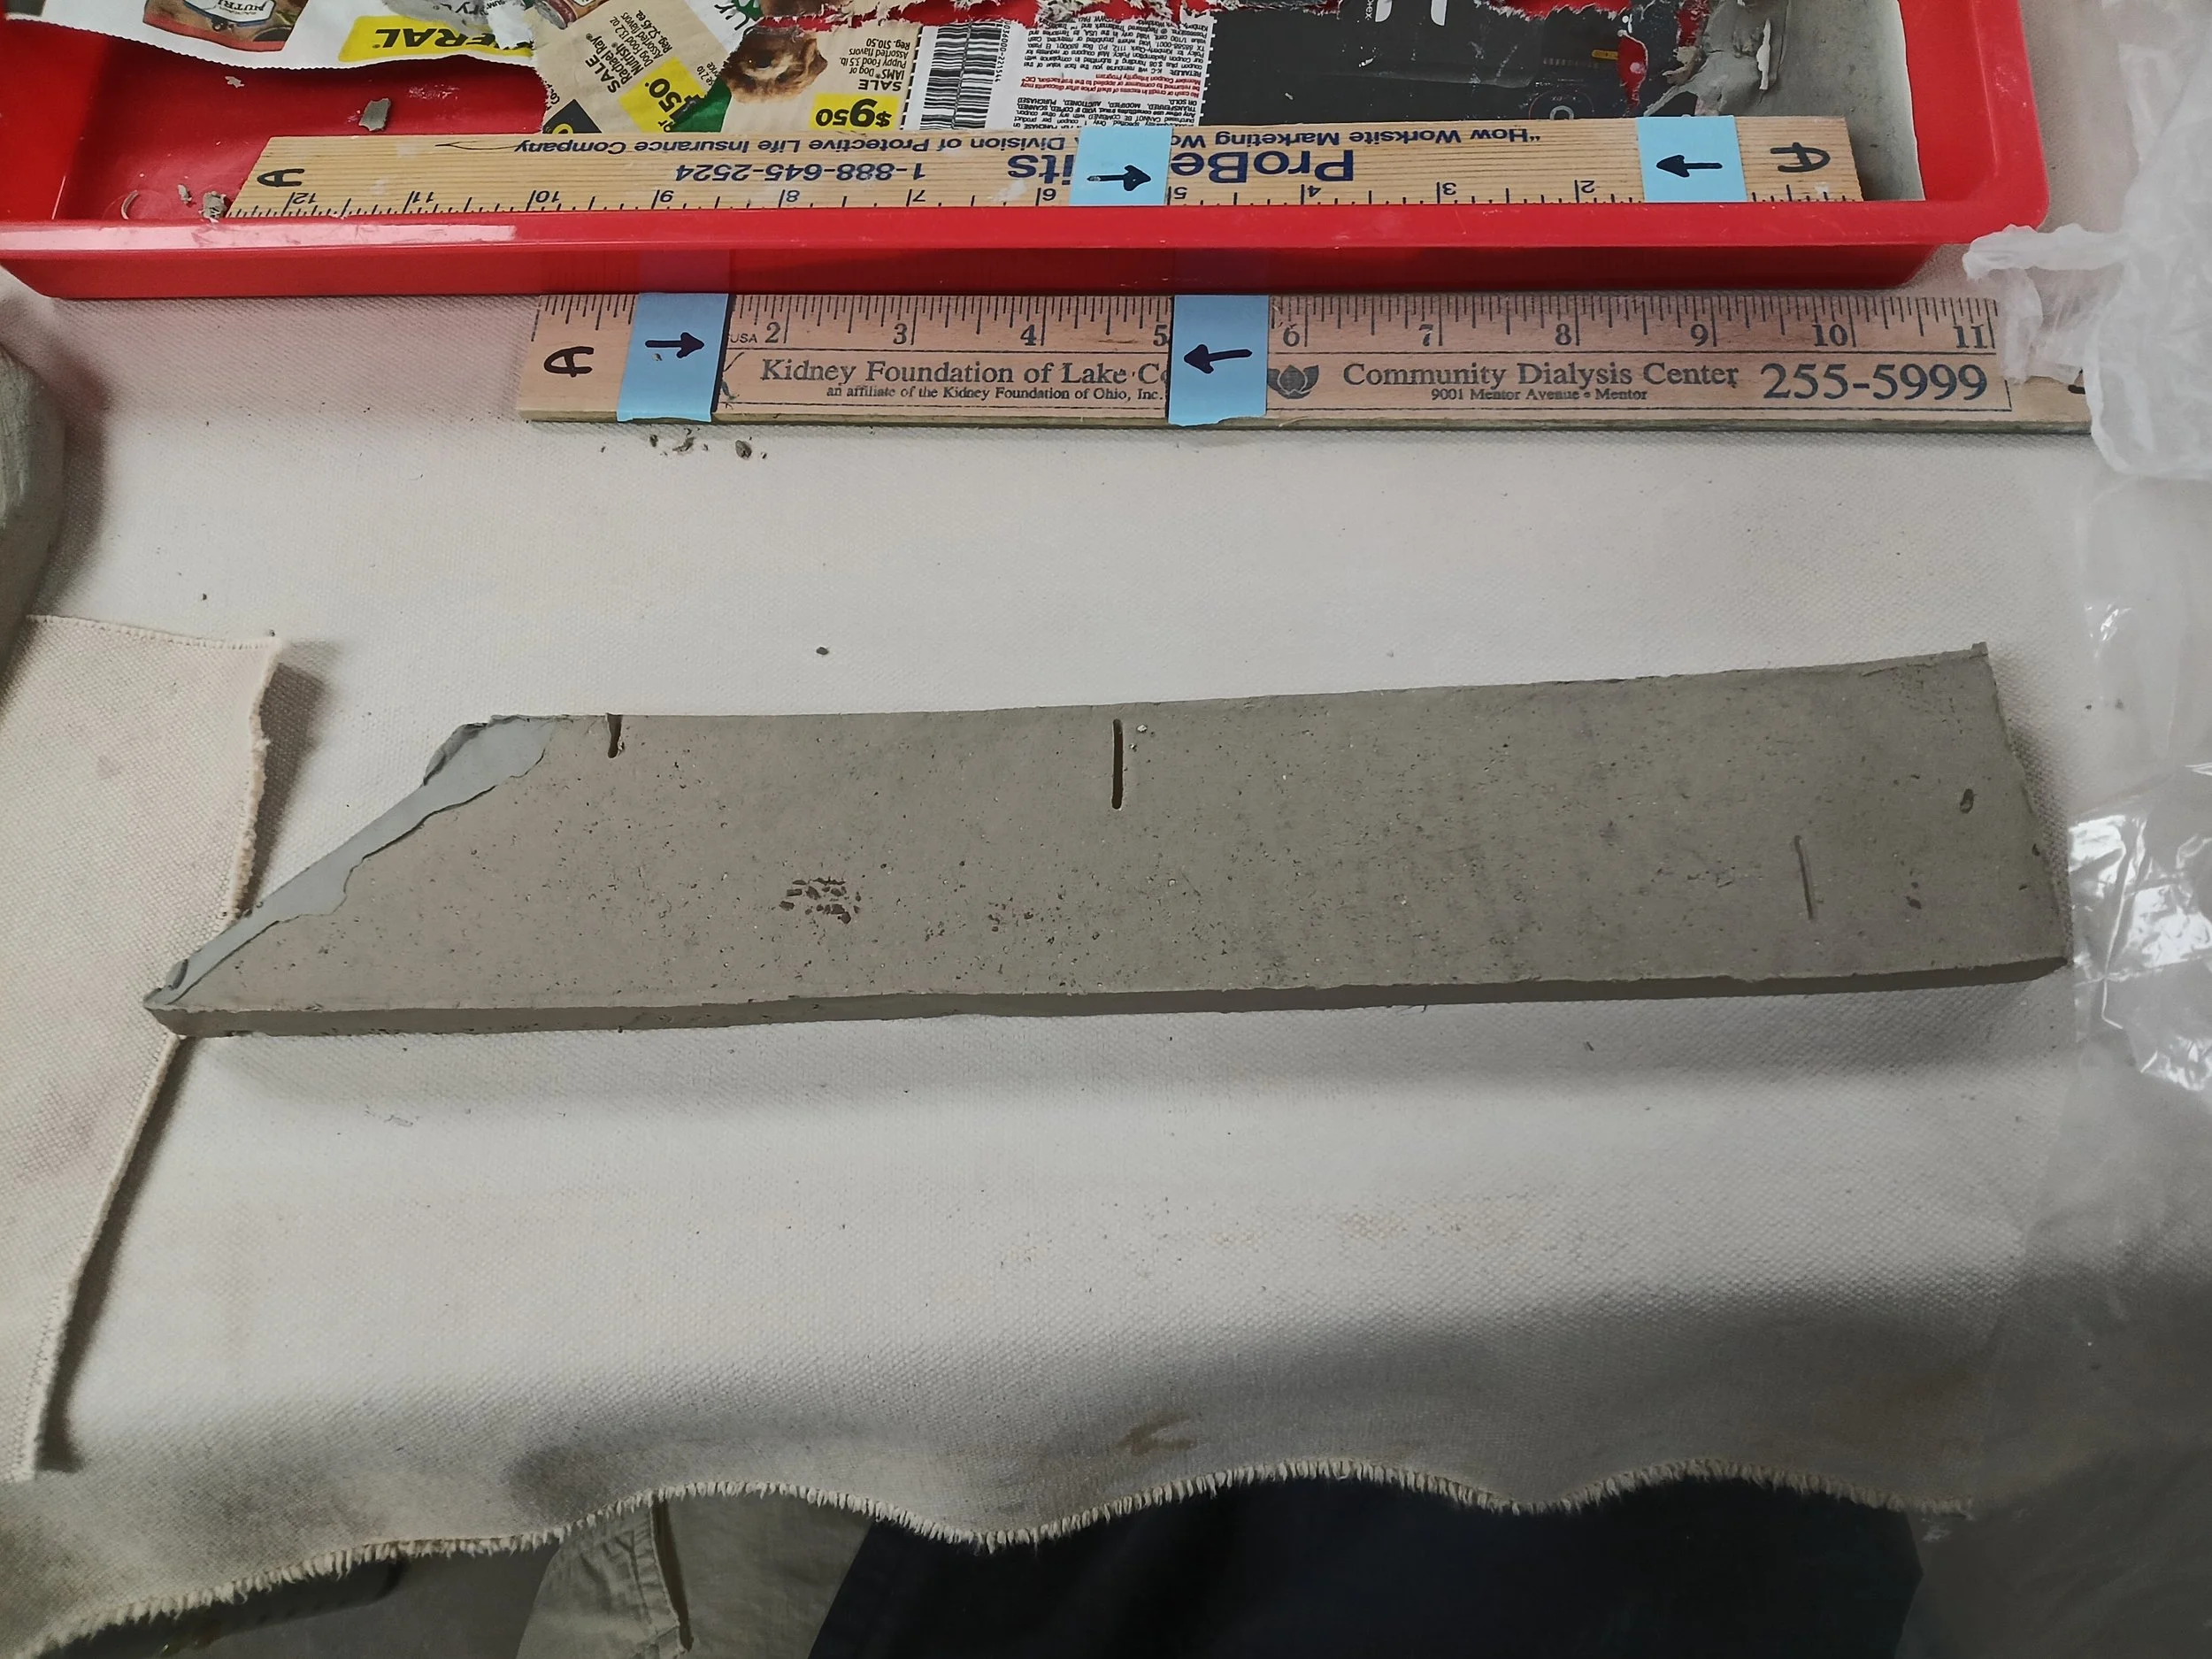
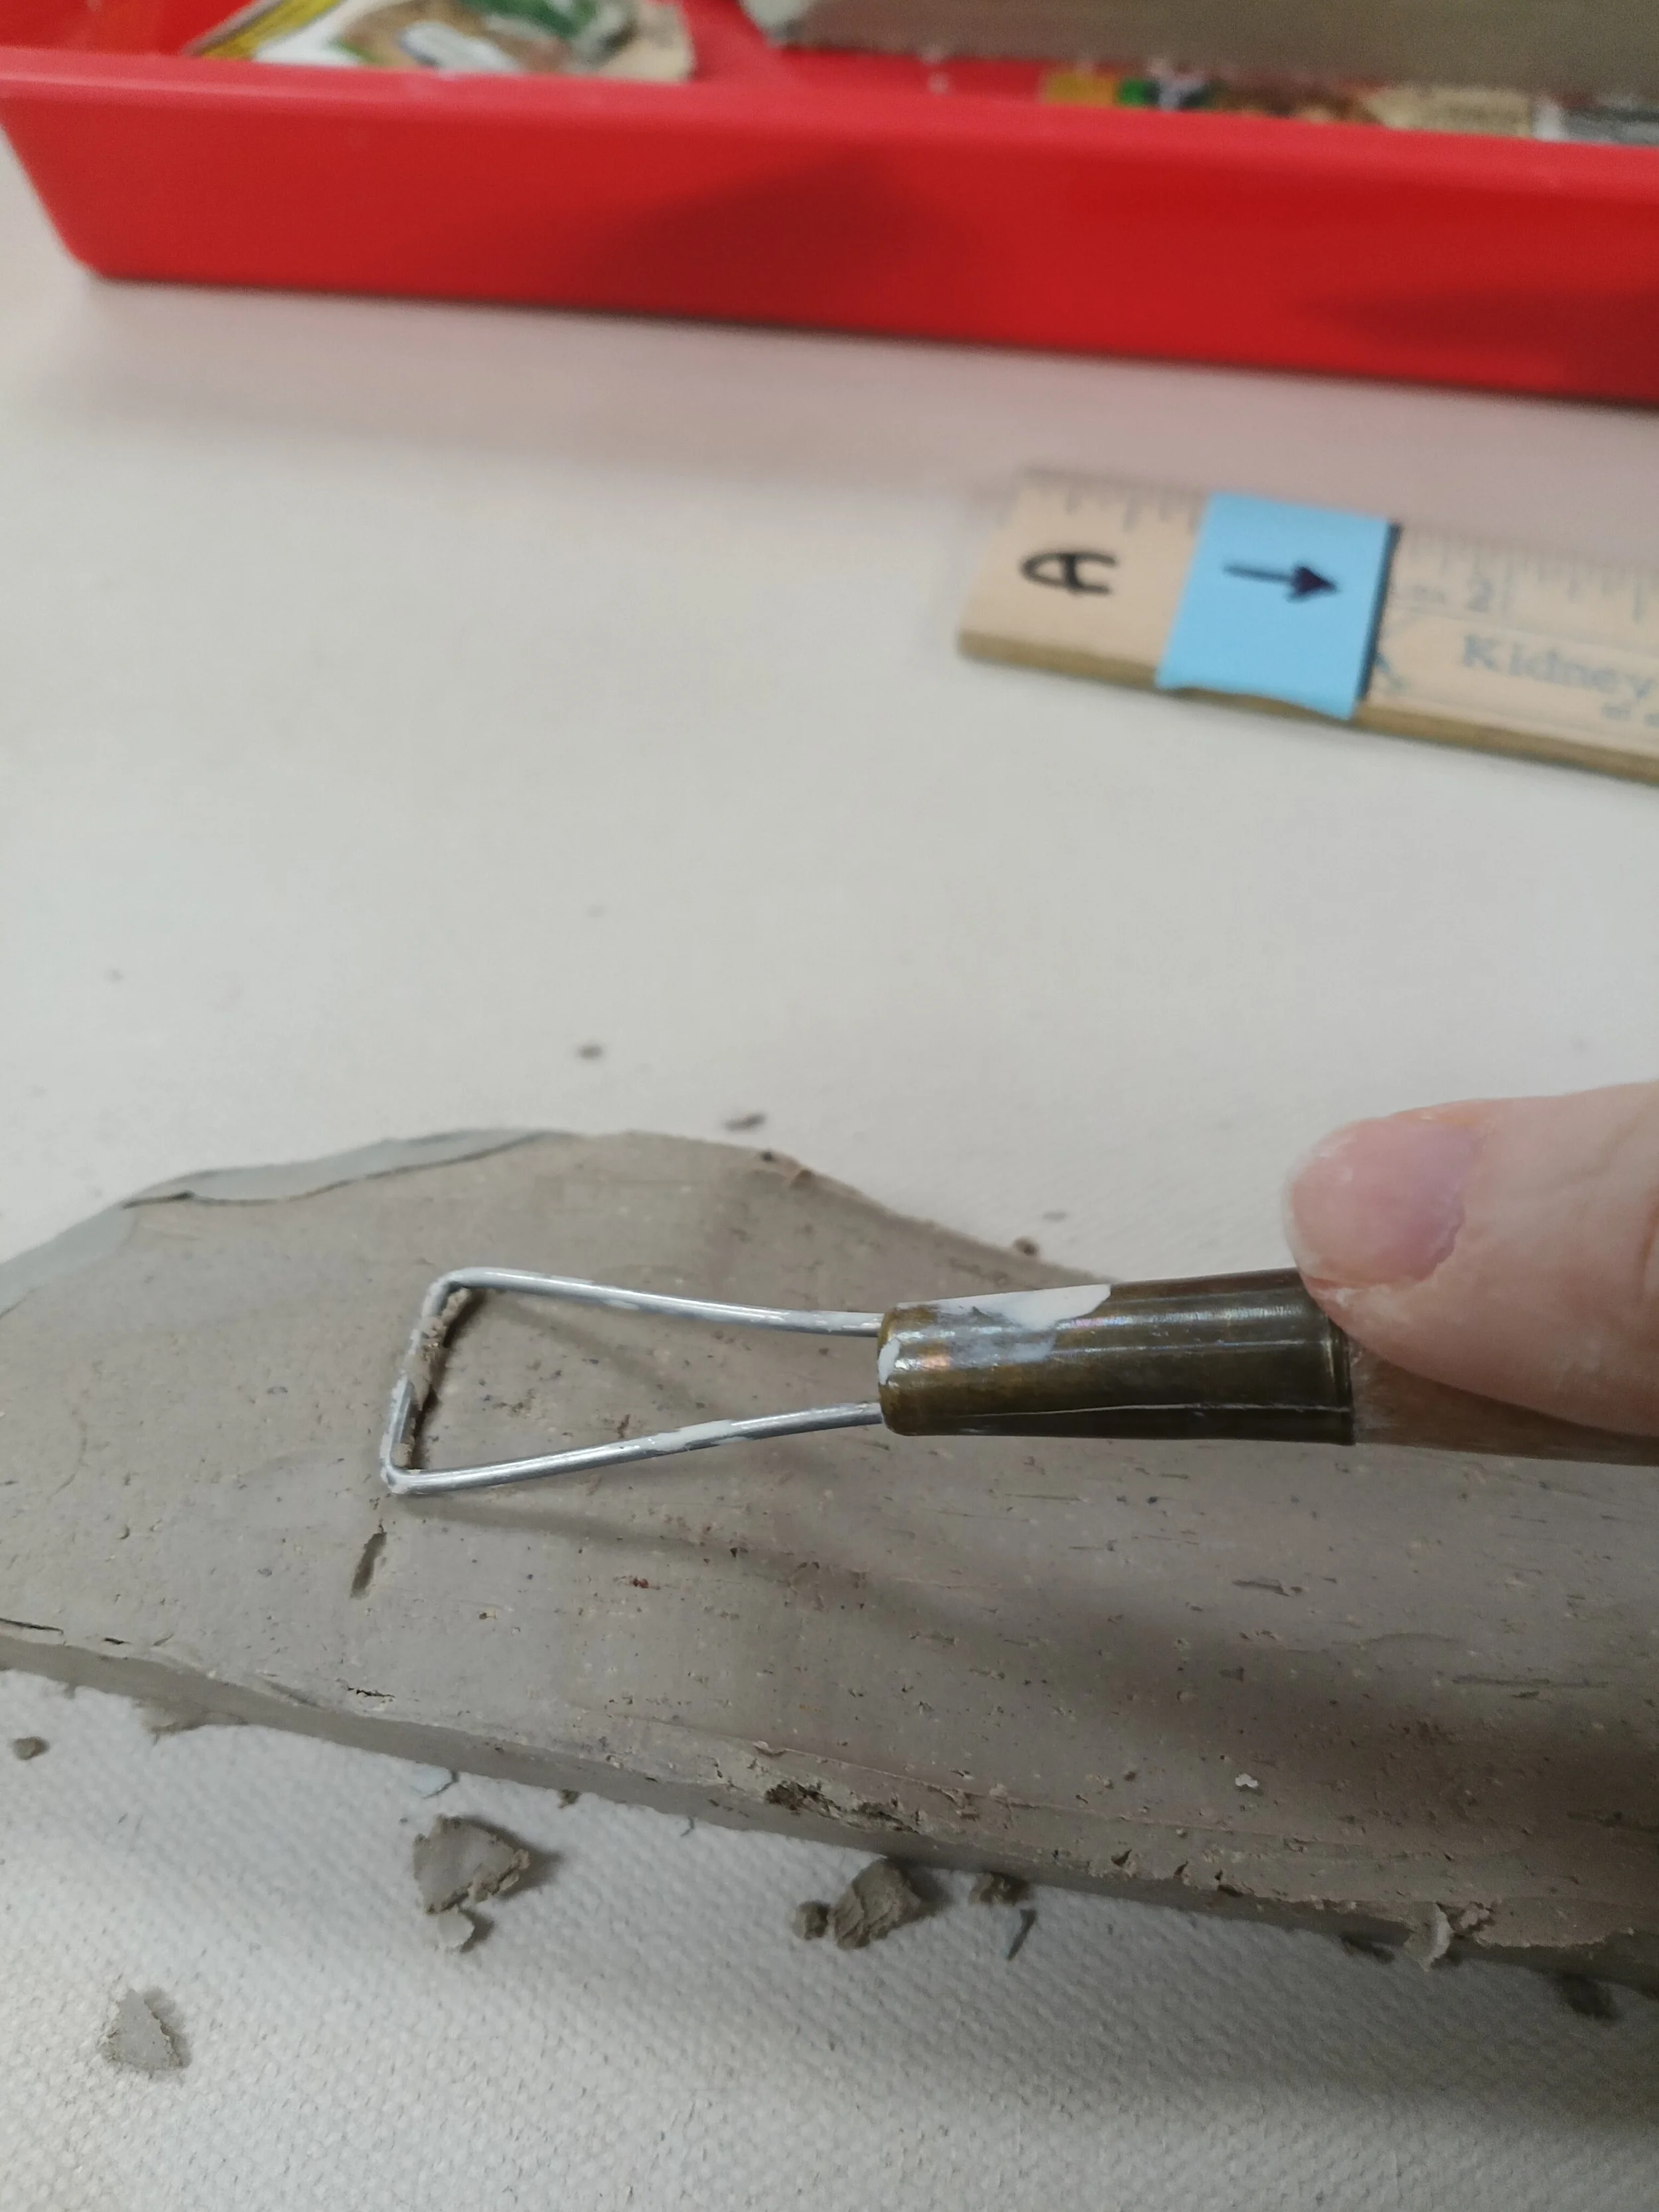
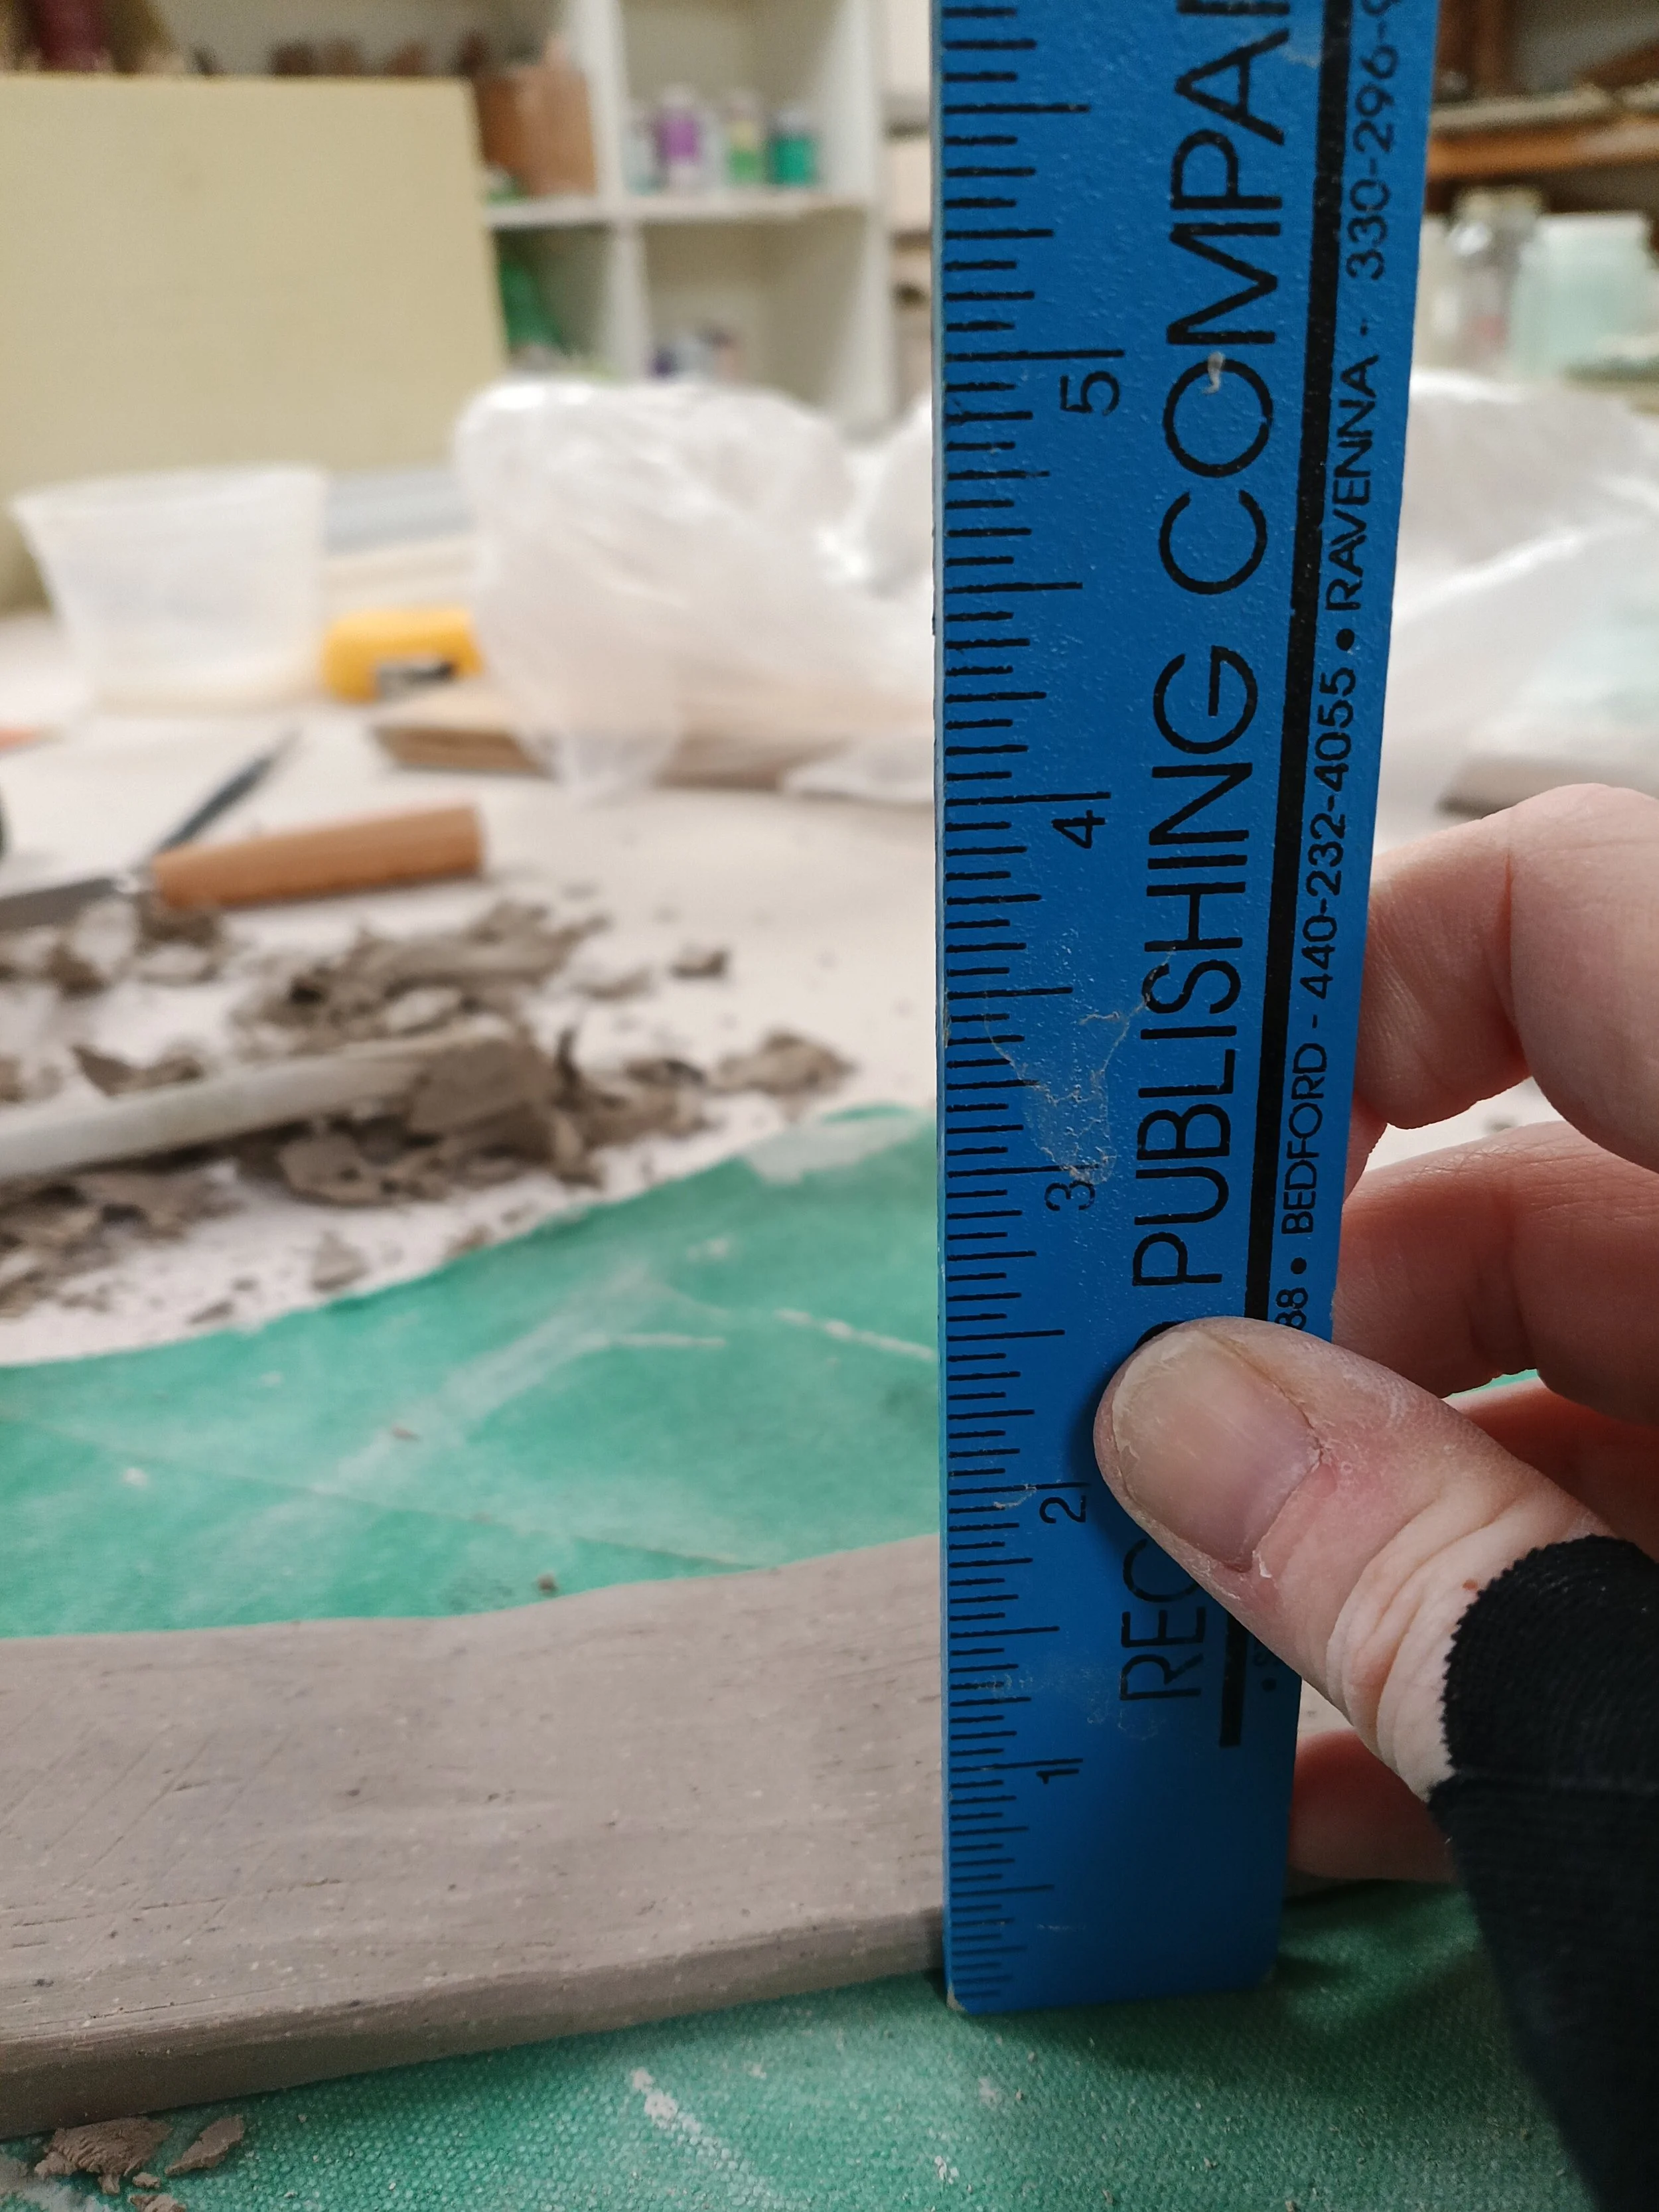
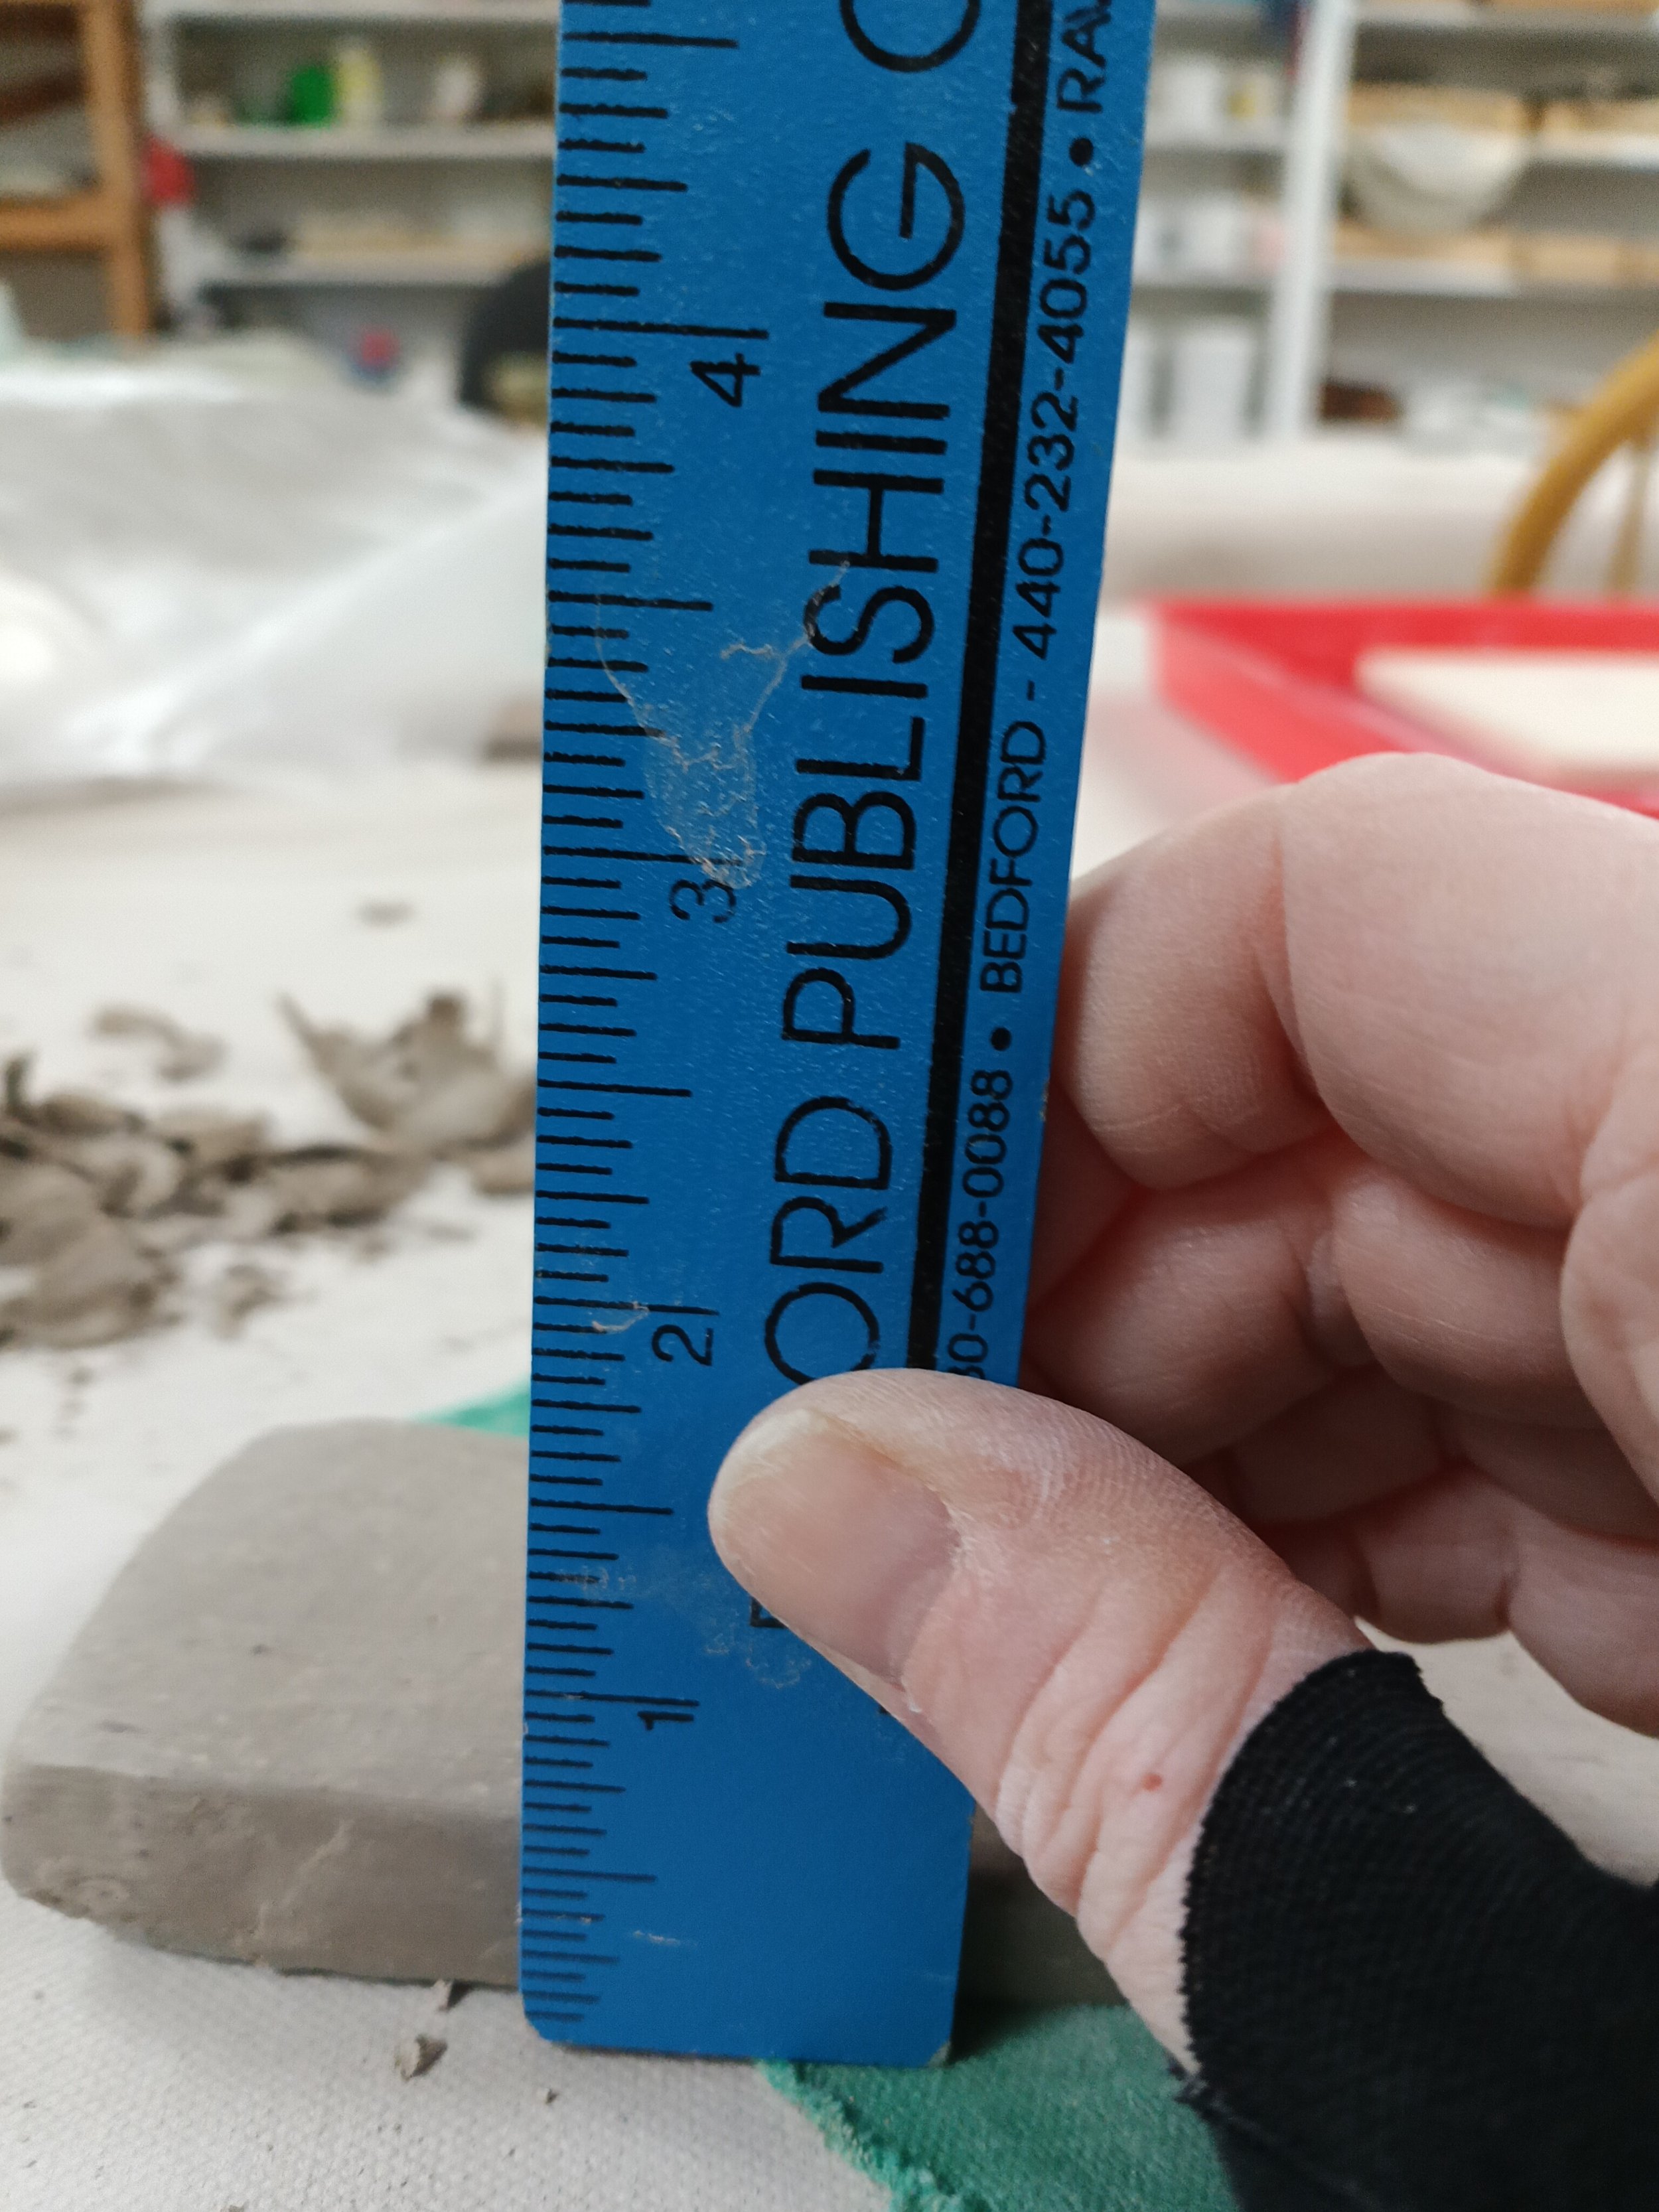
Then, slowly and carefully, start carving out the middle of the arch with a square carving tool, until it is just about where you want it, but not all the way (leave a little room for when you extend the arch out). The thicker the width of the bar in the arch, the higher the pitch will be, the thinner the thickness, the lower the pitch. Make sure not to carve too thin r the bar will risk breaking!
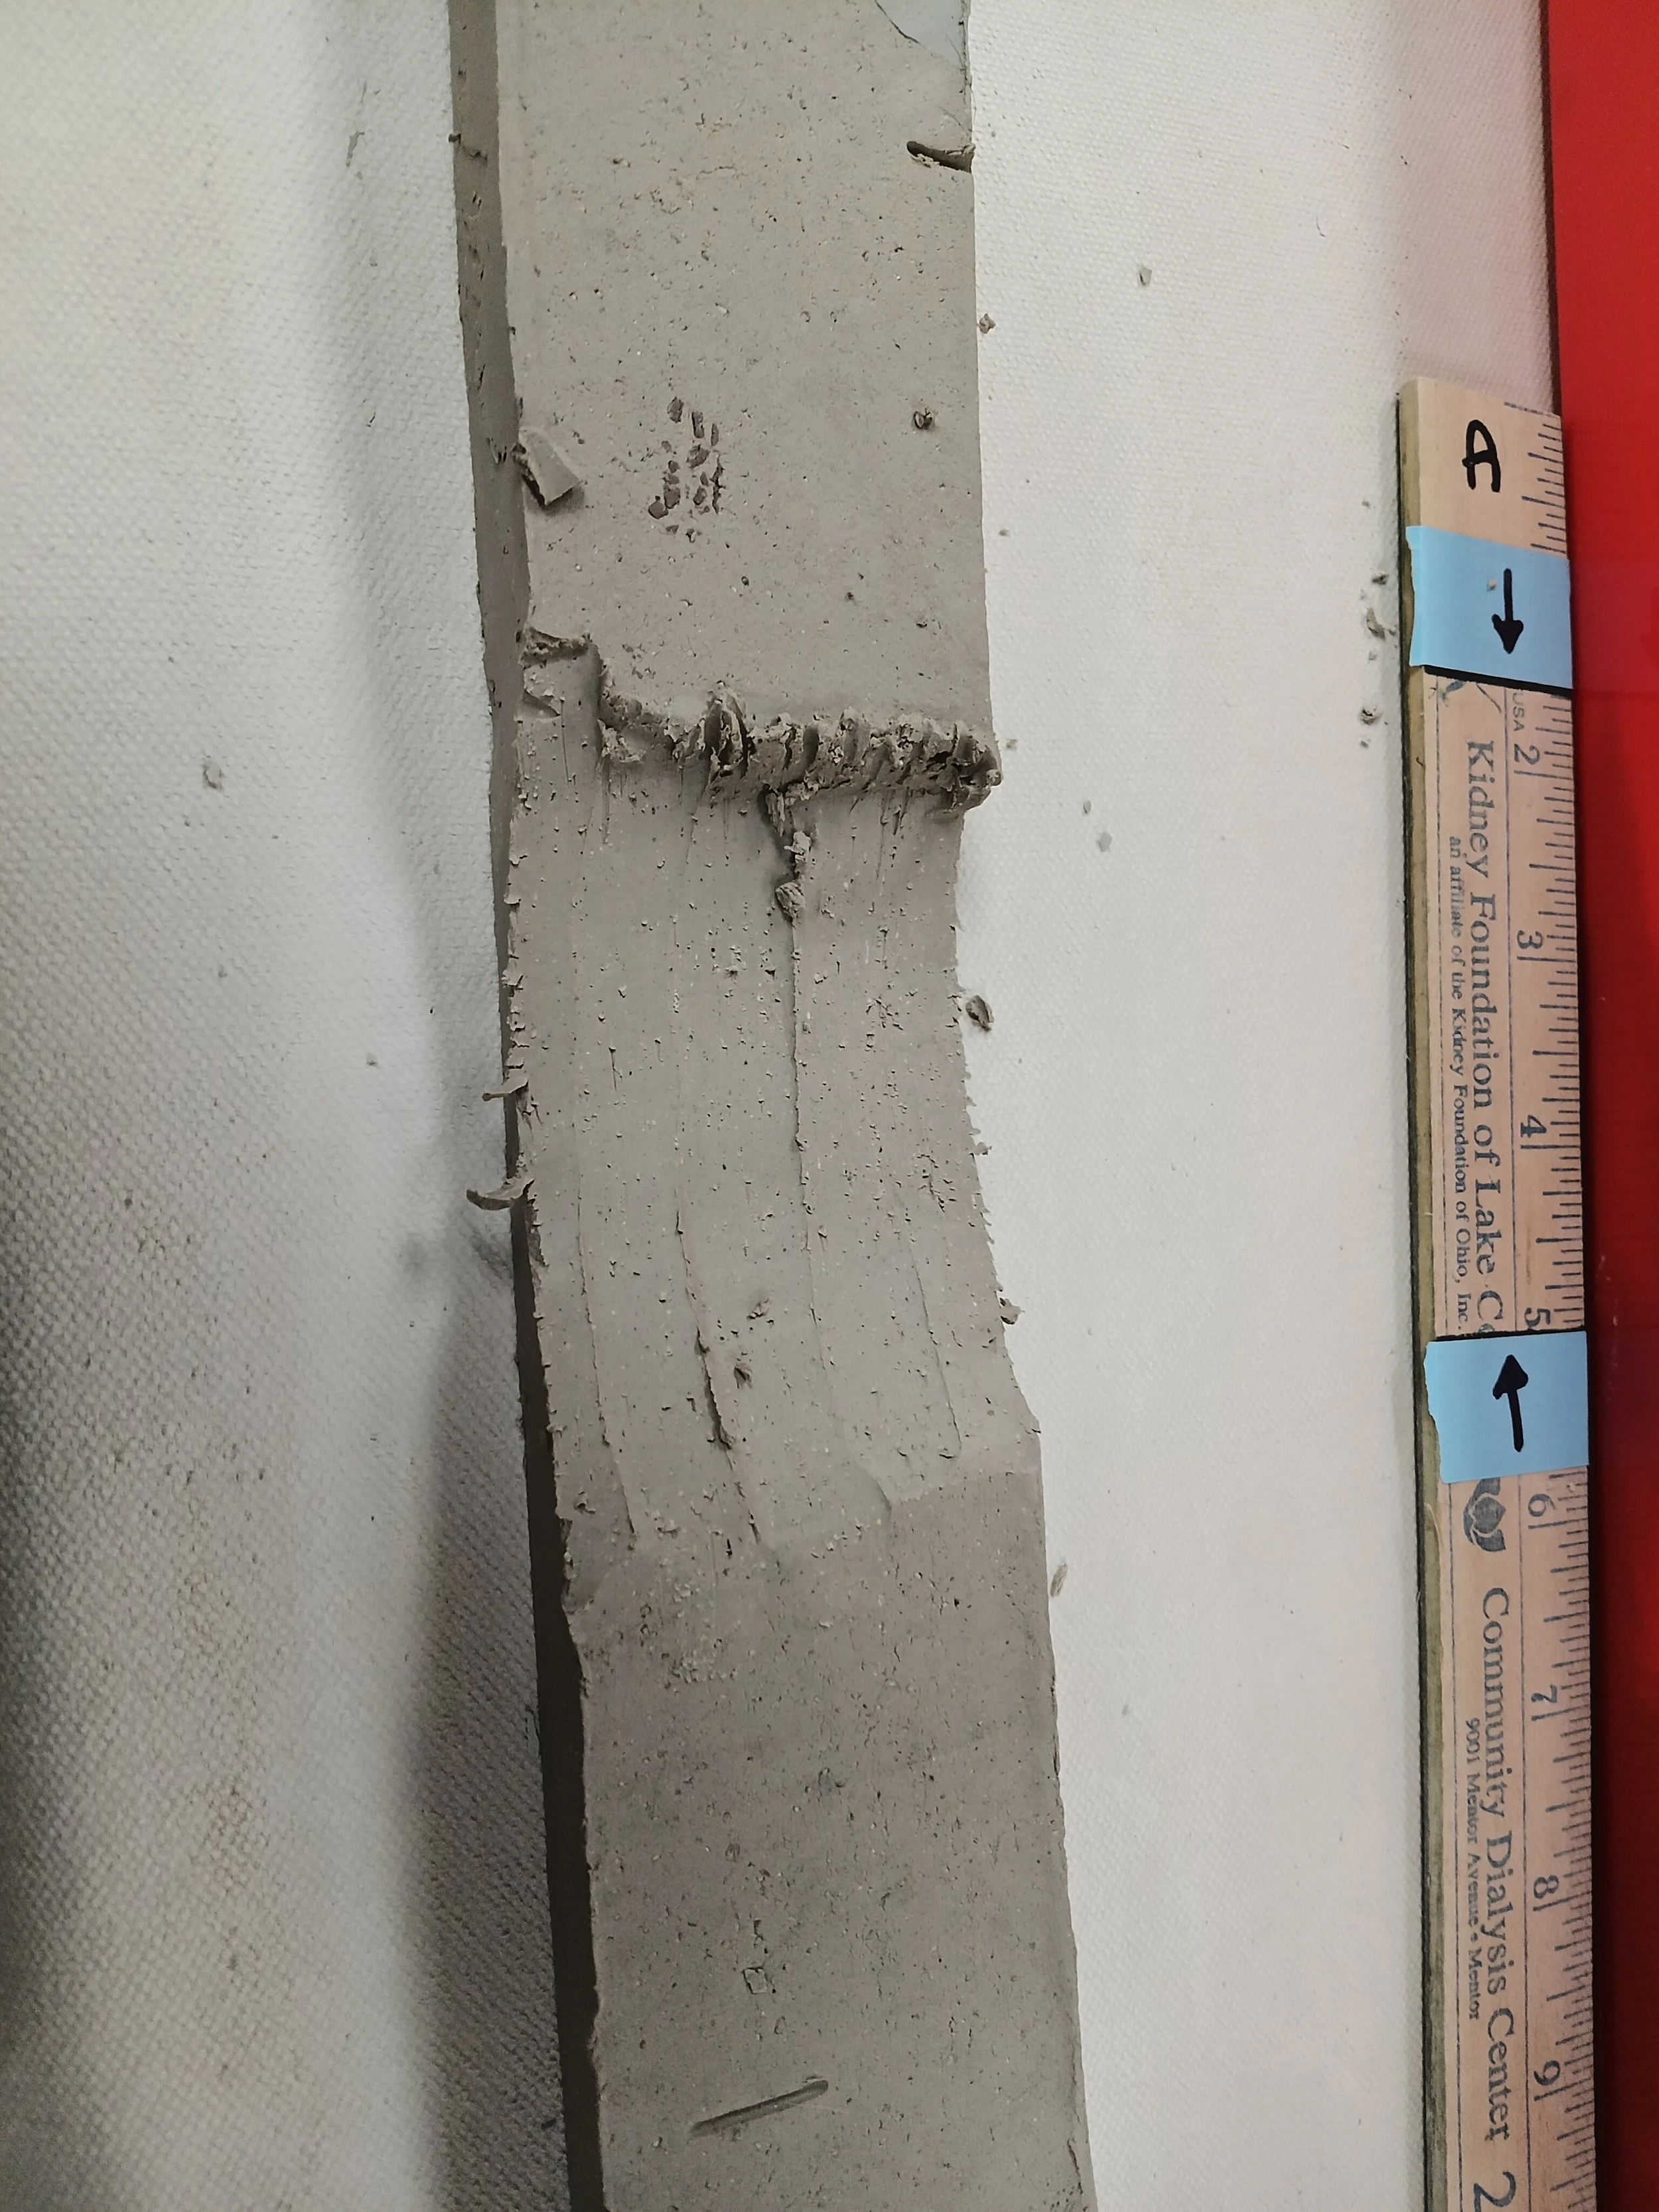
Then, start at the notch made towards the edge of the bar. Using the square carving tool, move towards the middle of the arch, starting with no pressure and applying more and more, and then letting up as you get to the middle of the arch.
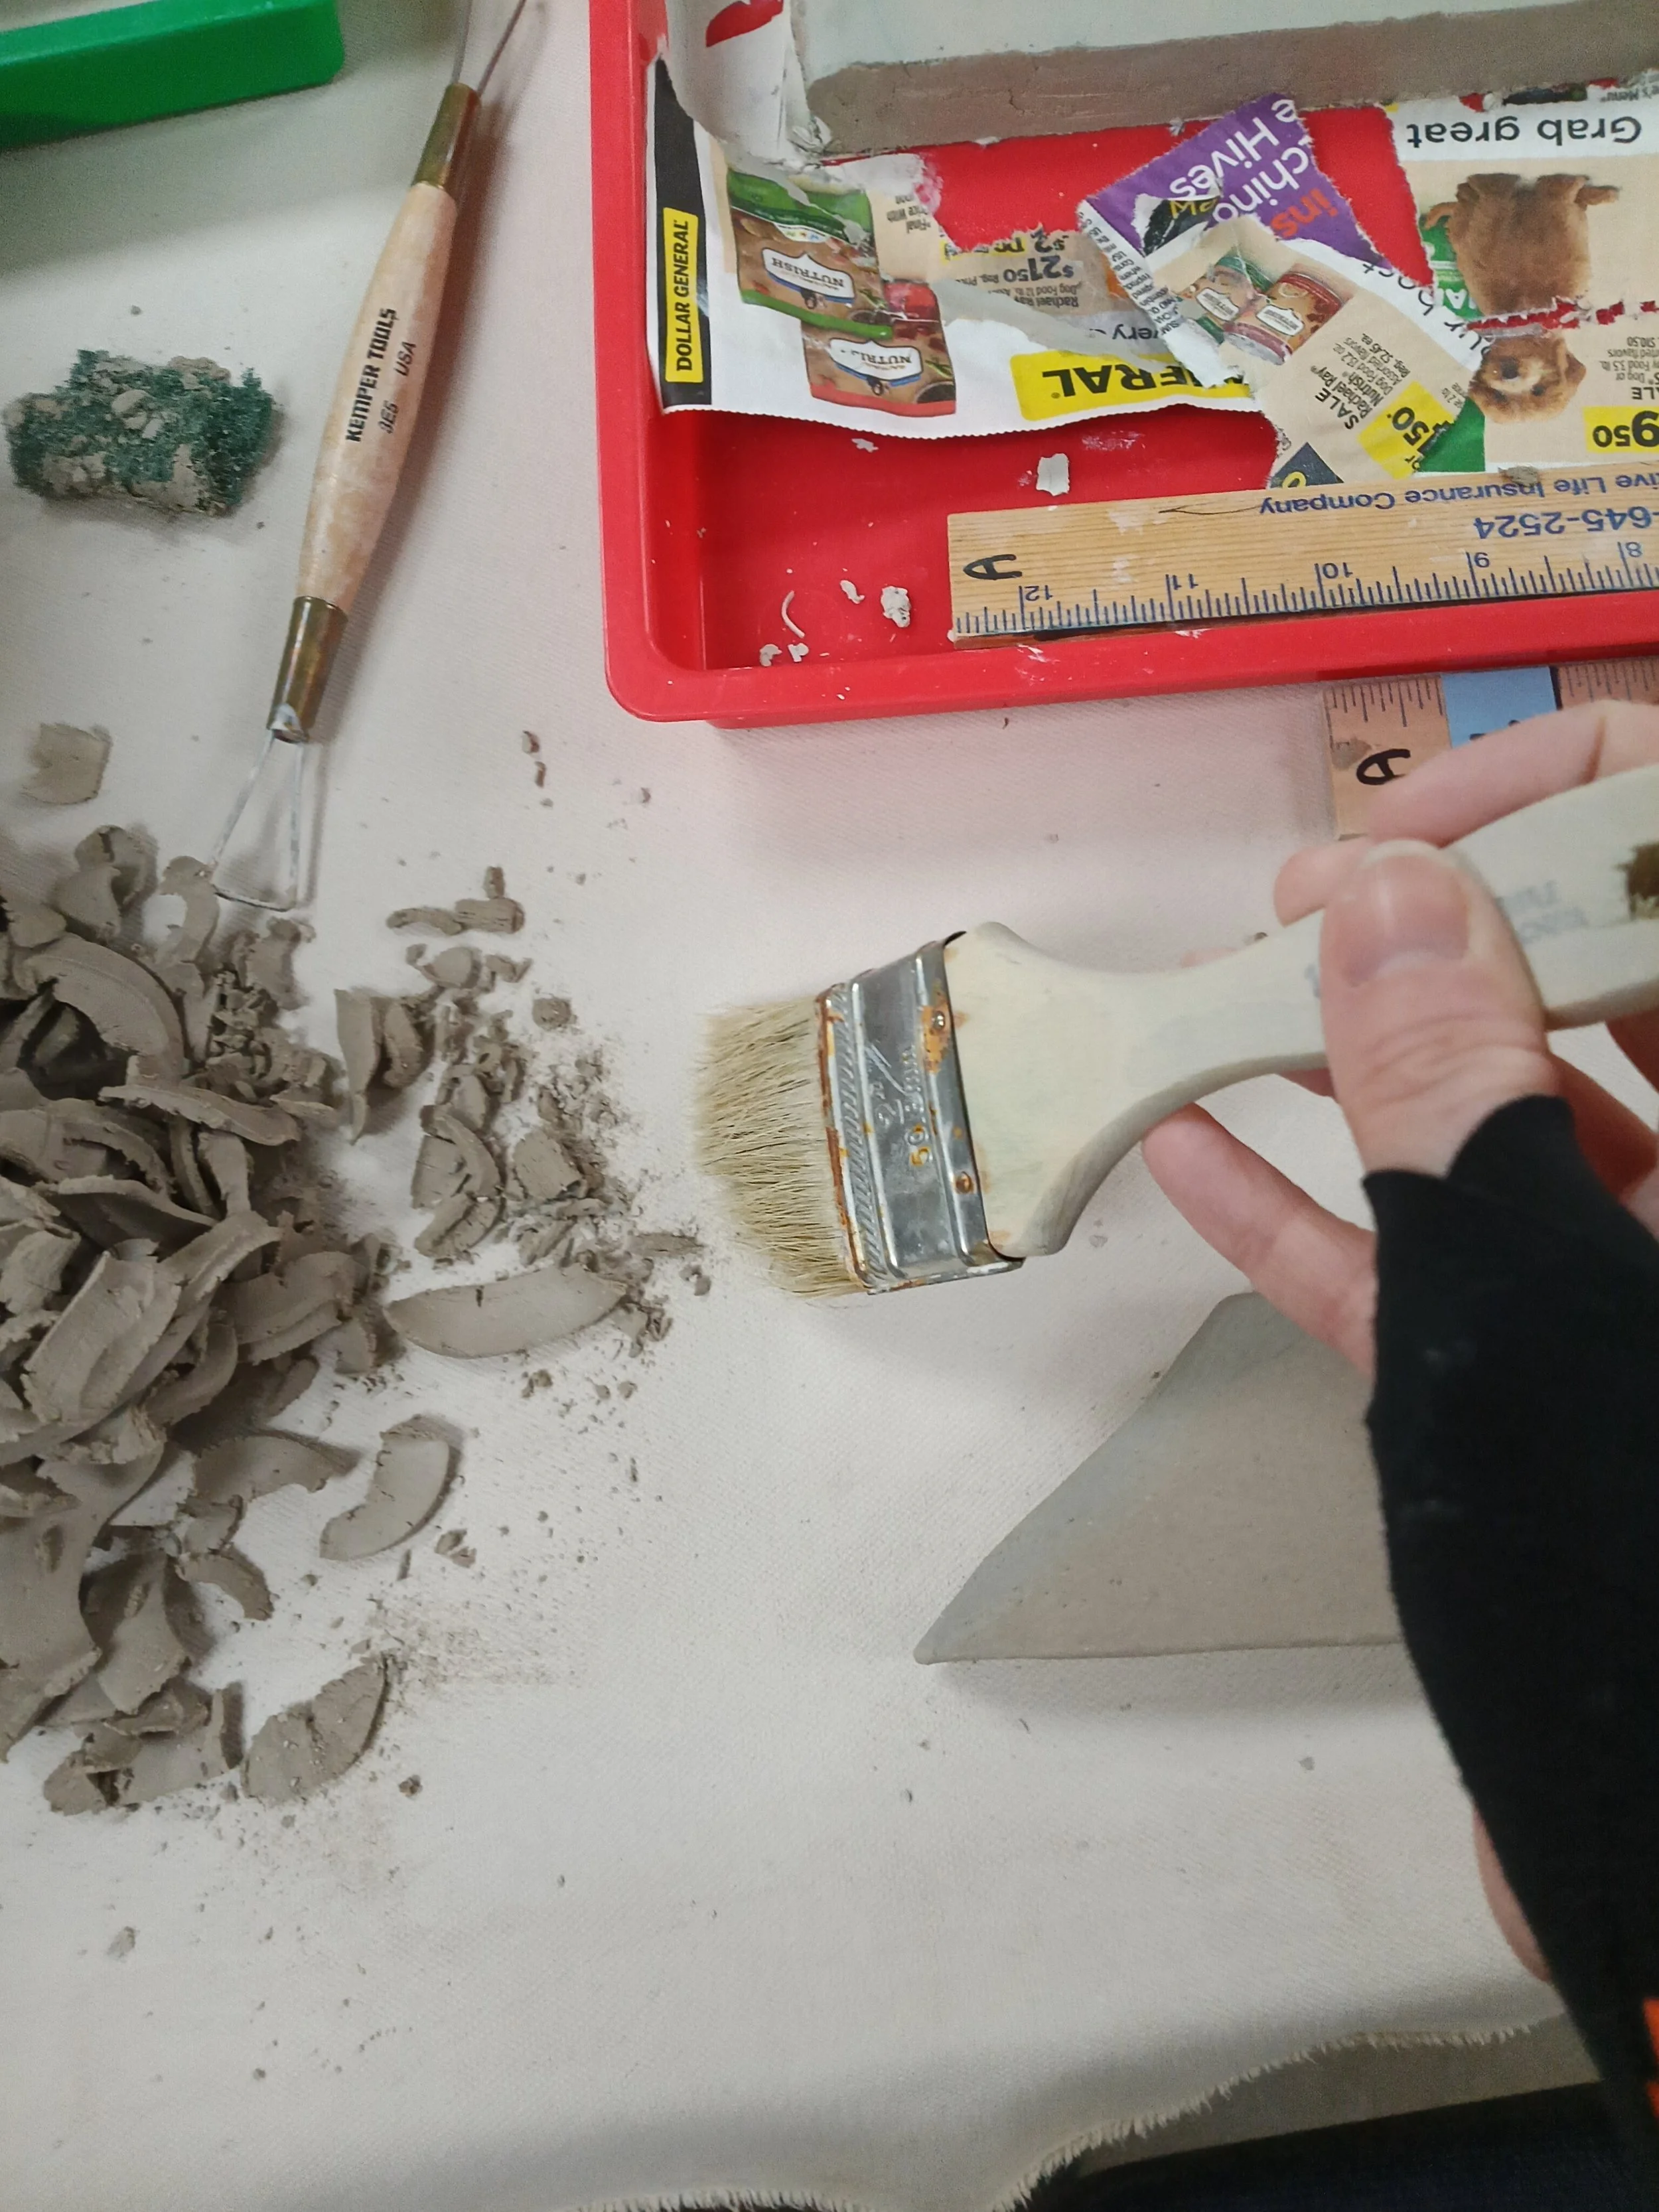
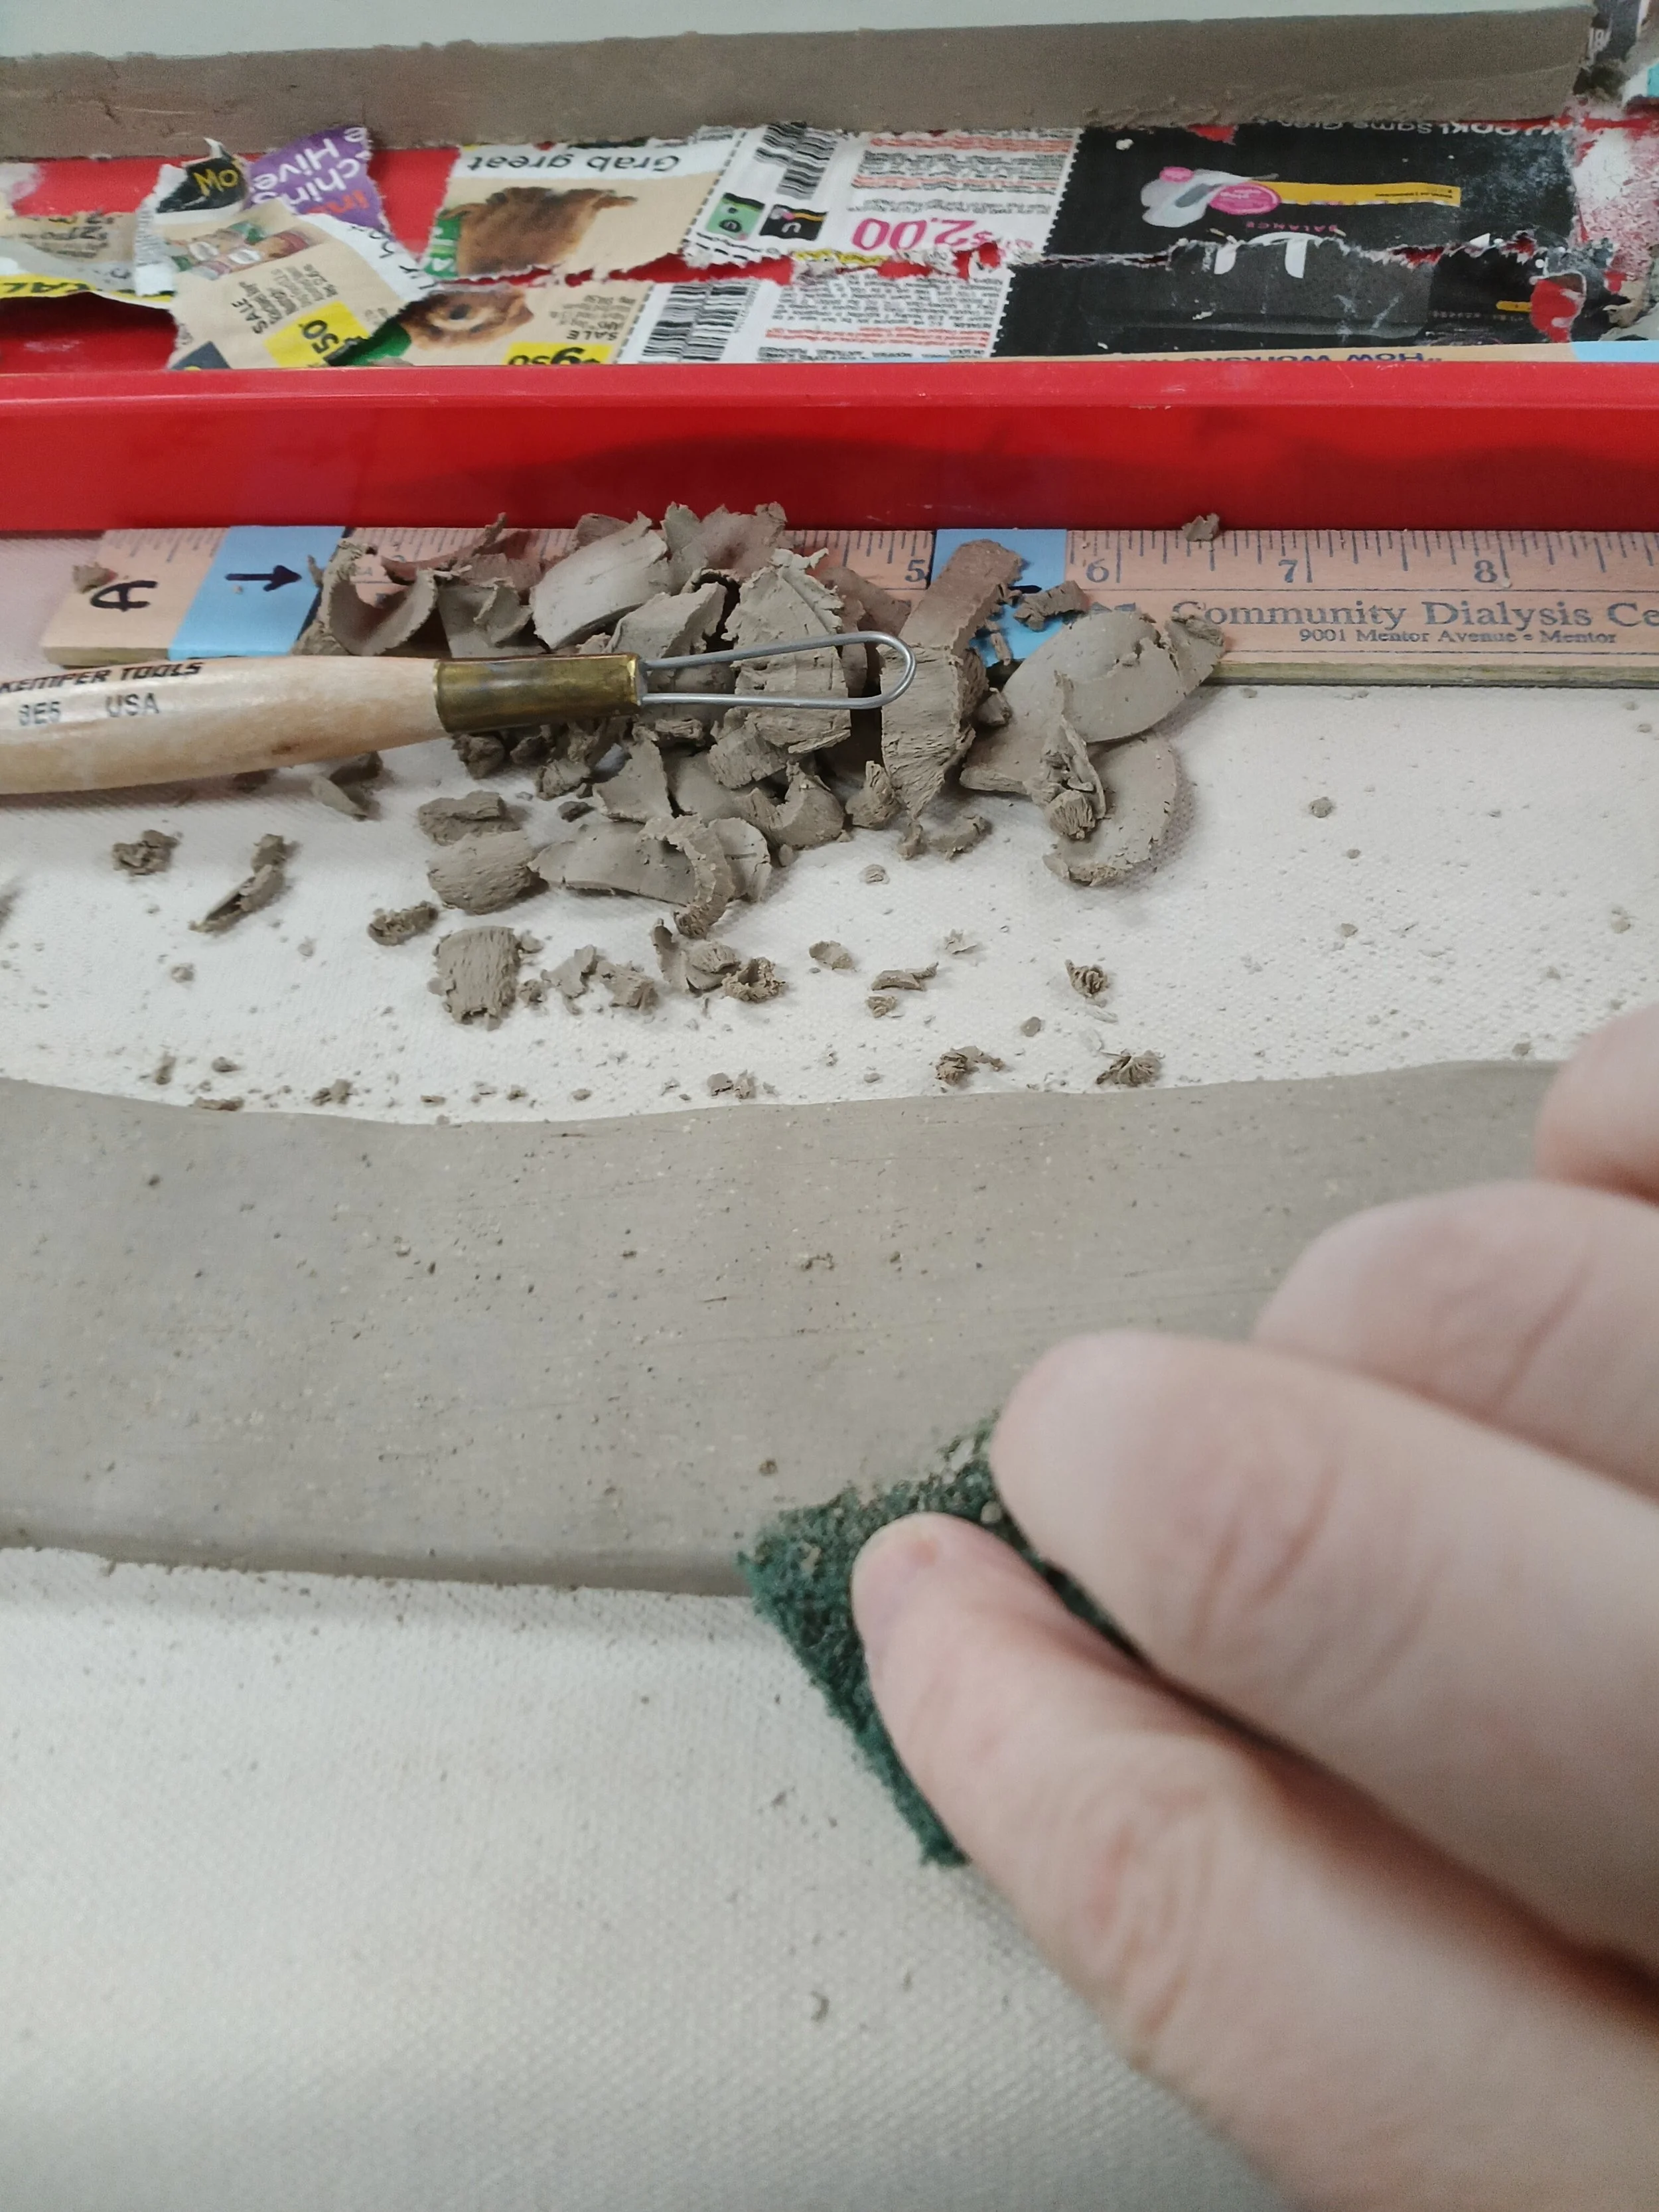
During this process, things will get very messy and little pieces of clay will get everywhere. It is important to keep a clean area to avoid those little pieces getting stuck on the bottom where the pretty marbling is. Use a large brush and scraping tool to clean those away. If you must move your bar, DO NOT PICK IT UP with your hands. This risks it breaking in two or bending it so it might warp or break later. If you haven’t done so already, slide a little piece of canvas carefully underneath it, and pull it with the little piece of canvas.
Use the square carving tool and green scrubby to smooth out the edges of the bar.
Wrap your bars well in plastic so that further cleaning up can be done next time! I wrapped them on a wood board covered in canvas with two pieces of plastic around them. The bars I was unable to finish during this class, I wrapped completely in plastic so I can work on them next time!
I’m still experimenting with the measurements and for the moment, just carving them out by feel.
Here are the measurements for the bars I have made thus far:
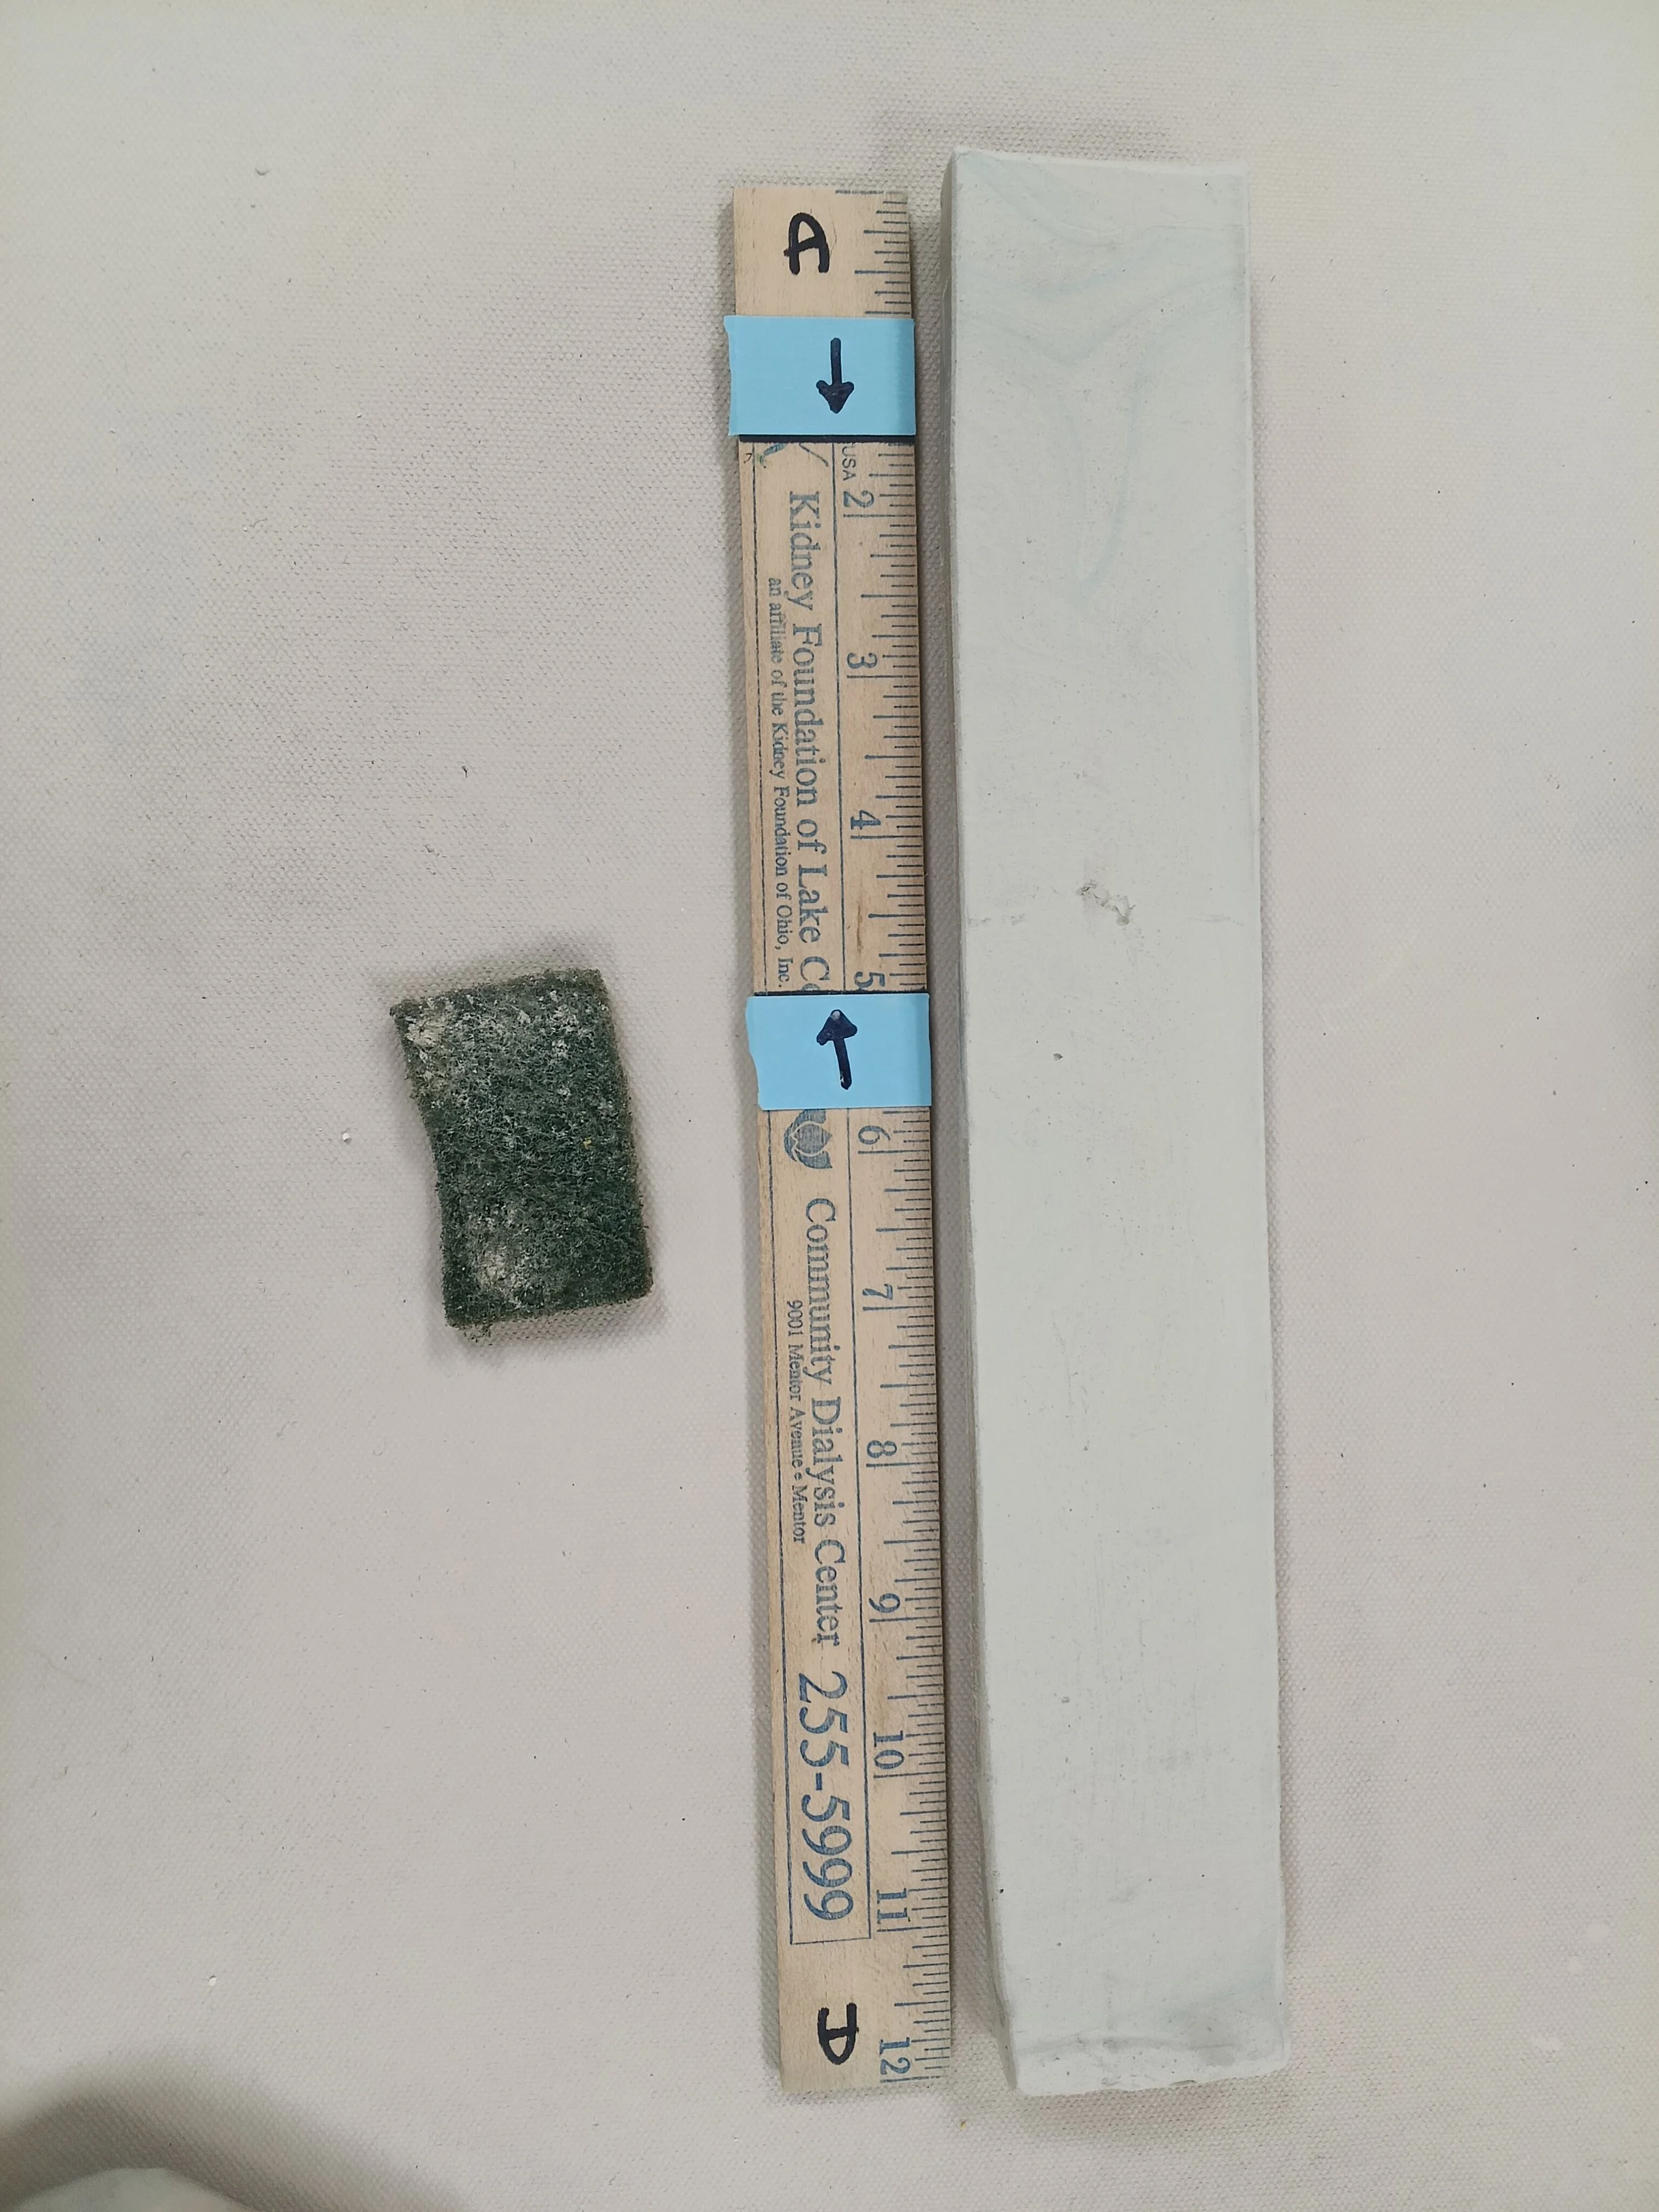
BAR 1: thinest part of the arch: 4 mm//// length: approx 11 inches
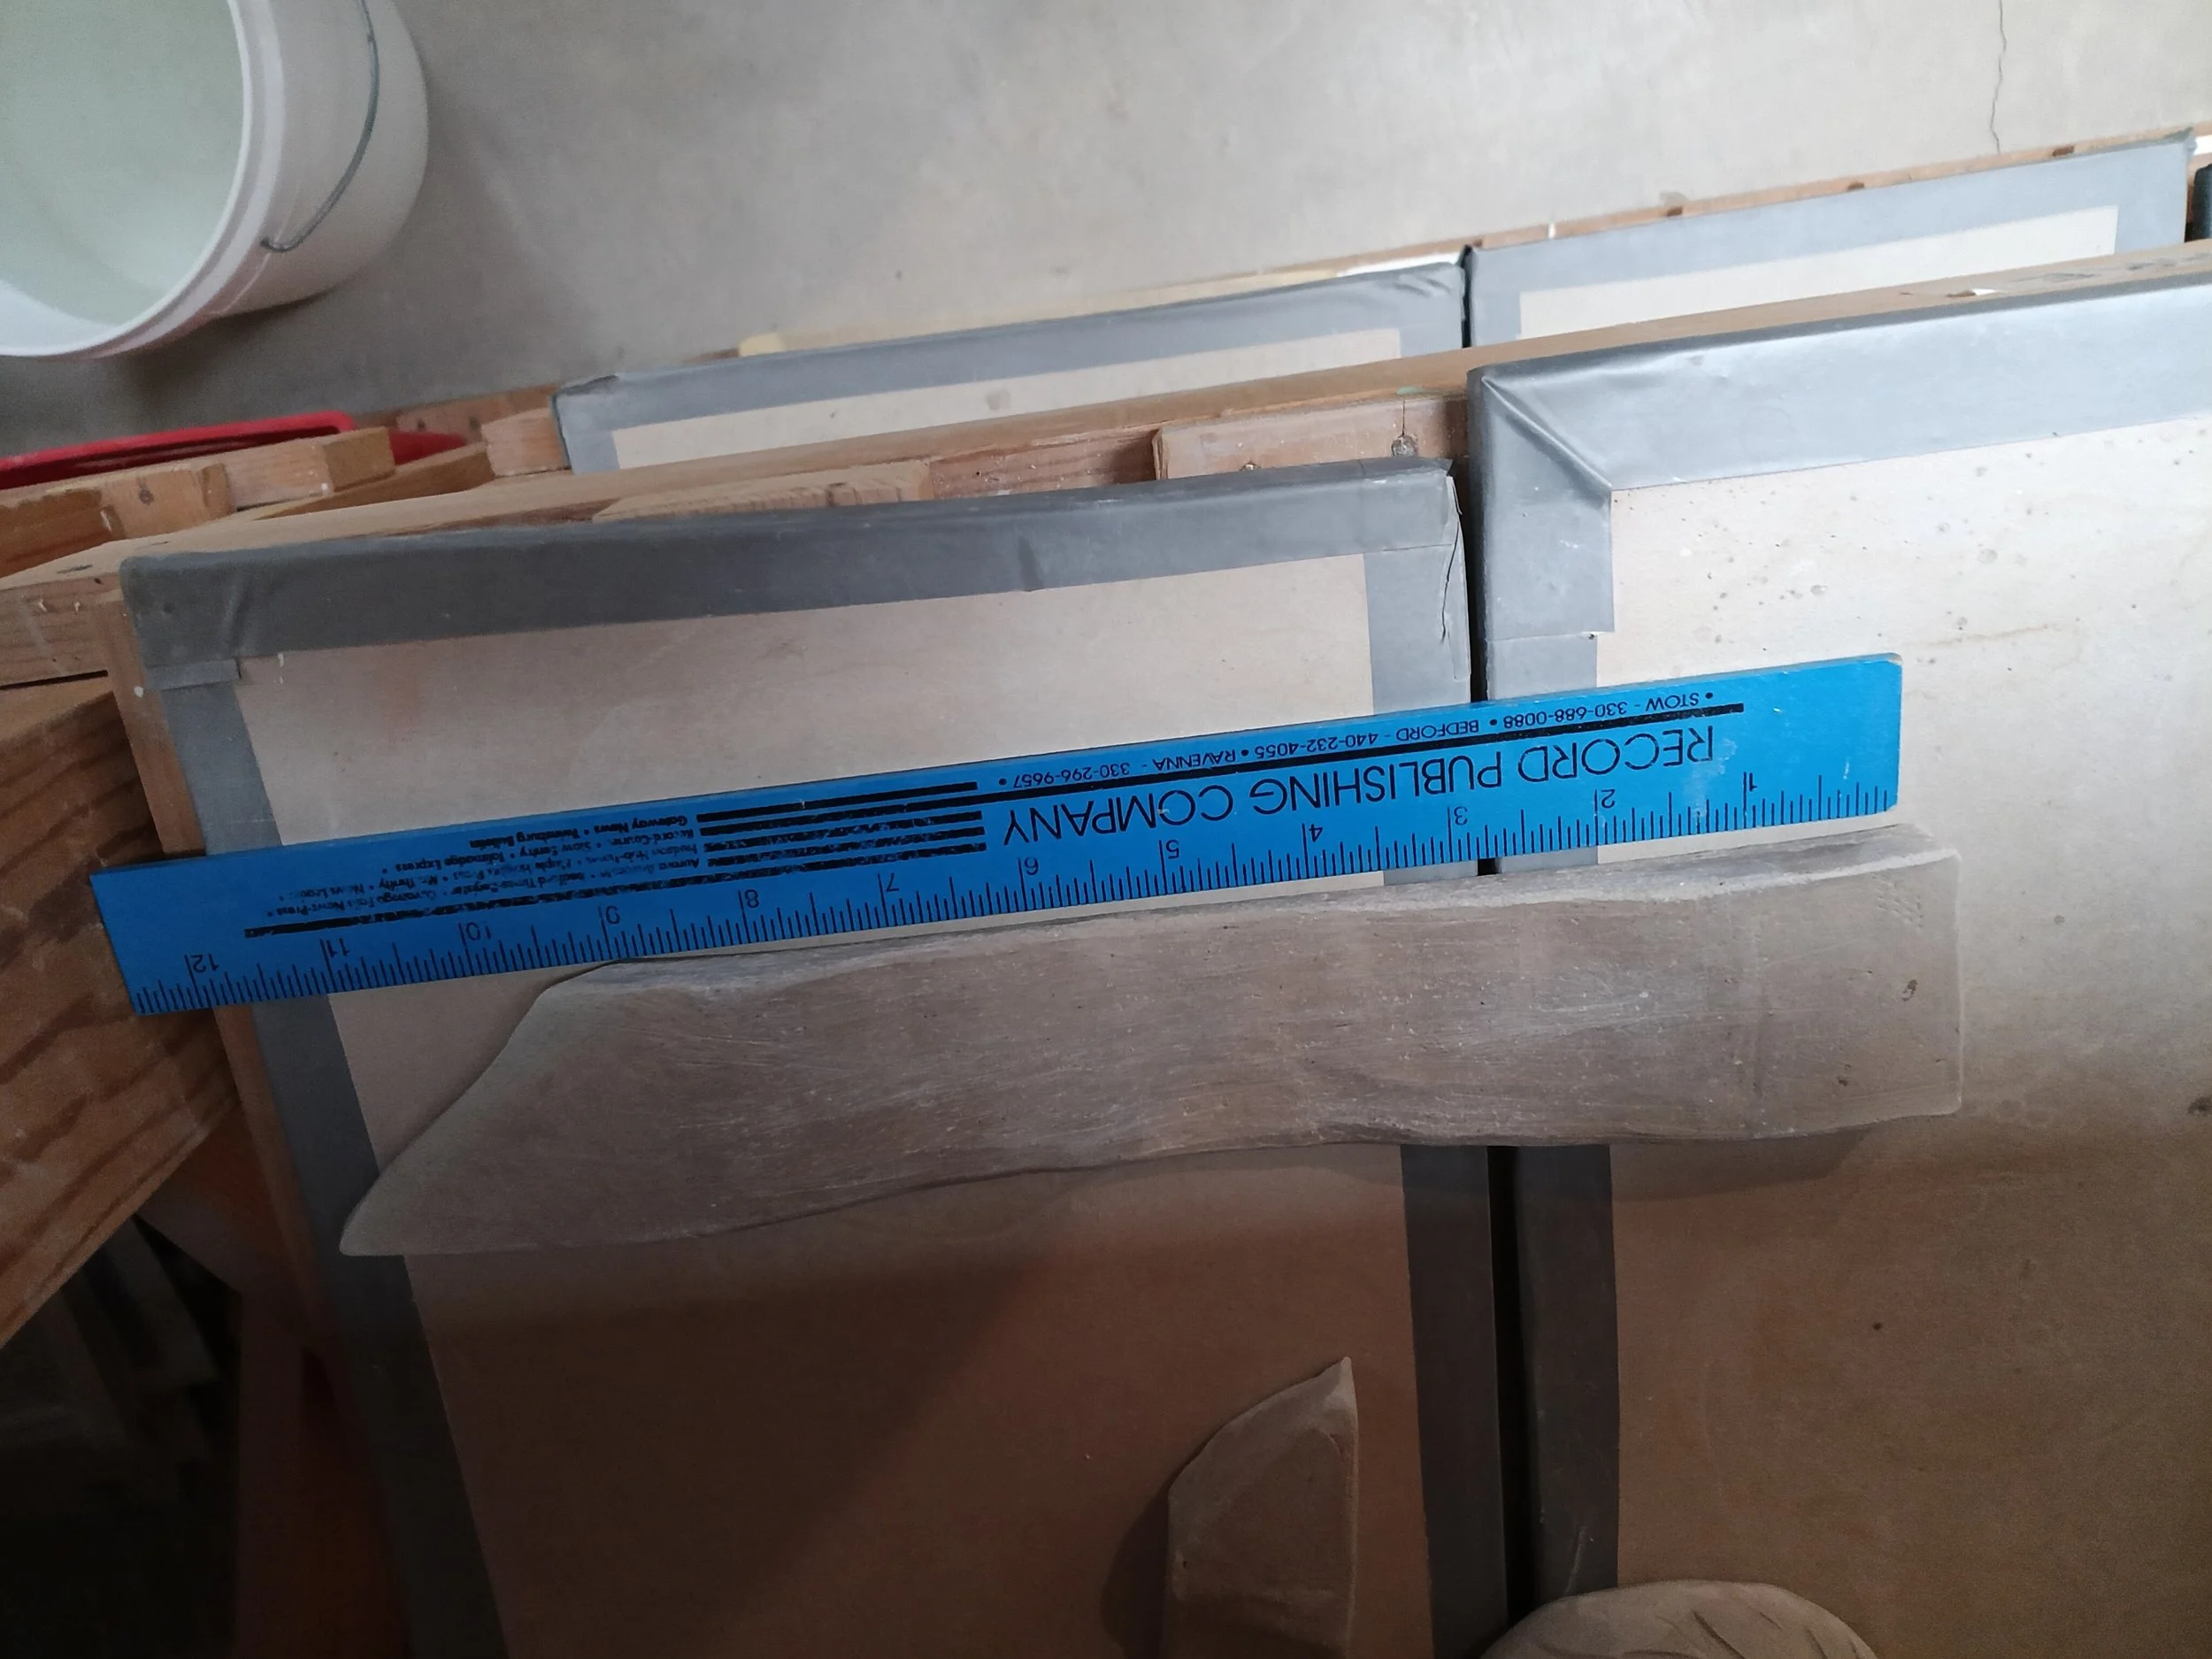
Bar 2: thinnest arch: 4 mm///length: approx. 9.5

Bar 3: thinnest art of the arch: 7 mm///length: approx. 12 inches/// ends: 9 mm/// the deepest carving of the arch is about 3 inches in length
note: I carved some clay out of the ends to try and make the bar a little lighter and put less pressure on the middle of the arch.
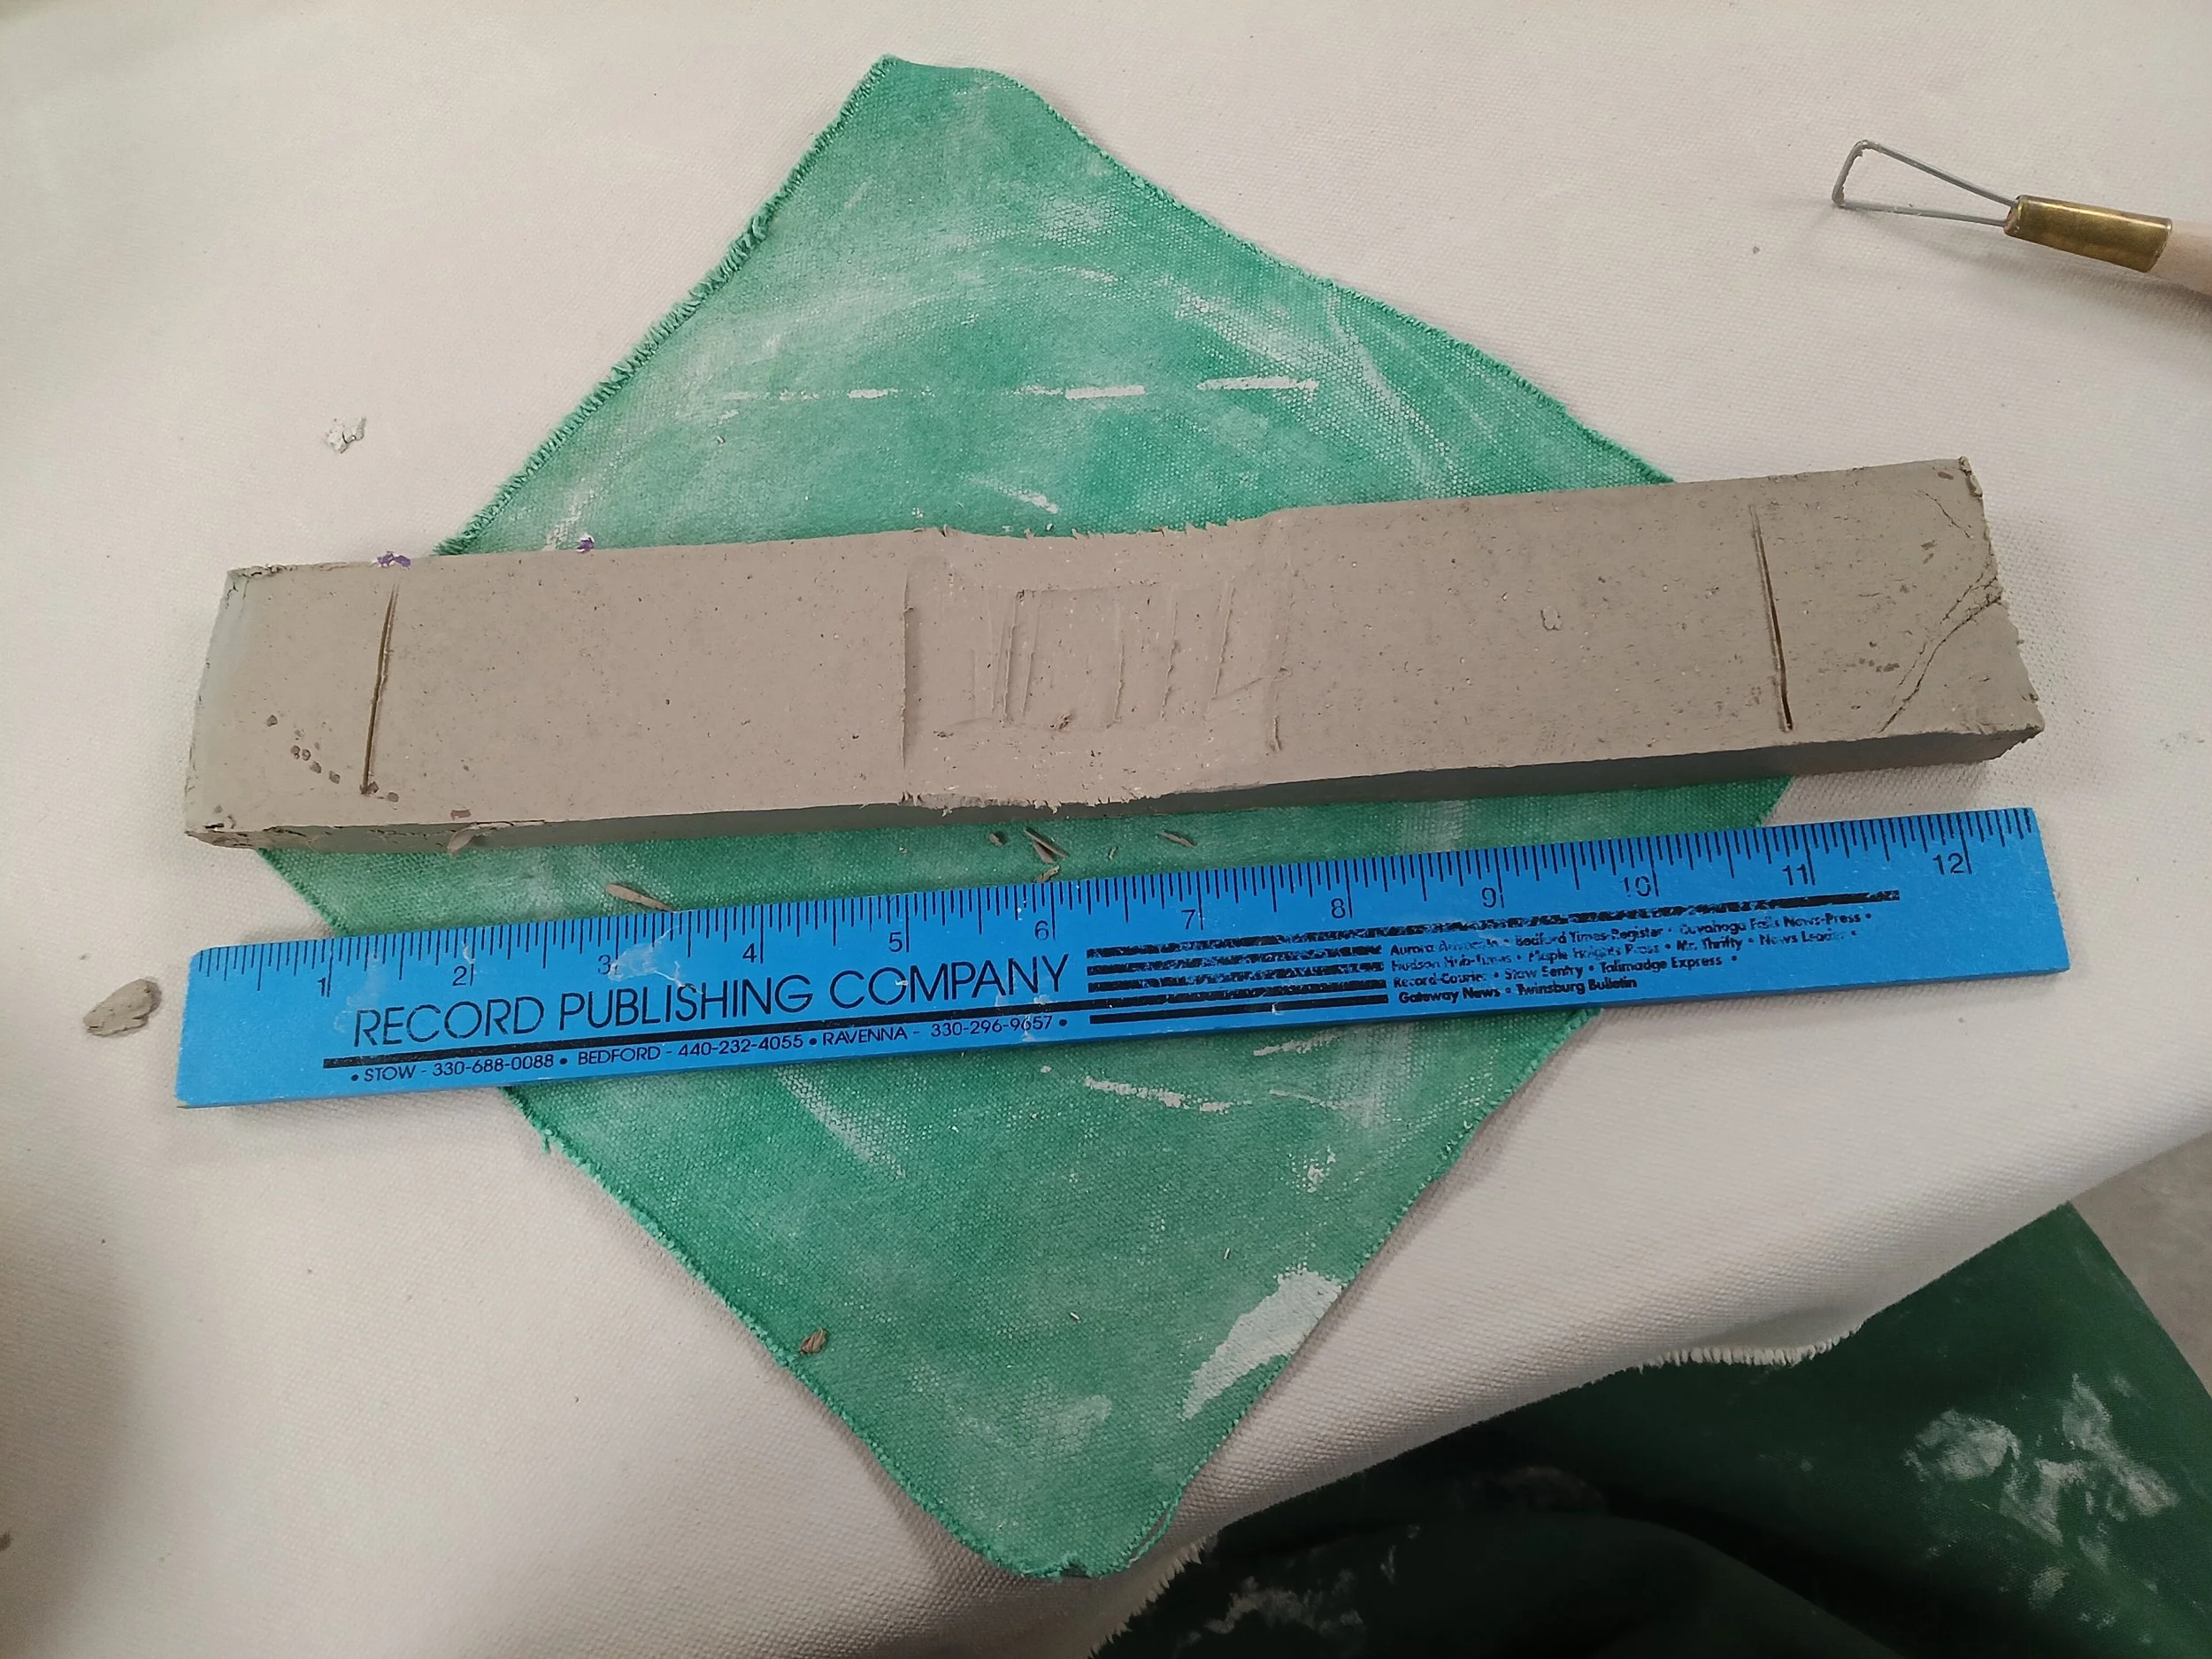
Bar 4: thinnest art of the arch 5mm/// length approx. 12 inches

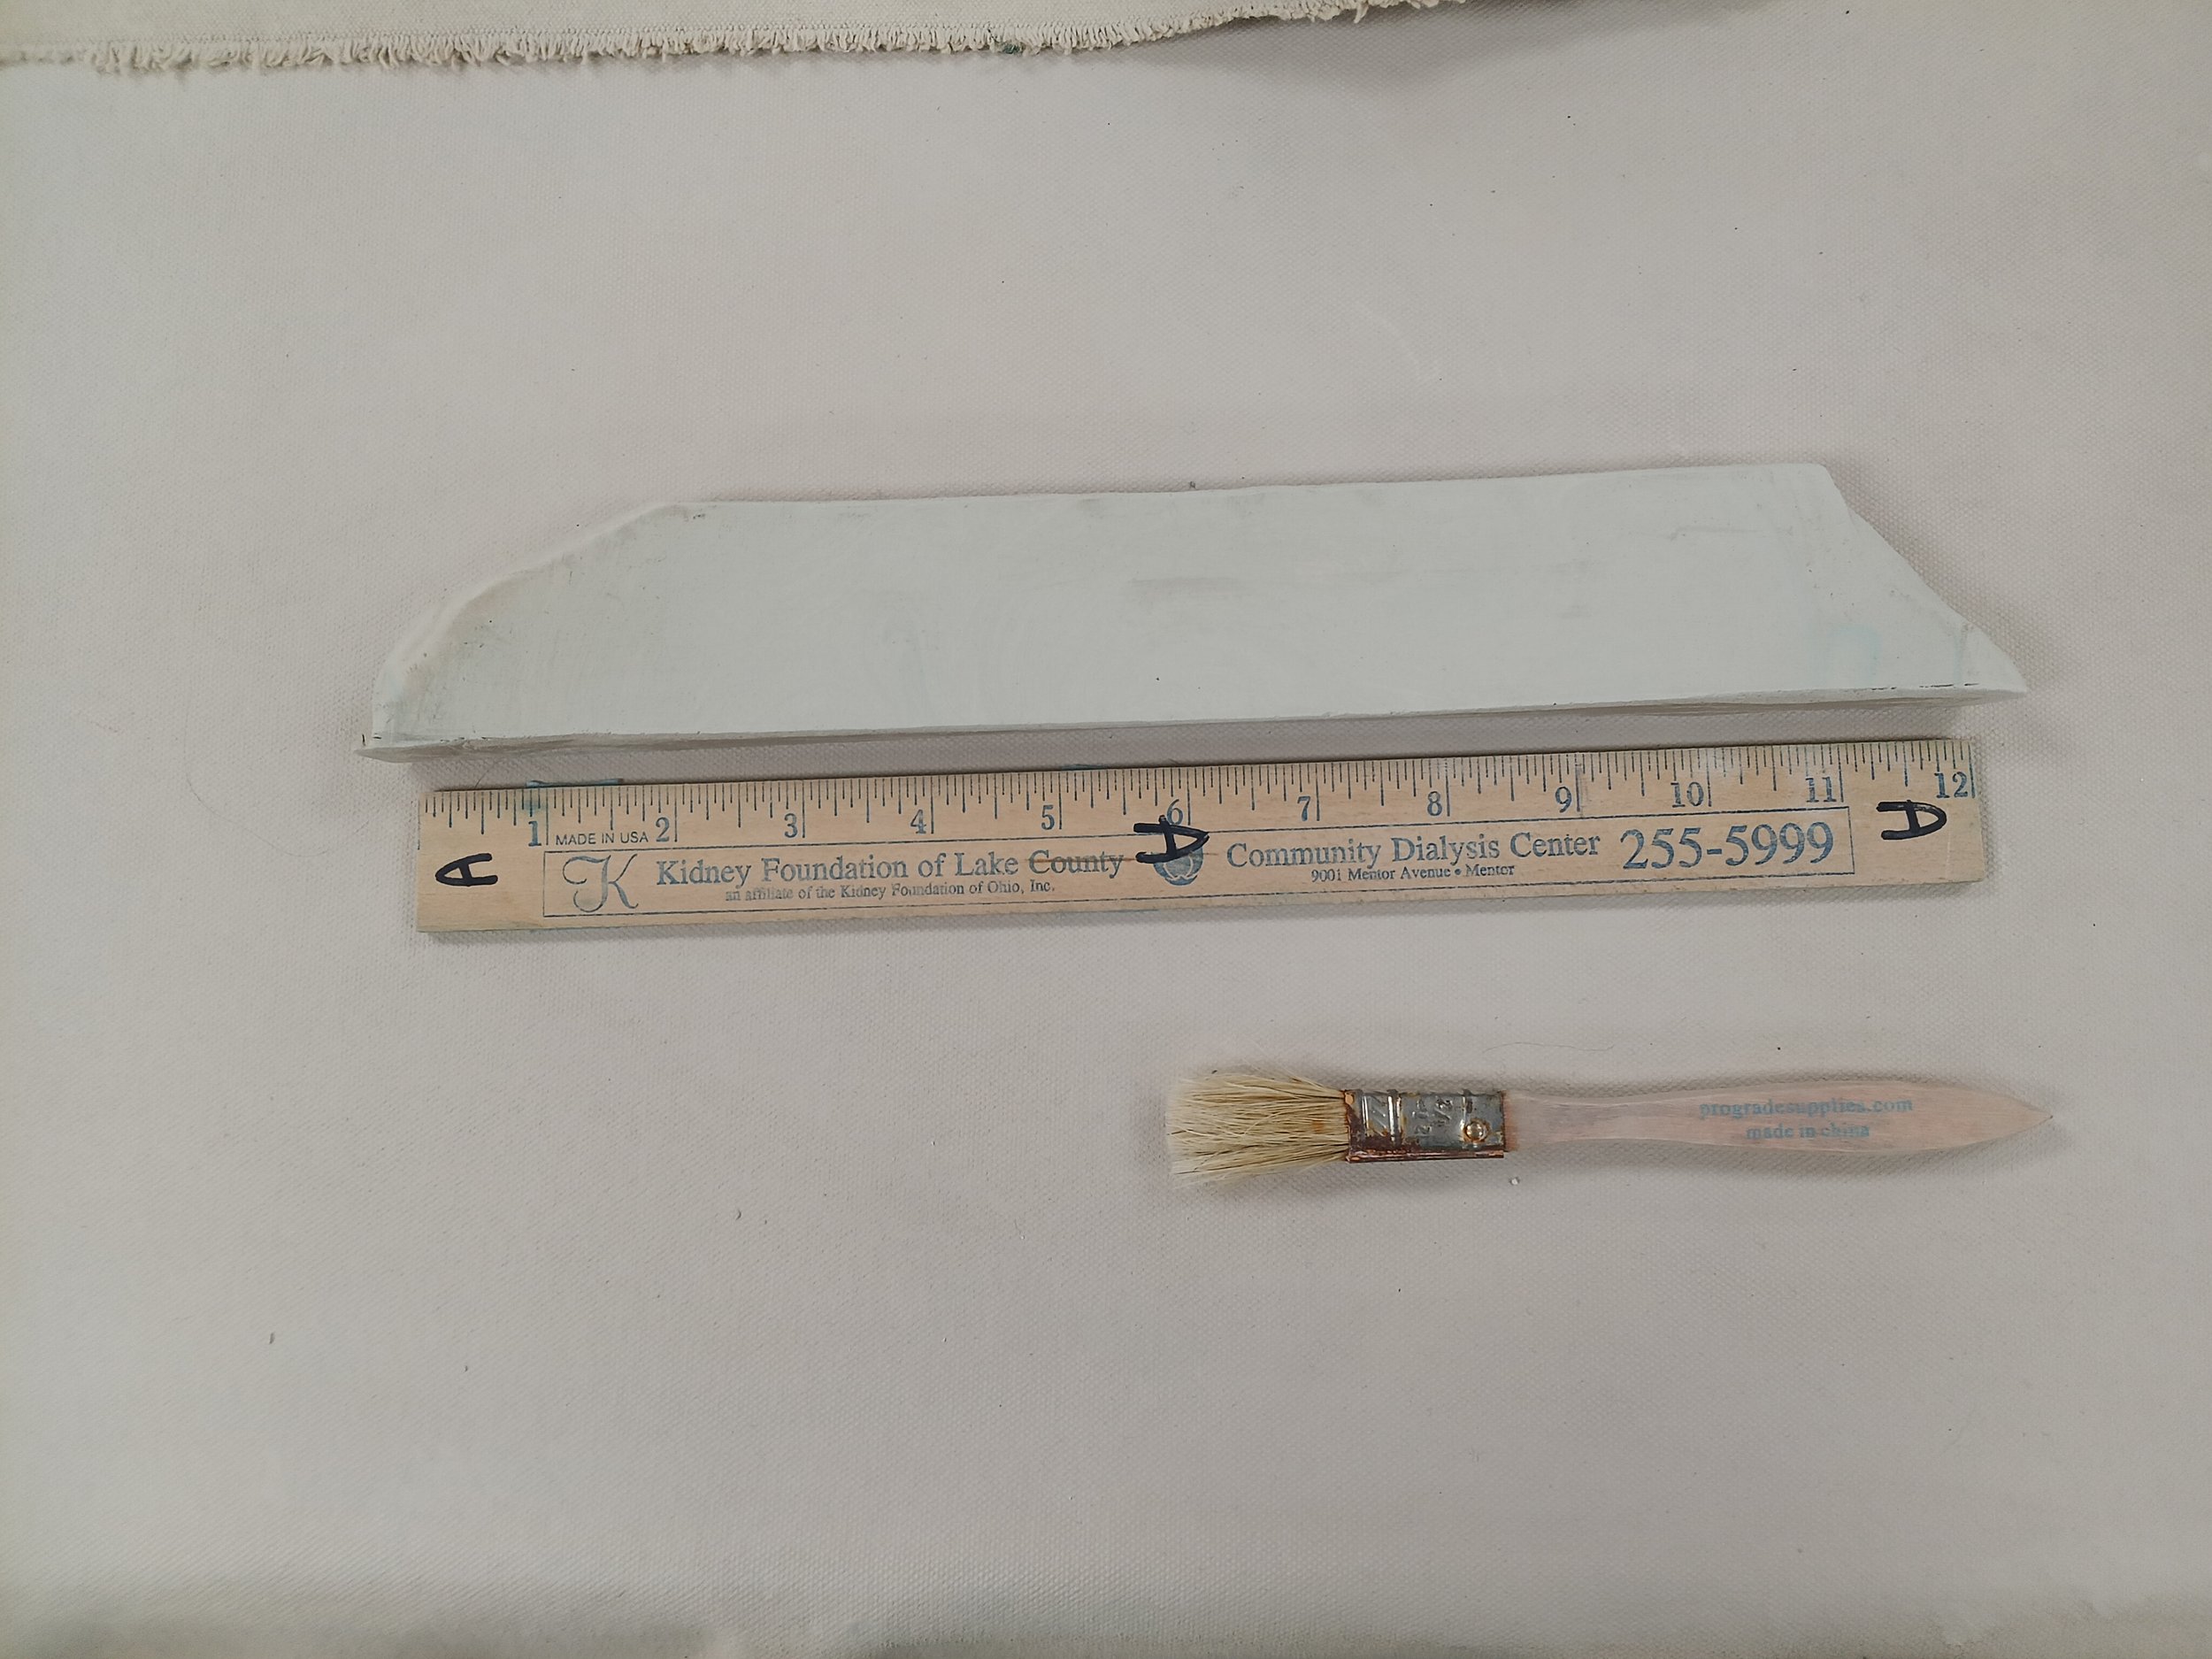
Bar 5: thinnest part of the arch: 6 mm/// length of the bar approx. 12 inches
Session 4: February 12
Cleaning up the other side of the bars
This session was dedicated to cleaning up the other side (with the marbling) of the bars. This is best to do when the bars are a hard leather hard for the following reasons:
-you can get a nice clean edge on the marbling with less risk of smudging it
-the arch in the middle of the bar makes it at risk of breaking, so when the clay hardens, you can scrape the other side (which does put some pressure on the arch) without it breaking
NOTE: The bars were almost too hard to do this, so next time, wrapping needs to be done more carefully and babysat more.
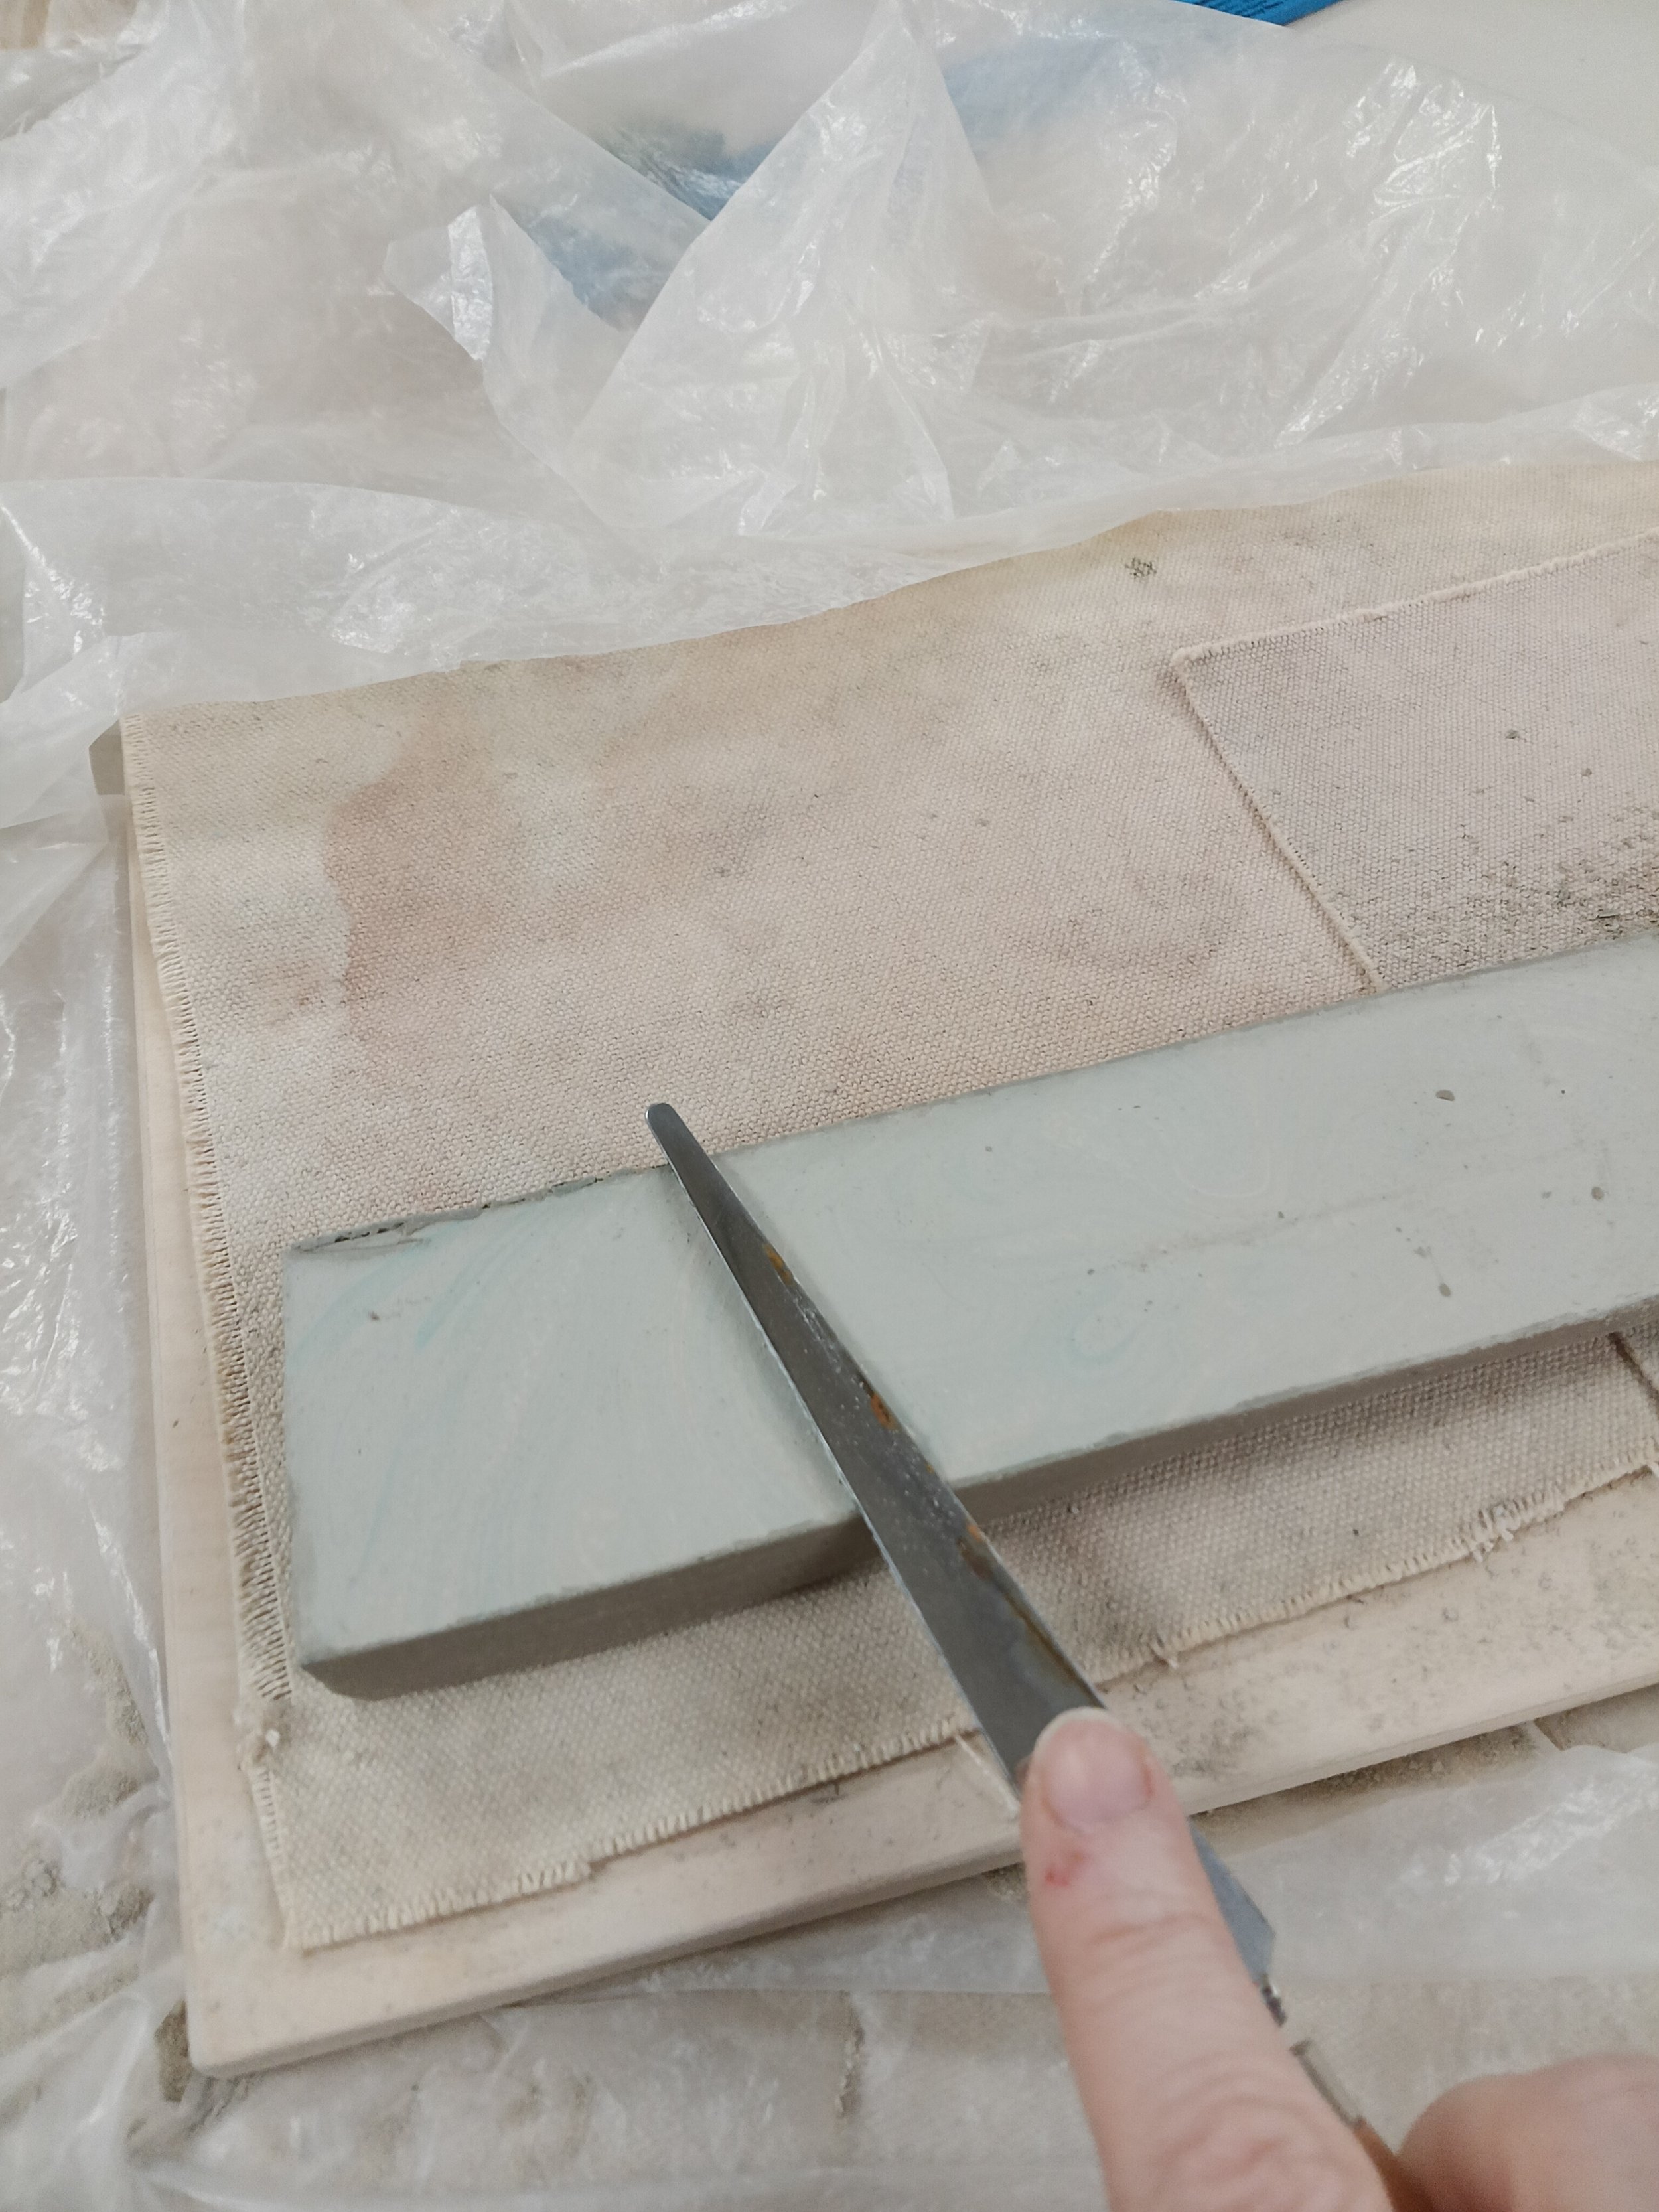
Each bar took me about 10-20 minutes to clean up. For cleaning the bars, use a knife, VERY CAREFULLY WITH VERY LIGHT PRESSURE. Keep your area clean as you do this, wipe away little pieces of clay with a brush. I also put each arch on a piece of canvas so I could easily turn them around without lifting the bar up.
There are three angles to clean:
1) the very top (hold the knife a bit flat)
Do not put too much pressure, especially when you go over the arch. You might even hold your hand underneath the arch to support it.
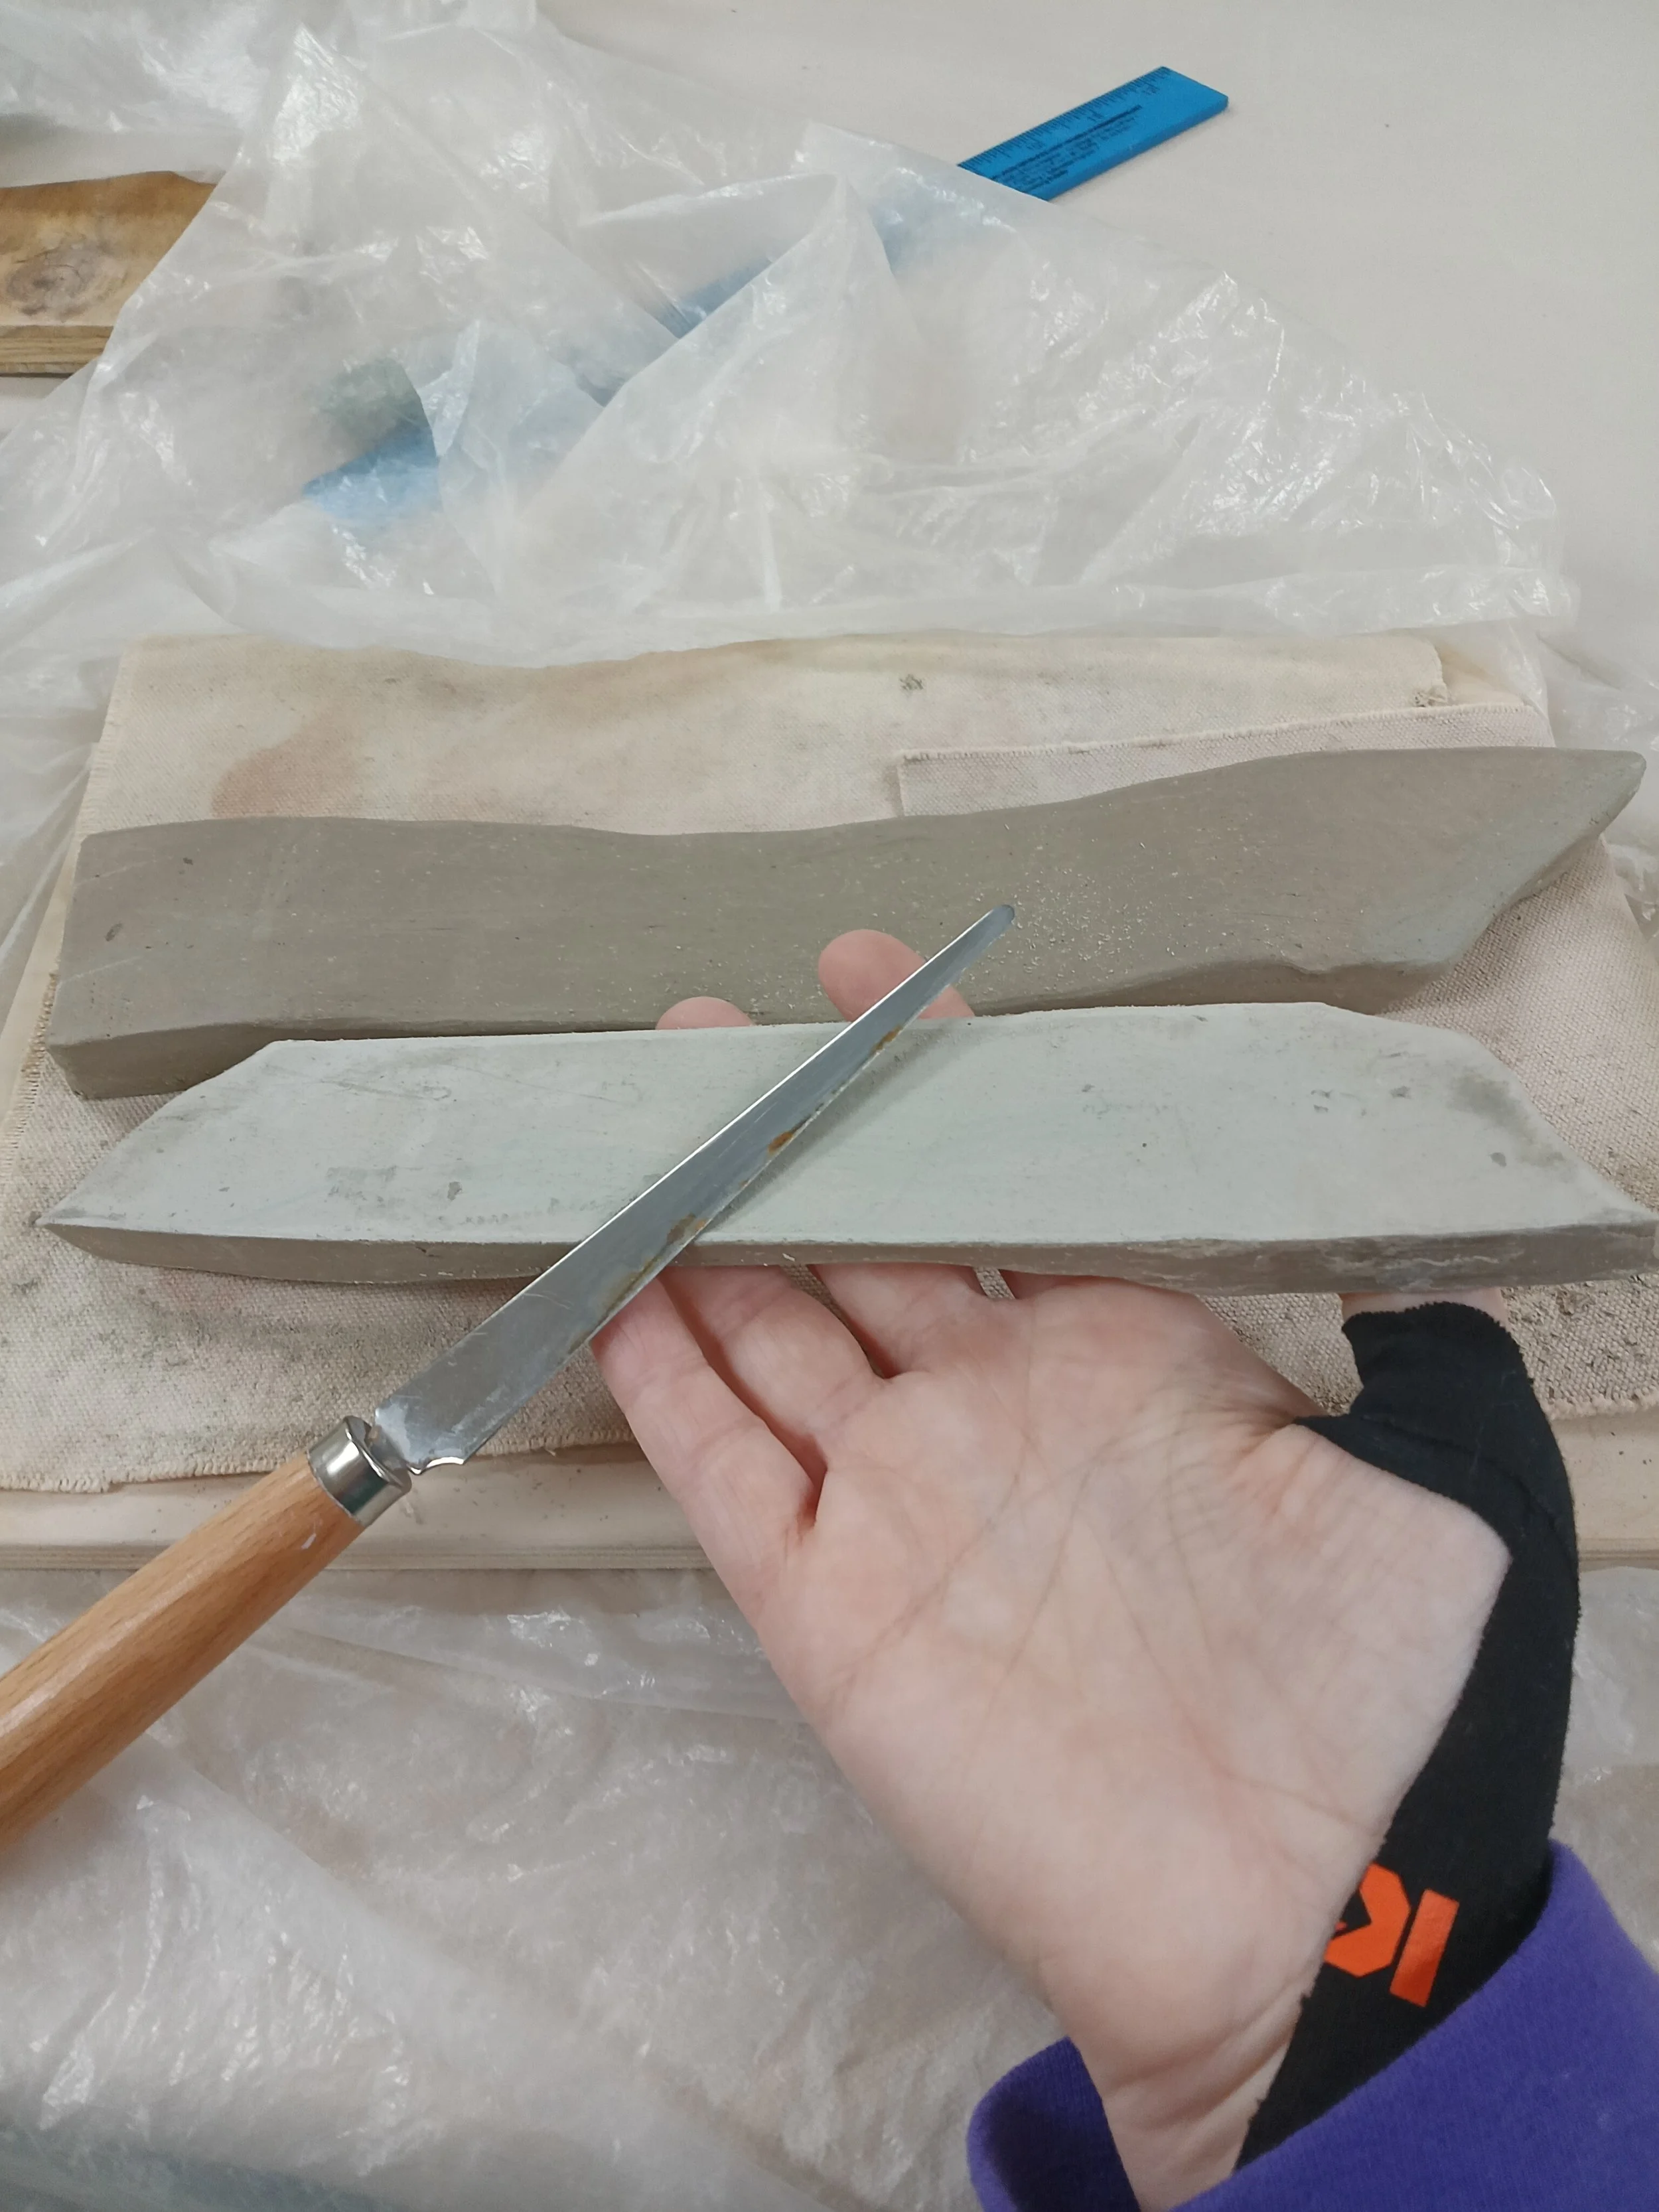
2) the side
lay the bar on it’s side to do this

3) on the side angle
This must be done with extreme care! Hold the arch of the bar underneath and go slowly with light pressure.
Then clean the sides and corners with a green scrubby. This is a chance also to inspect the bar as a whole and clean with the scrubby where needed. Go gently and slowly. Do not clean the top part of the bar (where the marbling is) with the scrubby! This will add little scratches into the marbling.
Note: on the marbled side, sometimes little pieces of clay get on there. I found that using a knife very gently popped some of them off. However, if you push too hard you will indent your clay, so be careful!
March 5, 2026
The bars came out of the kiln! They were a little warped (next time they need to be placed flat part down while firing to avoid this).
Here is what they sound like: