Tongue Drum 2.0
My teacher, Brigitte and I, took a deep dive into the technique of making these tongue drums!
The journey began in February 2024.
Materials:
pie dish
sandbag
lazy susan
rolling pin
pizza stone + canvas
2 canvas for flipping
2 Ds
needle tool
sponge and water
Session 1: Creating the Slabs
We used white clay right out of the box, so no wedging was needed. We patted 2 large pieces of clay down and rolled it on its side to make a pie shape, about 10 inches in diameter.
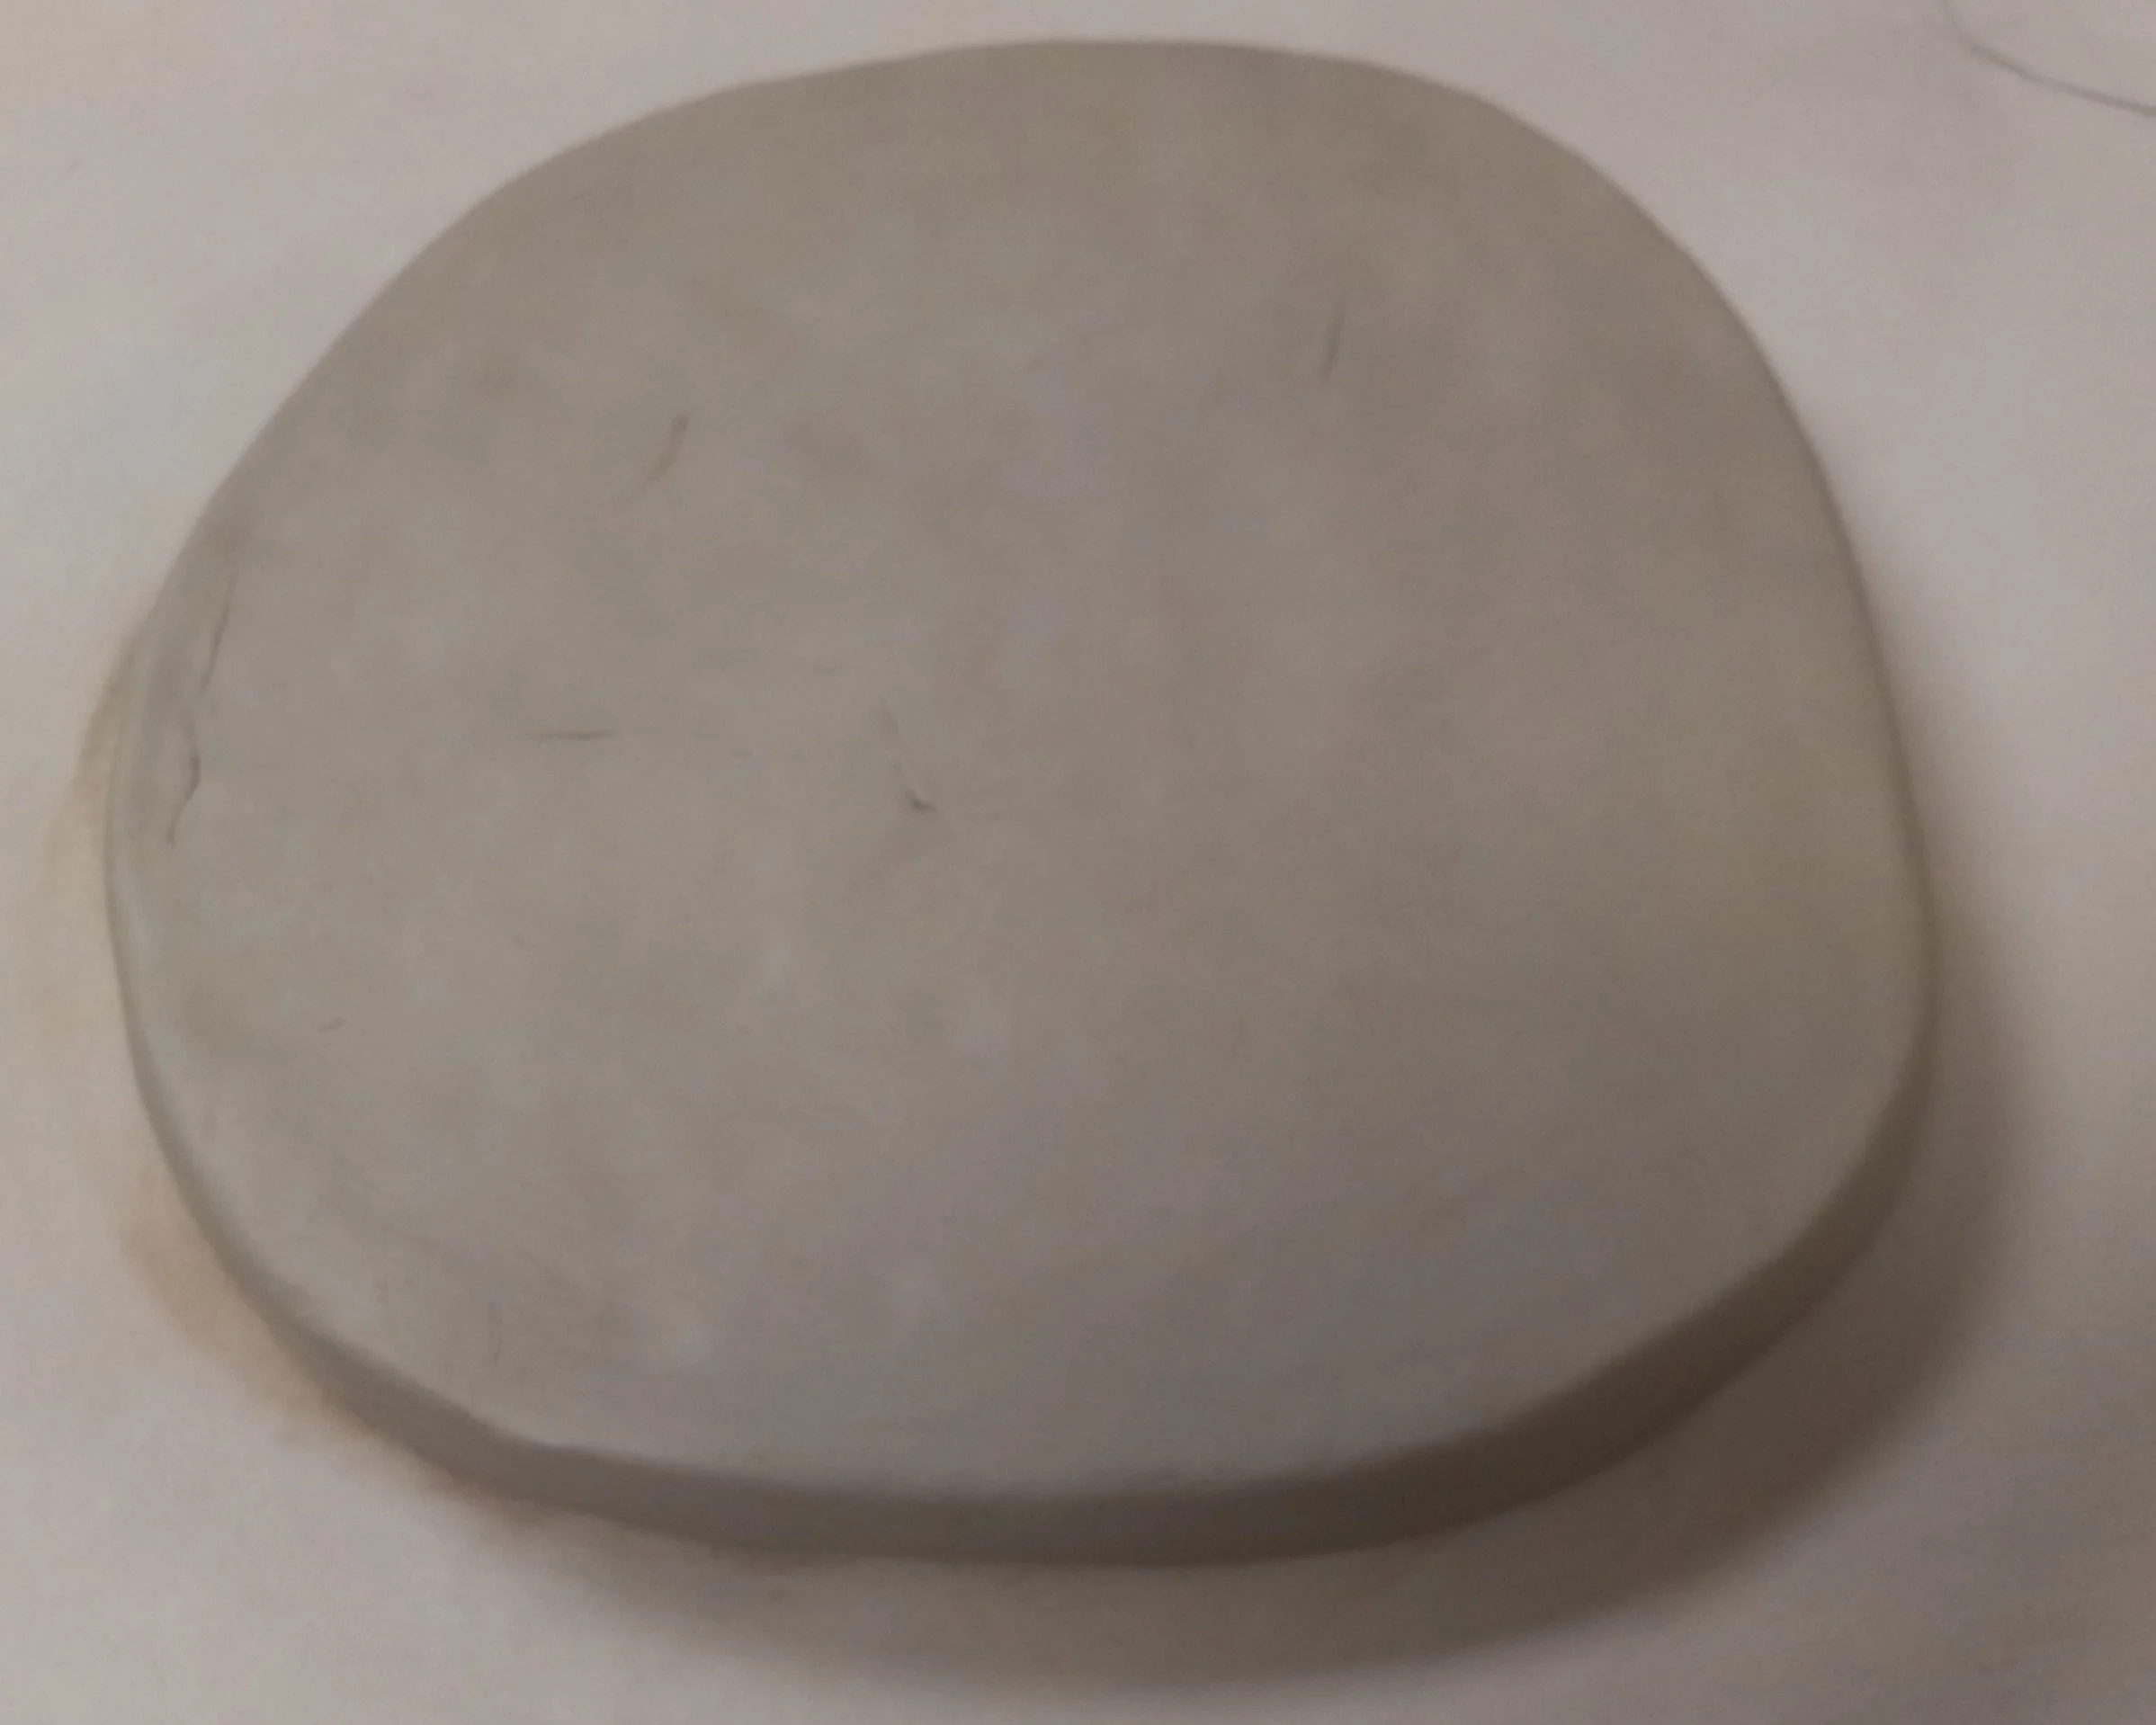
Then the clay was rolled out (using size D wood). The pieces were then cut out tracing the top of the pie dish. We put the clay into the pie dish and used the sandbags to pat them down.
Before adding additional coils, a needle tool was used to flatten the top.

N.B. Be sure to keep the other slab tented in loose plastic.
The 2 very thick coils were added (no indents needed as it is soft clay on soft clay, just wet the edges.) The new clay was also used. It had been sitting in a bag with some finger holes with water.
A needle tool was then used to help smooth the sides
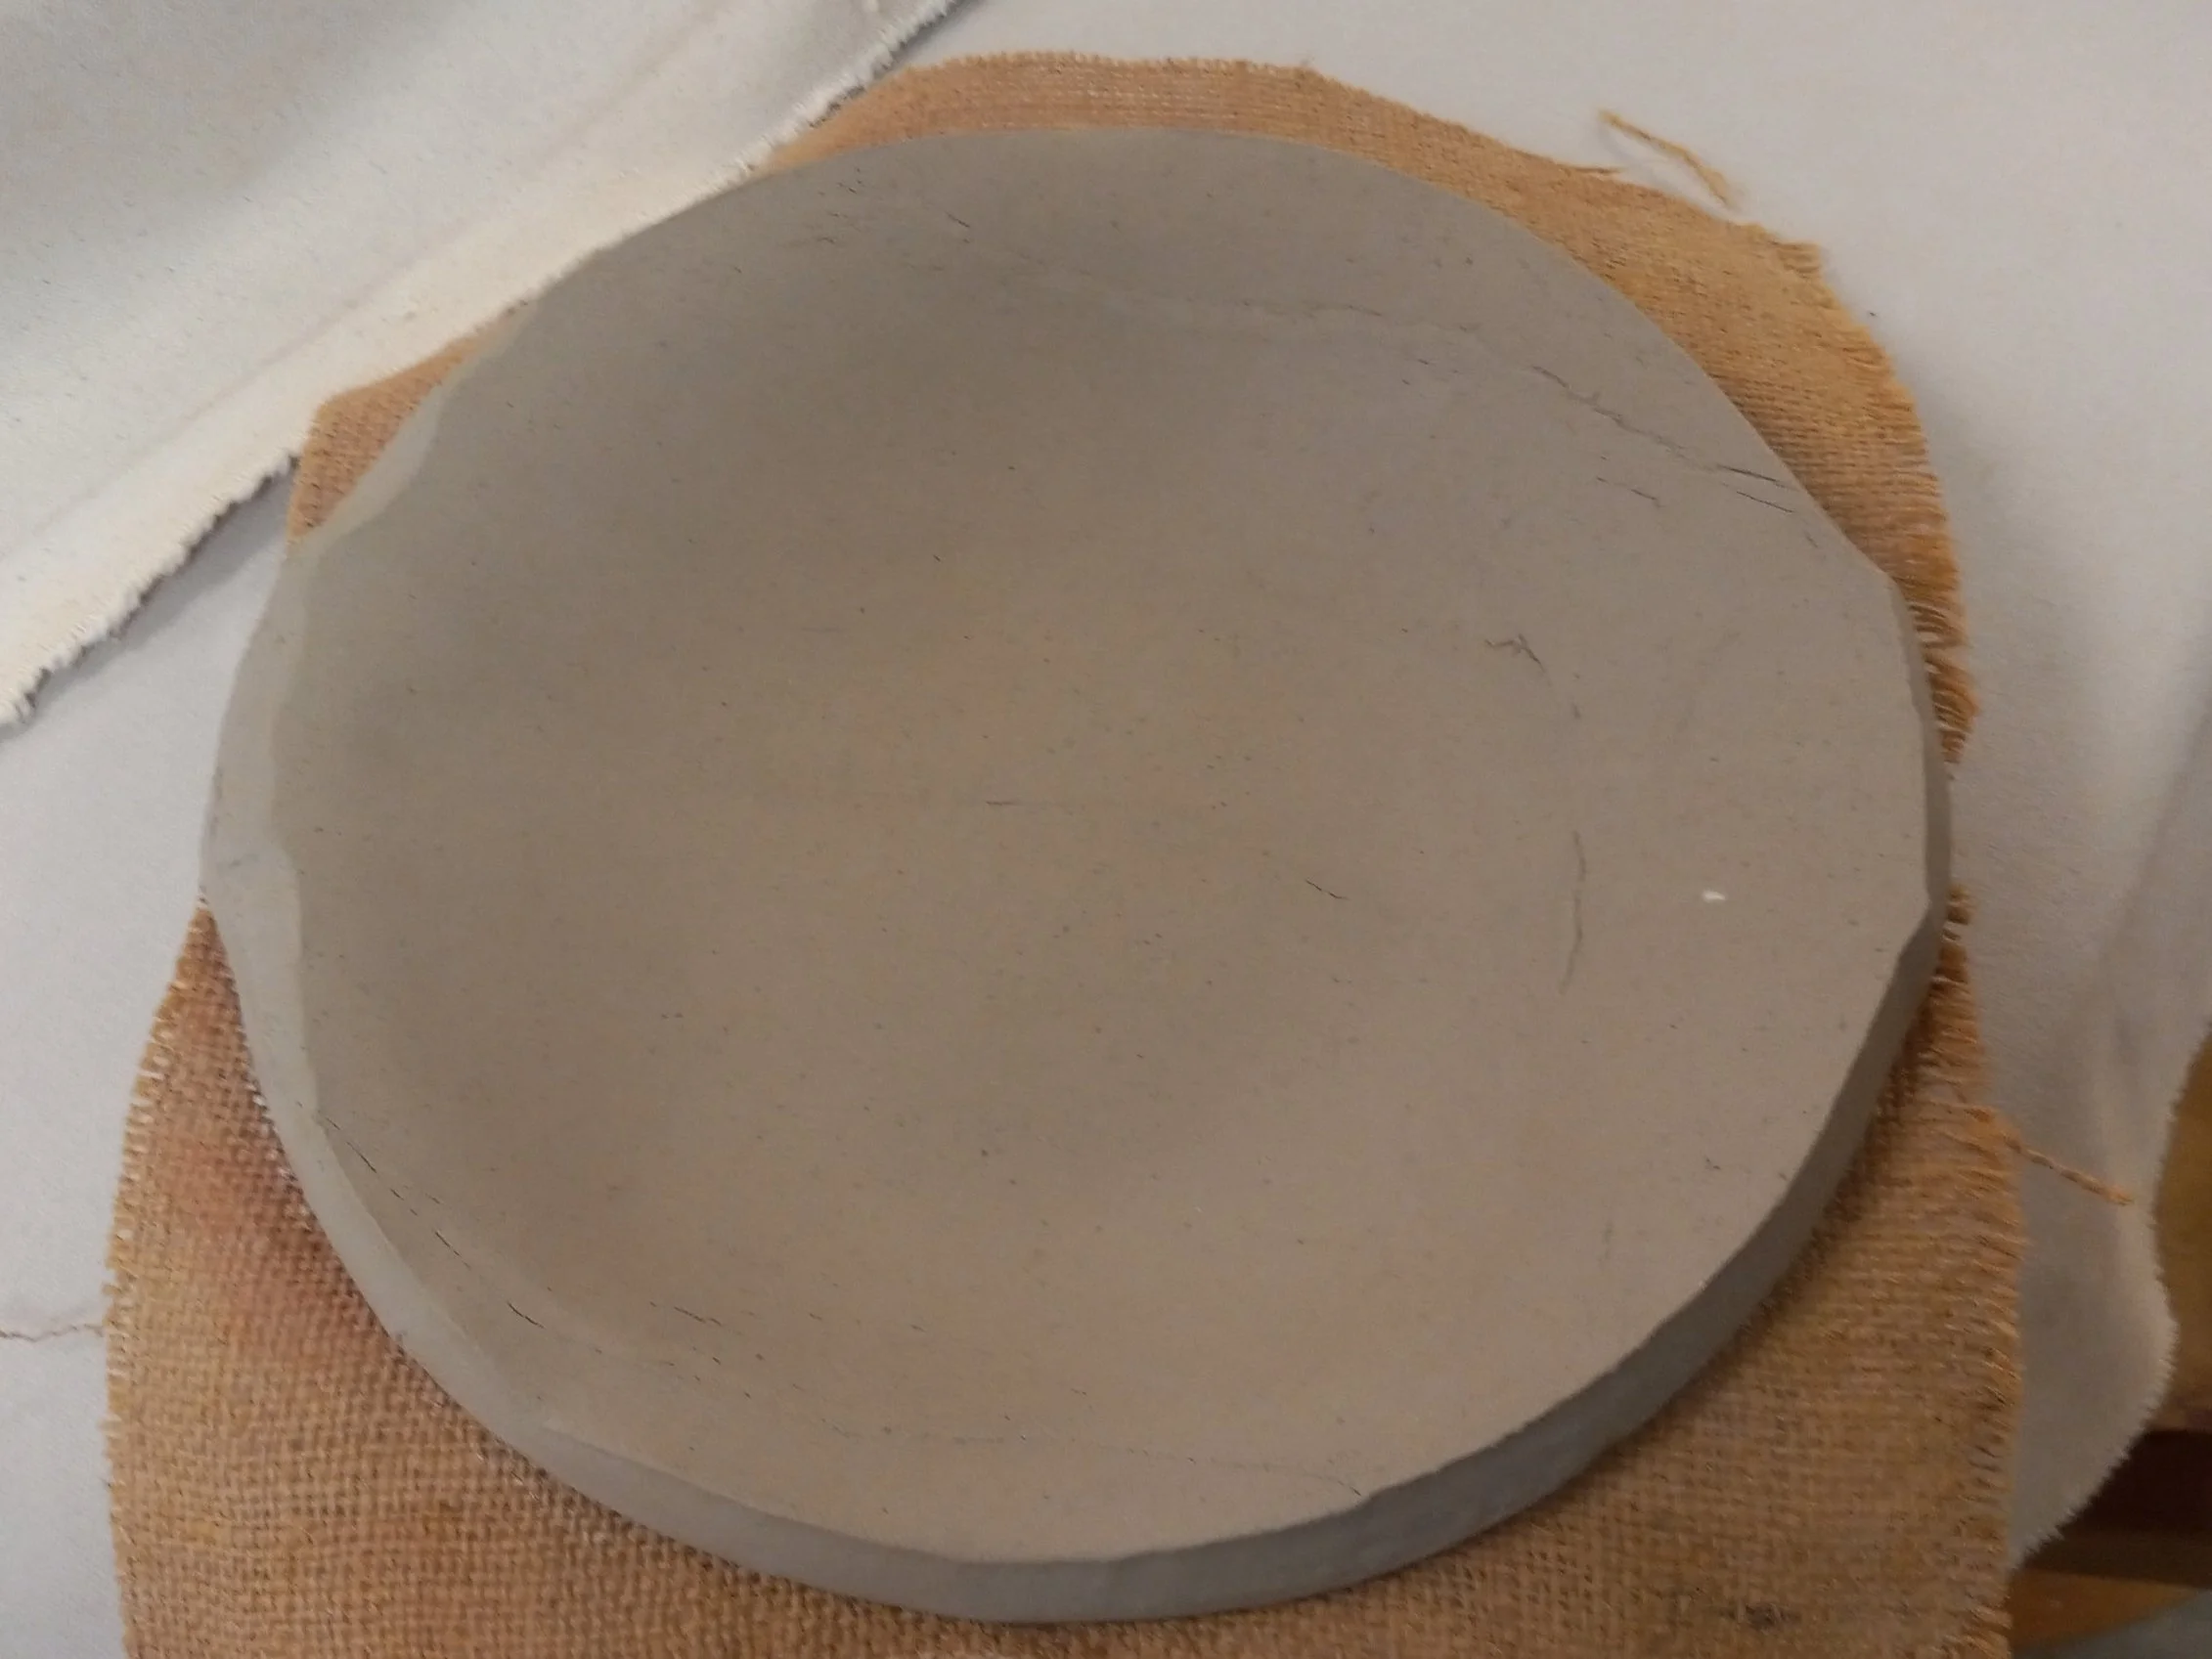
Then it got put away to harden to medium leather hard stage.
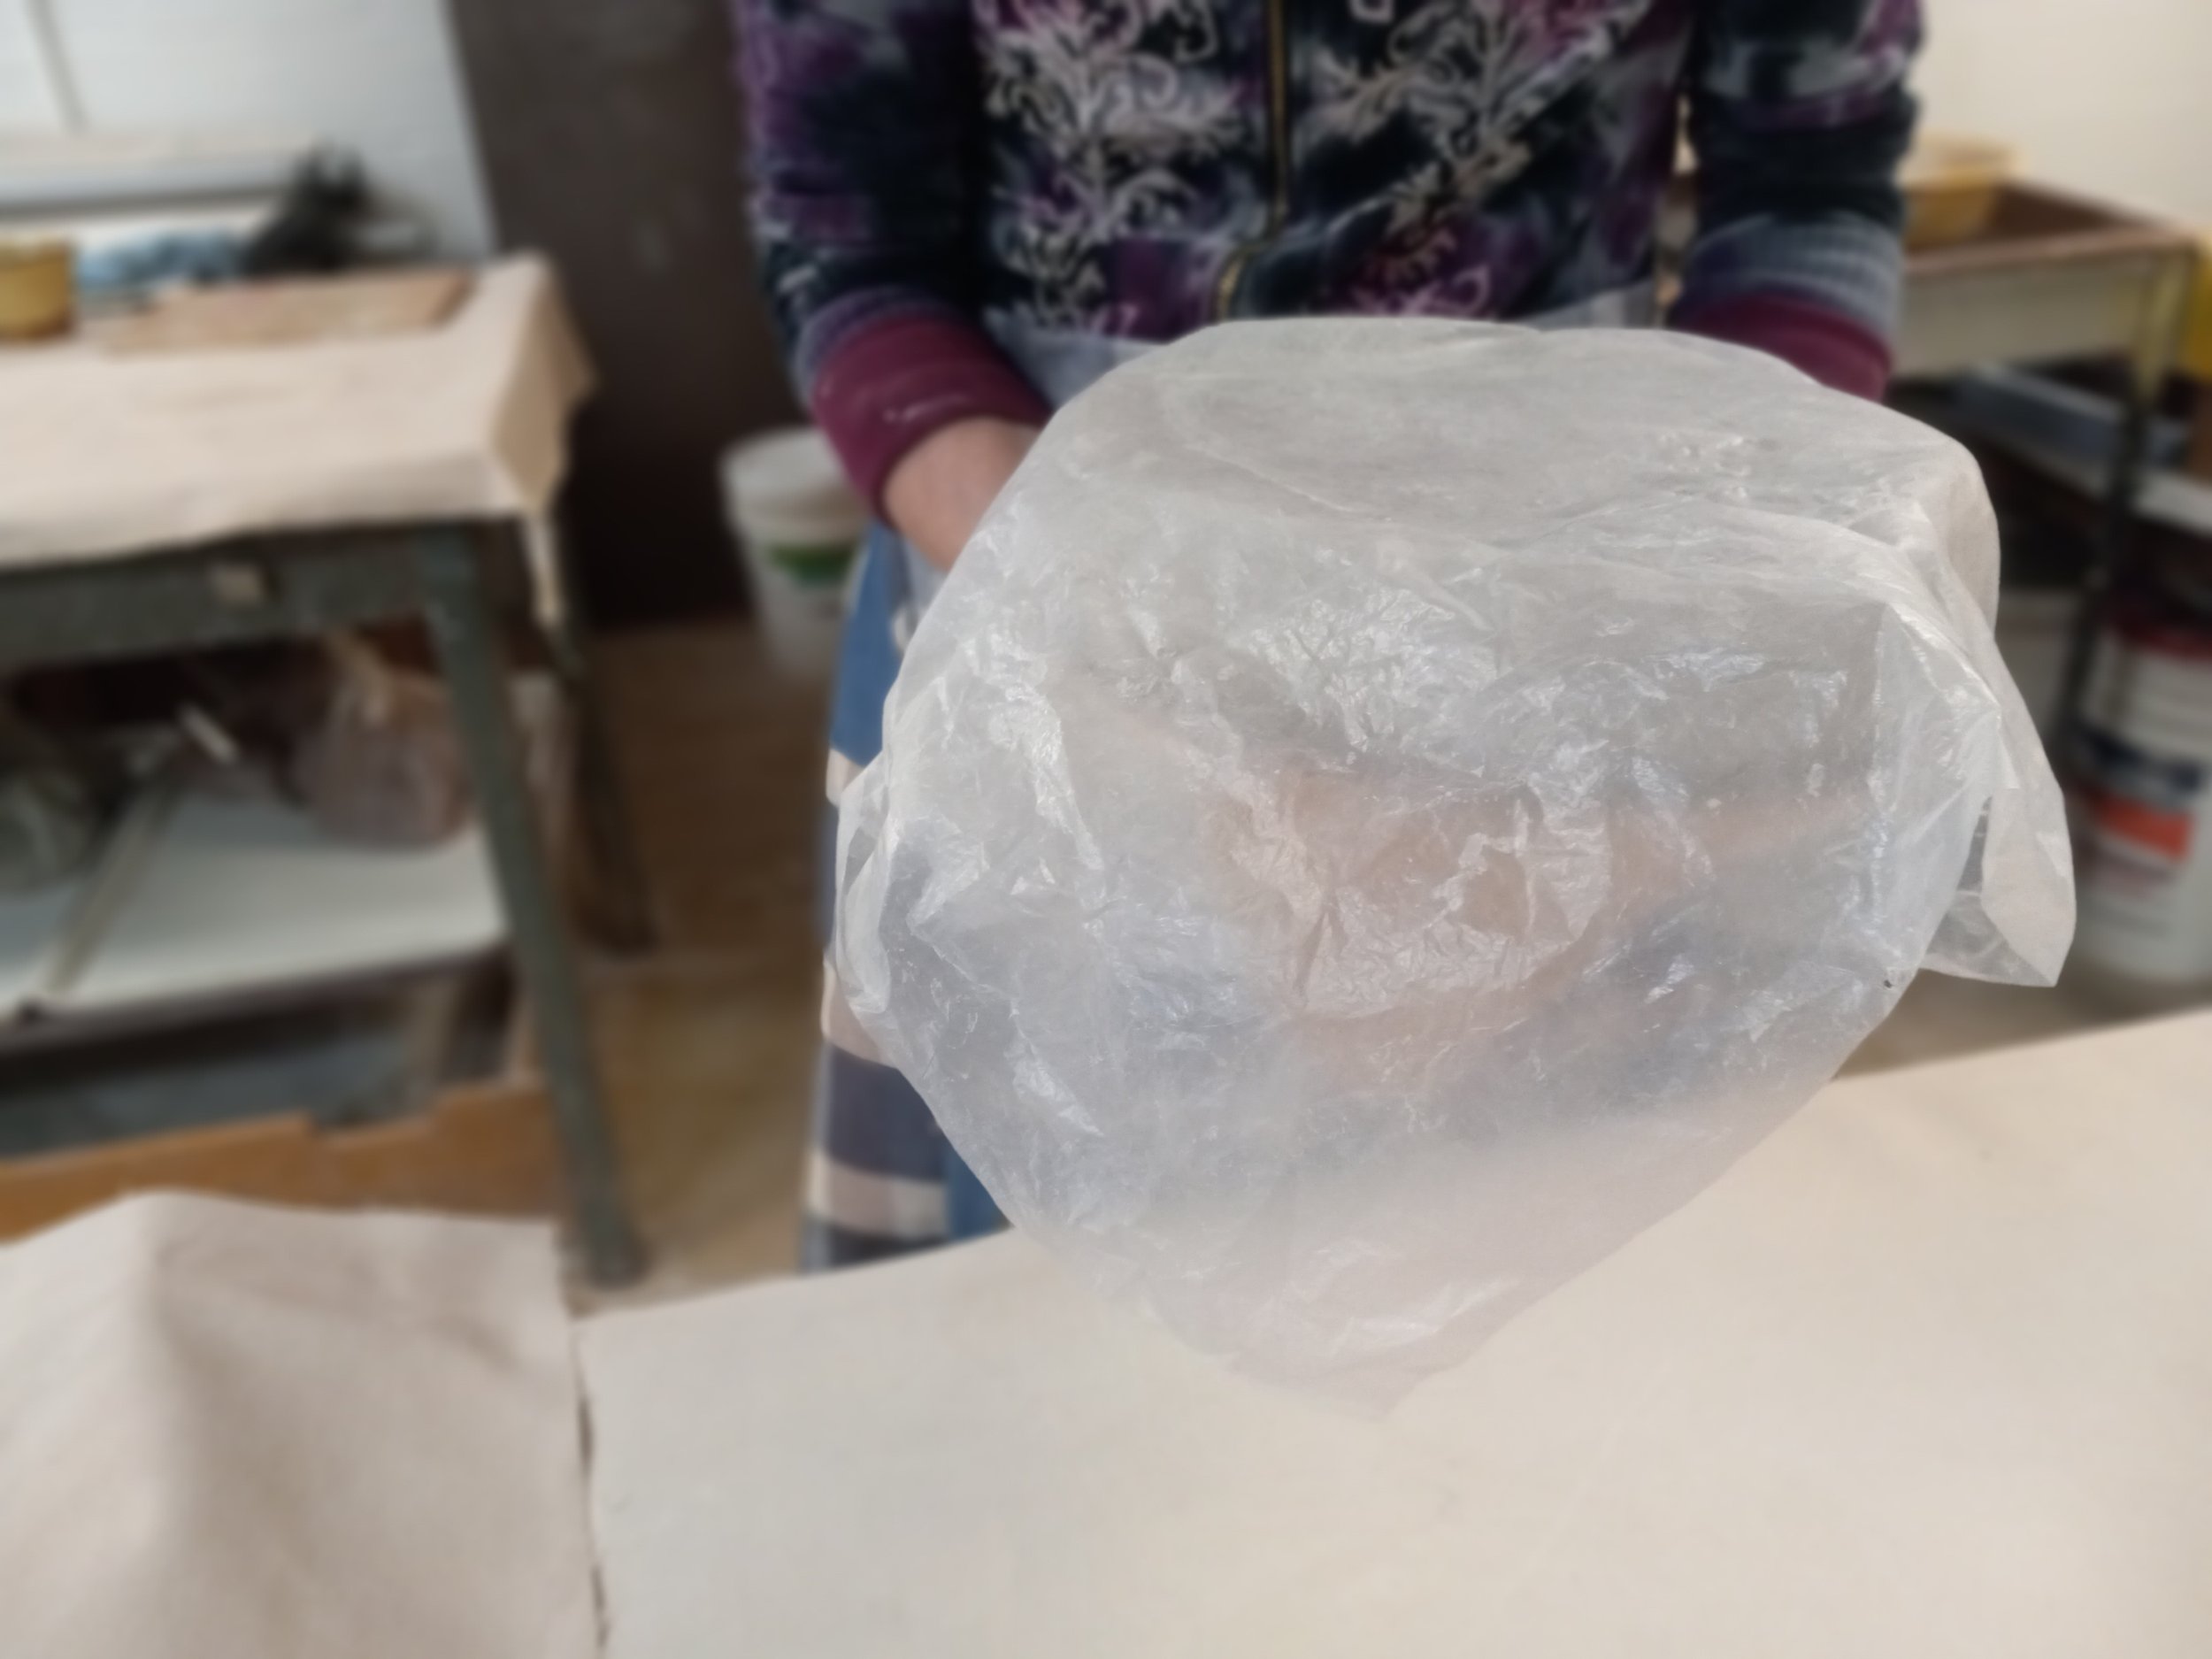
The other slab was also tented to reach medium leather hard stage
The next day, this slab was flipped for even drying.
Session 2: February 22, 2024
Materials:
Two pizza stones
Plastic
Templates for cutting the tongues
Needle tool
tape
Wrapping notes:
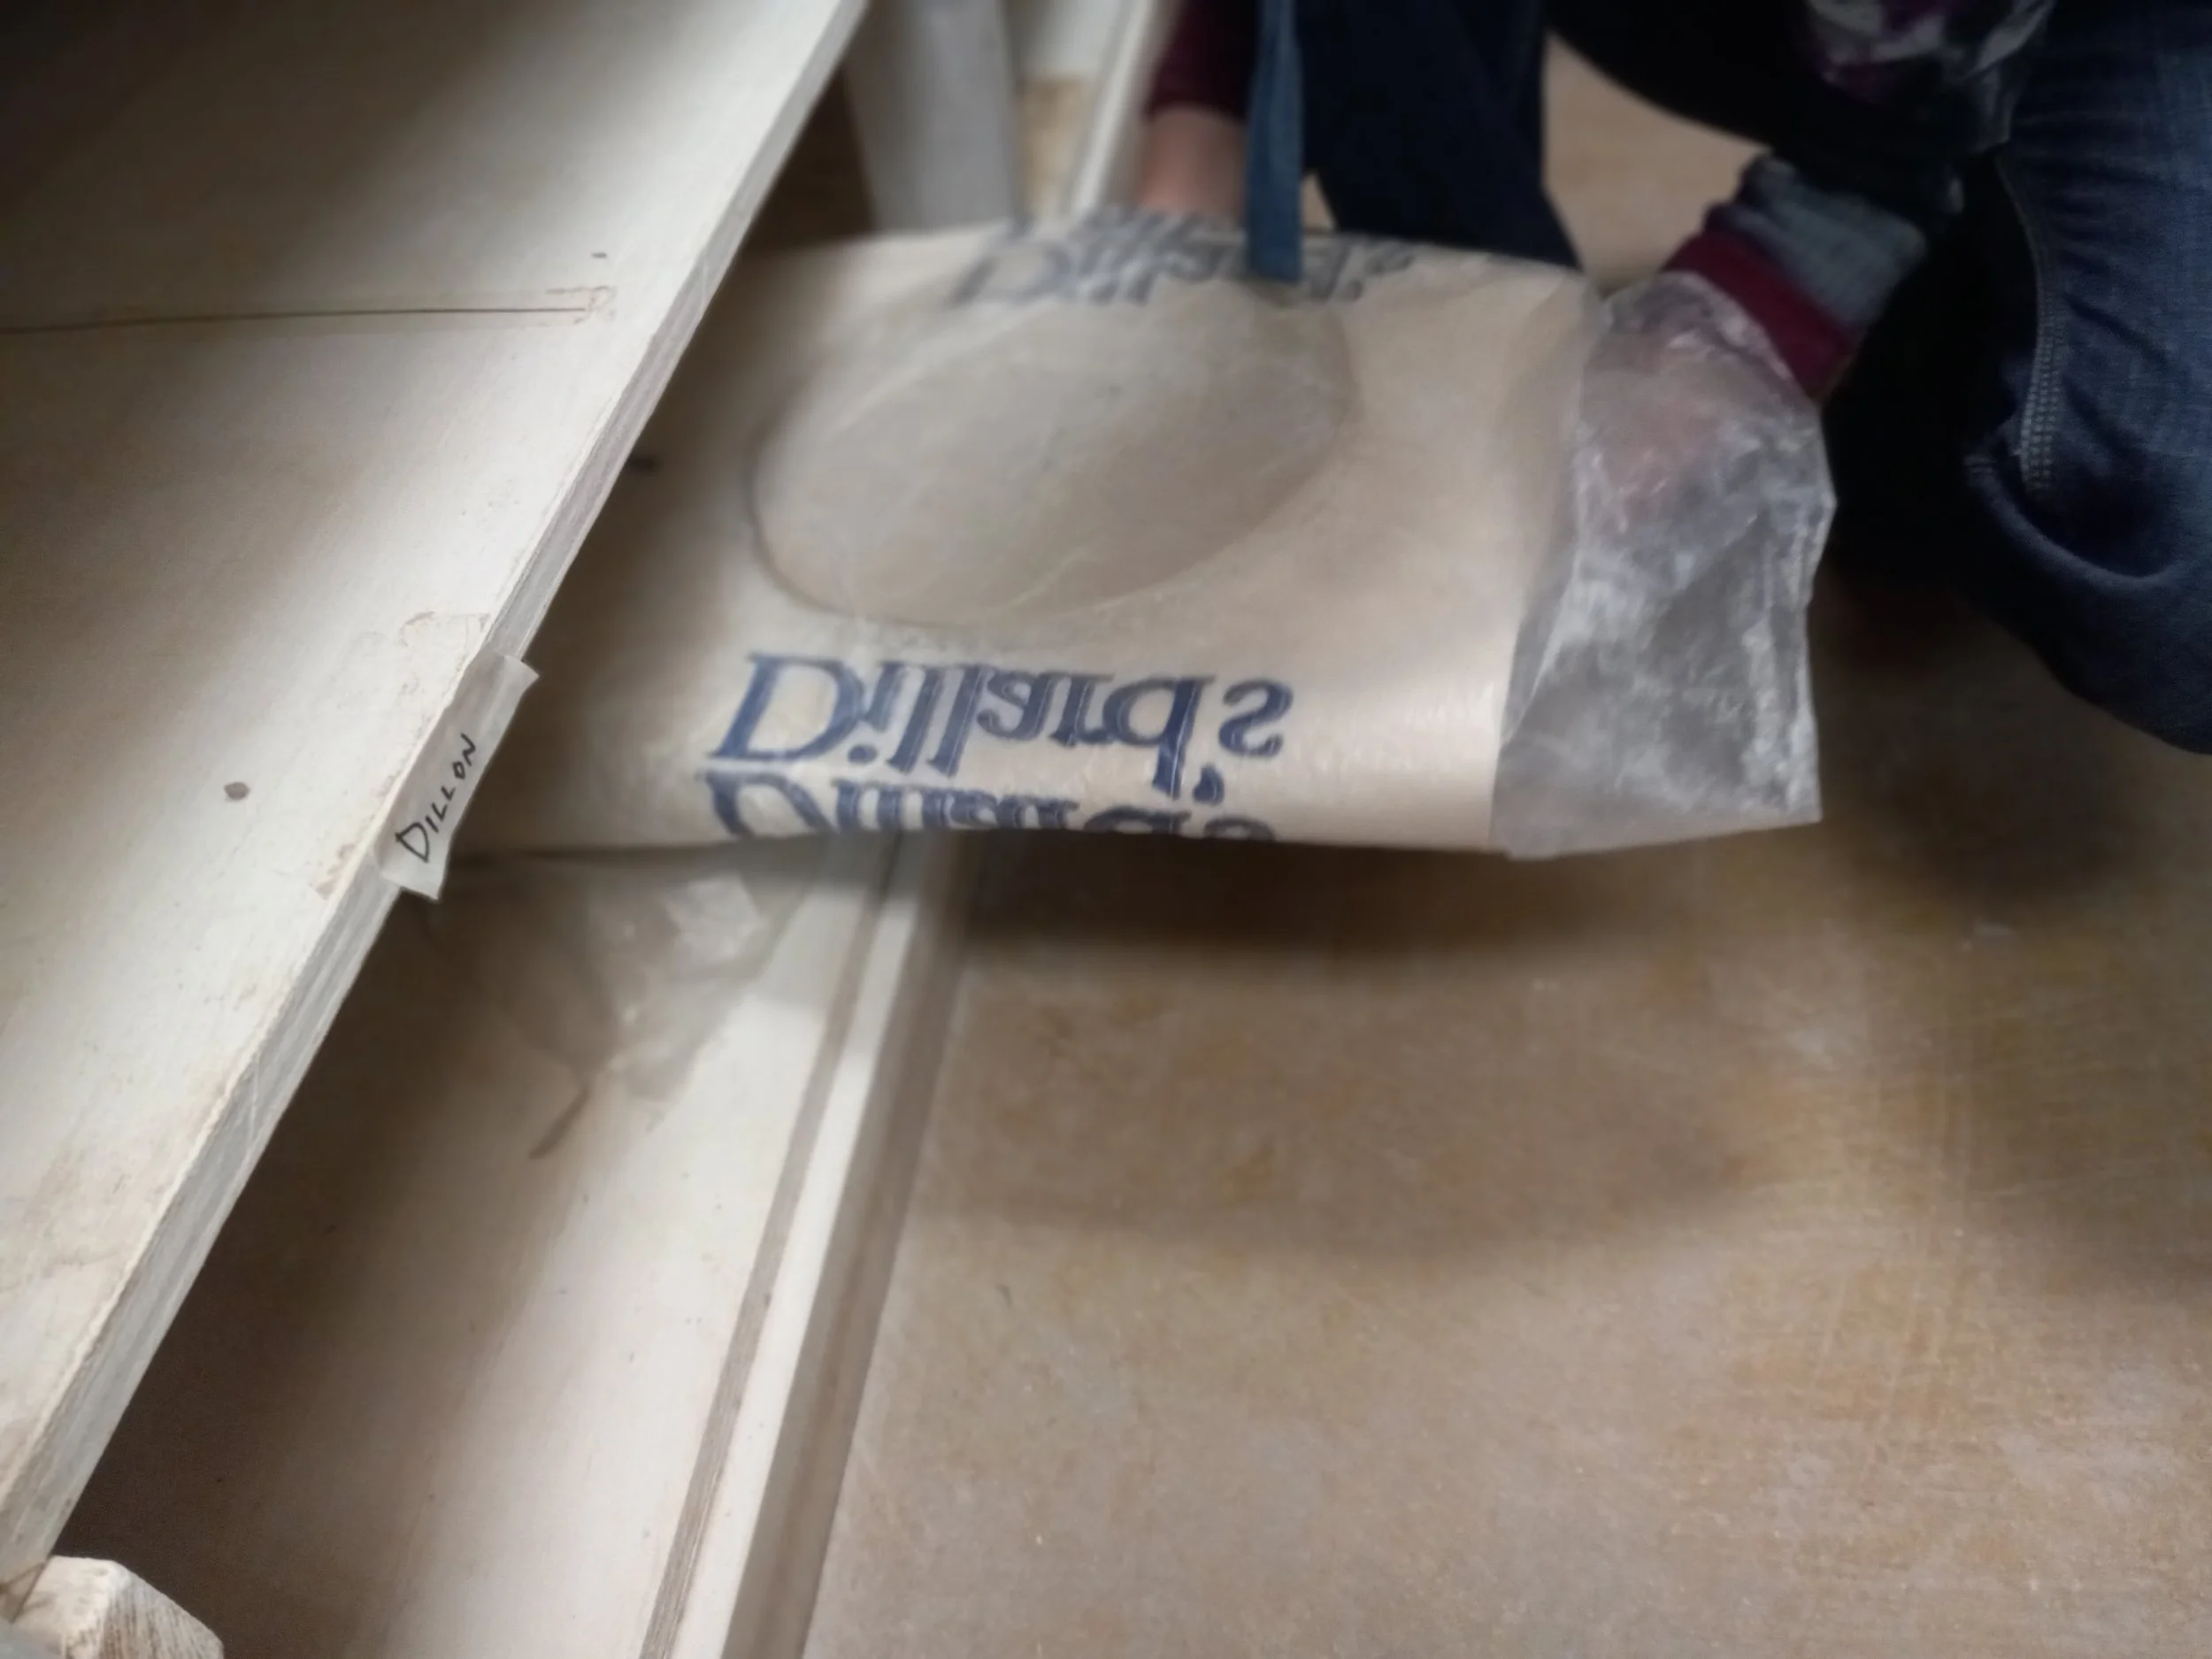
-When desired hardness: take bottom part out of the bowl, wrap twice in plastic, then put loose plastic over
-Tongue slab: take off pizza stone and wrap
Template:
N.B. Have templates ready!
-template: 2 cm for the edge, three relatively large tongues, and 3 short ones
To cut the tongues:
:put the slab on a pizza stone, with plastic on top (for flipping purposes)
-tape the template on
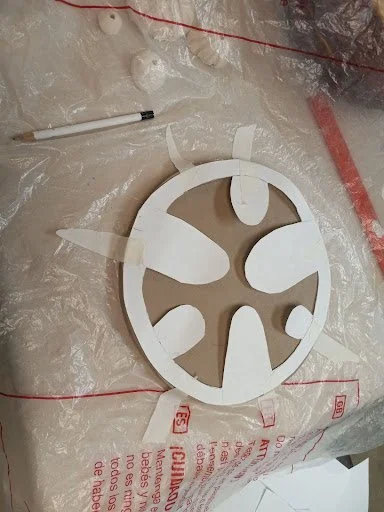
-make a mark on the template and clay piece in case you need to put it back on

-using a needle tool, trace the shape

-then go carefully several times, taking time and not necessary to cut all the way through the first time. N.B. A knife doesn’t work as well- wants to cut straight, hard to cut the curves
-once you think you have cut through, flip it over and gently trace the bottom shape out
-cut little slits in the top to make the pieces easier to take out
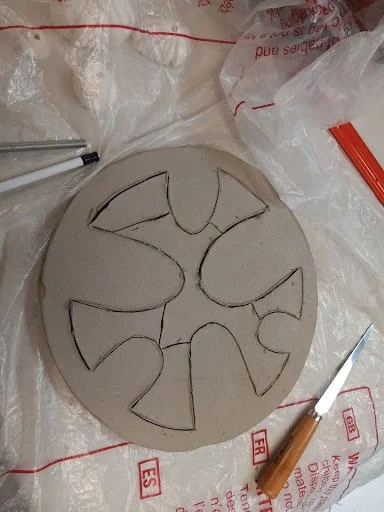
-gently push the pieces up from the bottom
-smooth the edges (trimming tool and plastic), flip over carefully with the pizza stone and smooth edges on the other side
Session 3: March 7, 2024
Materials:
Large and small brush
Sponge and water
Clay suitable for coil
Trimming tools
Needle tool
Ruler
Pizza stone + plastic
Paper and pencil
Lazy susan
Shaping the Tongues:
Looking at the tongues, they looked way too thick to me, especially after looking at the other tongue drums I made. I decided to try and see if you arc the tongues like a marimba bar, if that makes some kind of difference in pitch and quality. The largest tongues were the thinnest, the highest the thickest. This was extremely time consuming- taking about 90 minutes.
Note to self: When making the next one, the tongue slab really needs to be thinner!
Adding the Coil, Attaching it to the bowl:
N.B. The clay being leather hard, it needs to be woken up quite a bit for attachment.
Also, transfer it onto a pizza stone covered in plastic- so it doesn’t dry out too much
Here is what I did:
Put on lazy susan if possible. Use needle tool and make pretty deep teeth. Use the brush to brush away the little pieces of clay coming off. Then with a brush, put quite a bit of water into it. Cover with plastic while making the coil.
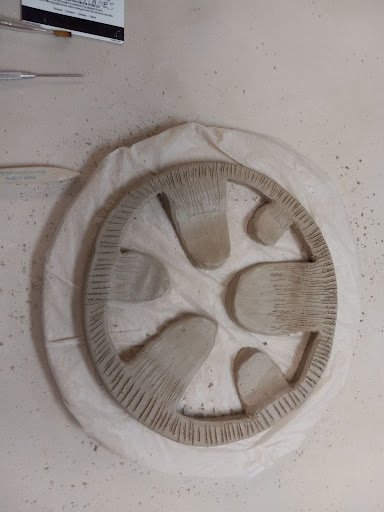
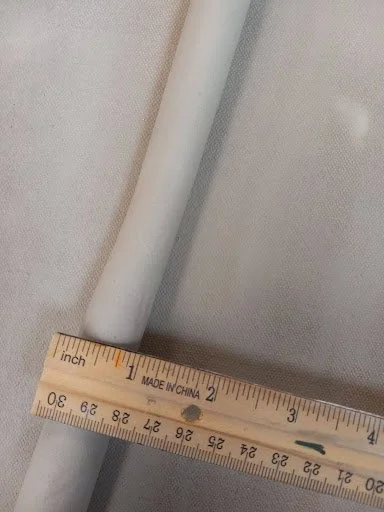
Make a pretty thick coil, slightly less than an inch (if need be water the canvas if clay is a little dryer)
Put some more water into the teeth to keep awakening the clay.
Attach coil and smear. Don’t be afraid to use the smaller brush to keep the teeth wet and water them. Also put teeth on the sides for smearing. Water those.
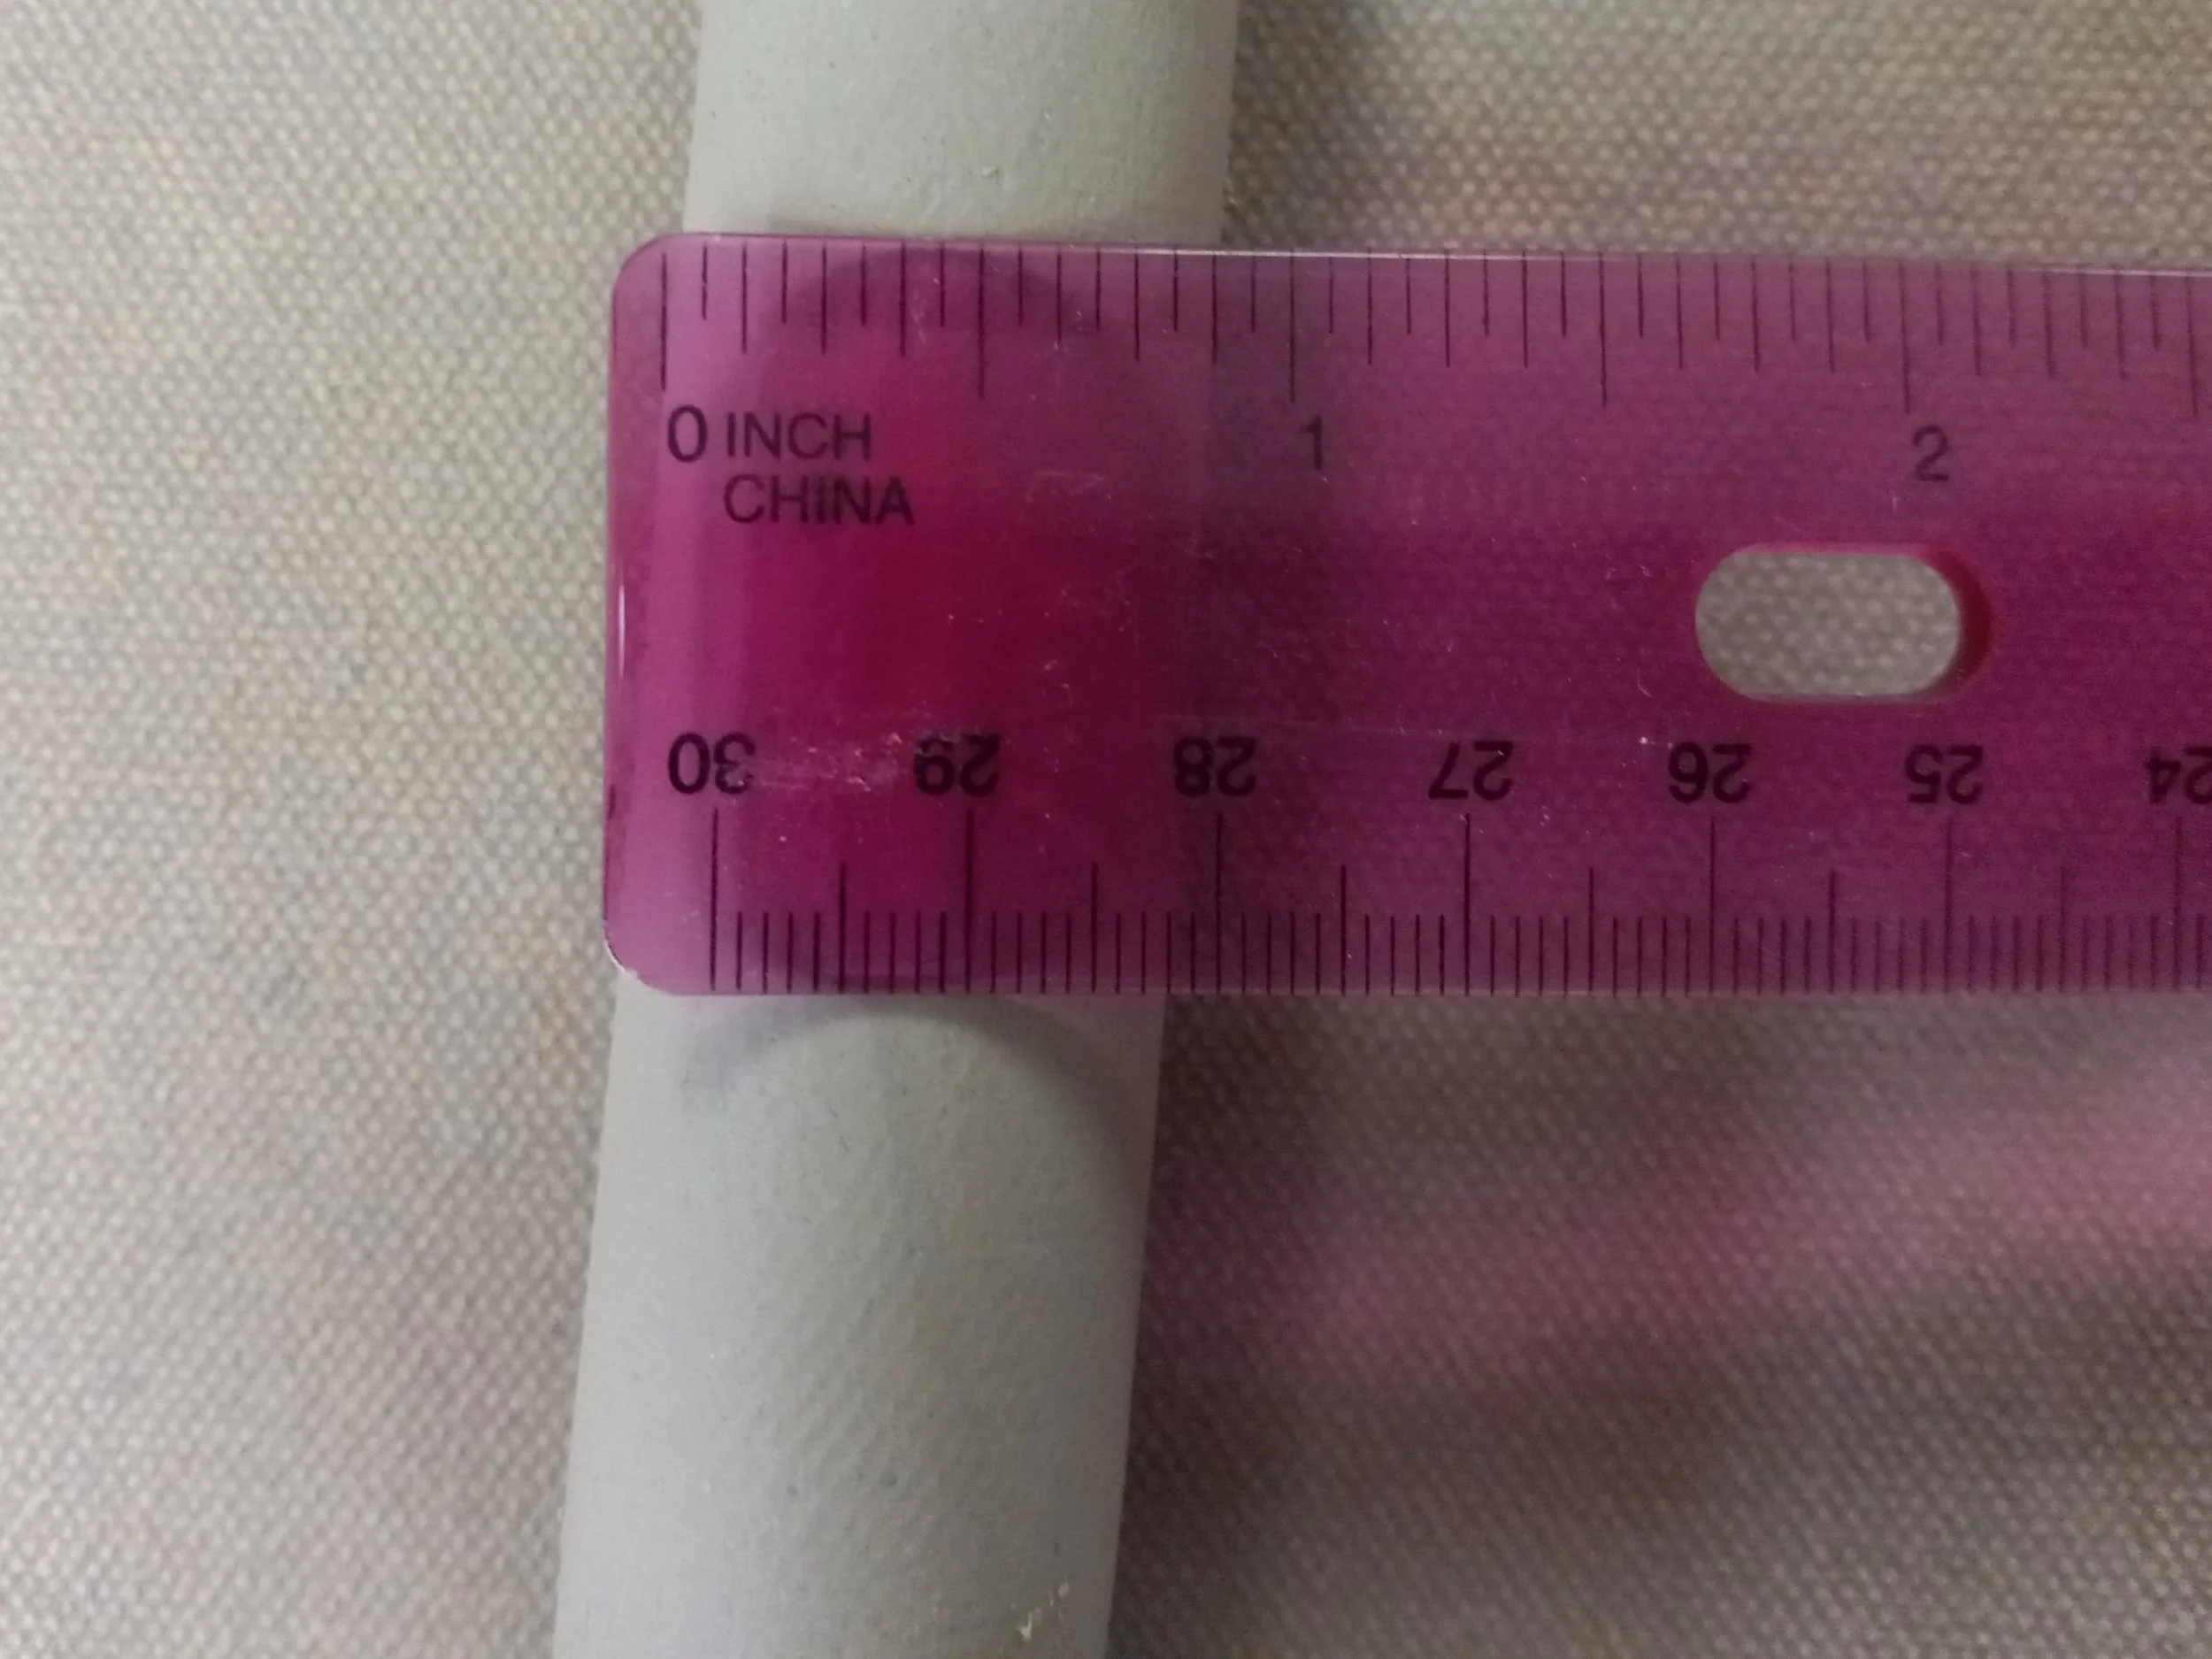
This is the really important part to ensure the pitches are relative to their sizes.
-The attachment of the tongue to the coil is the node, and therefore that thickness is vital in the pitches being relative. The thinner the attachment, the lower the pitch. So, the attachment thickness needs to become thicker and thicker as the notes are supposed to be higher. Otherwise, you will have small tongues that sound lower than the biggest tongues, and they just don’t sound as good.
-Make a little diagram on your paper to keep track of the thicknesses. You can also mark the measurements directly onto the clay with a pencil
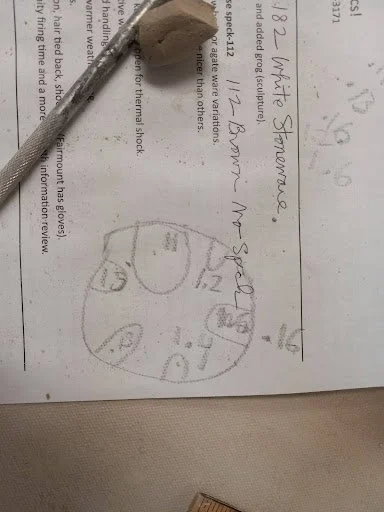
My measurements were the following:
.11
.13
.16
1.2
1.4
1.5
On March 18 for another tongue drum, I did the following measurements. The smaller tongues on the first tongue drum don’t sound like much, so I’m trying a thinner attachment this time:
.11
.13
.16
1
1.1
1.1
Use a needle tool to poke a hole through horizontally, and then measure that space with your ruler. For the lowest two tongues, I used a trimming tool to wipe some of the clay away. But I don’t think you should go thinner than: .11 For the other tongues, I had little coils that I added on to make the attachment thicker. Soft clay to soft clay can just be smeared on. The measurements don’t have to be exactly the same as mine, just relatively getting thicker. No thinner than .11, not thicker than 1.6 (to be seen as we get results coming out of the kiln).
Notes from a later date repeating the process:
This process worked well:
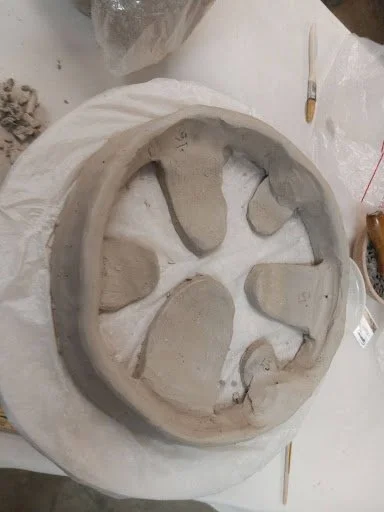
VERY CAREFULLY flip the drum over- place little foams underneath so tongues dont cave in
Work quickly to trim the edge and sides so it isn’t too messy
Then I added one more thick coil on. Then I used a needle tool to trim the top part to avoid unevenness.
On this tongue drum I added 2 very thick coils on top of the one used for tuning. There is no coil added on the bottom half. I am going to try this as the other one was too large.

Session 4: March 14, 2024
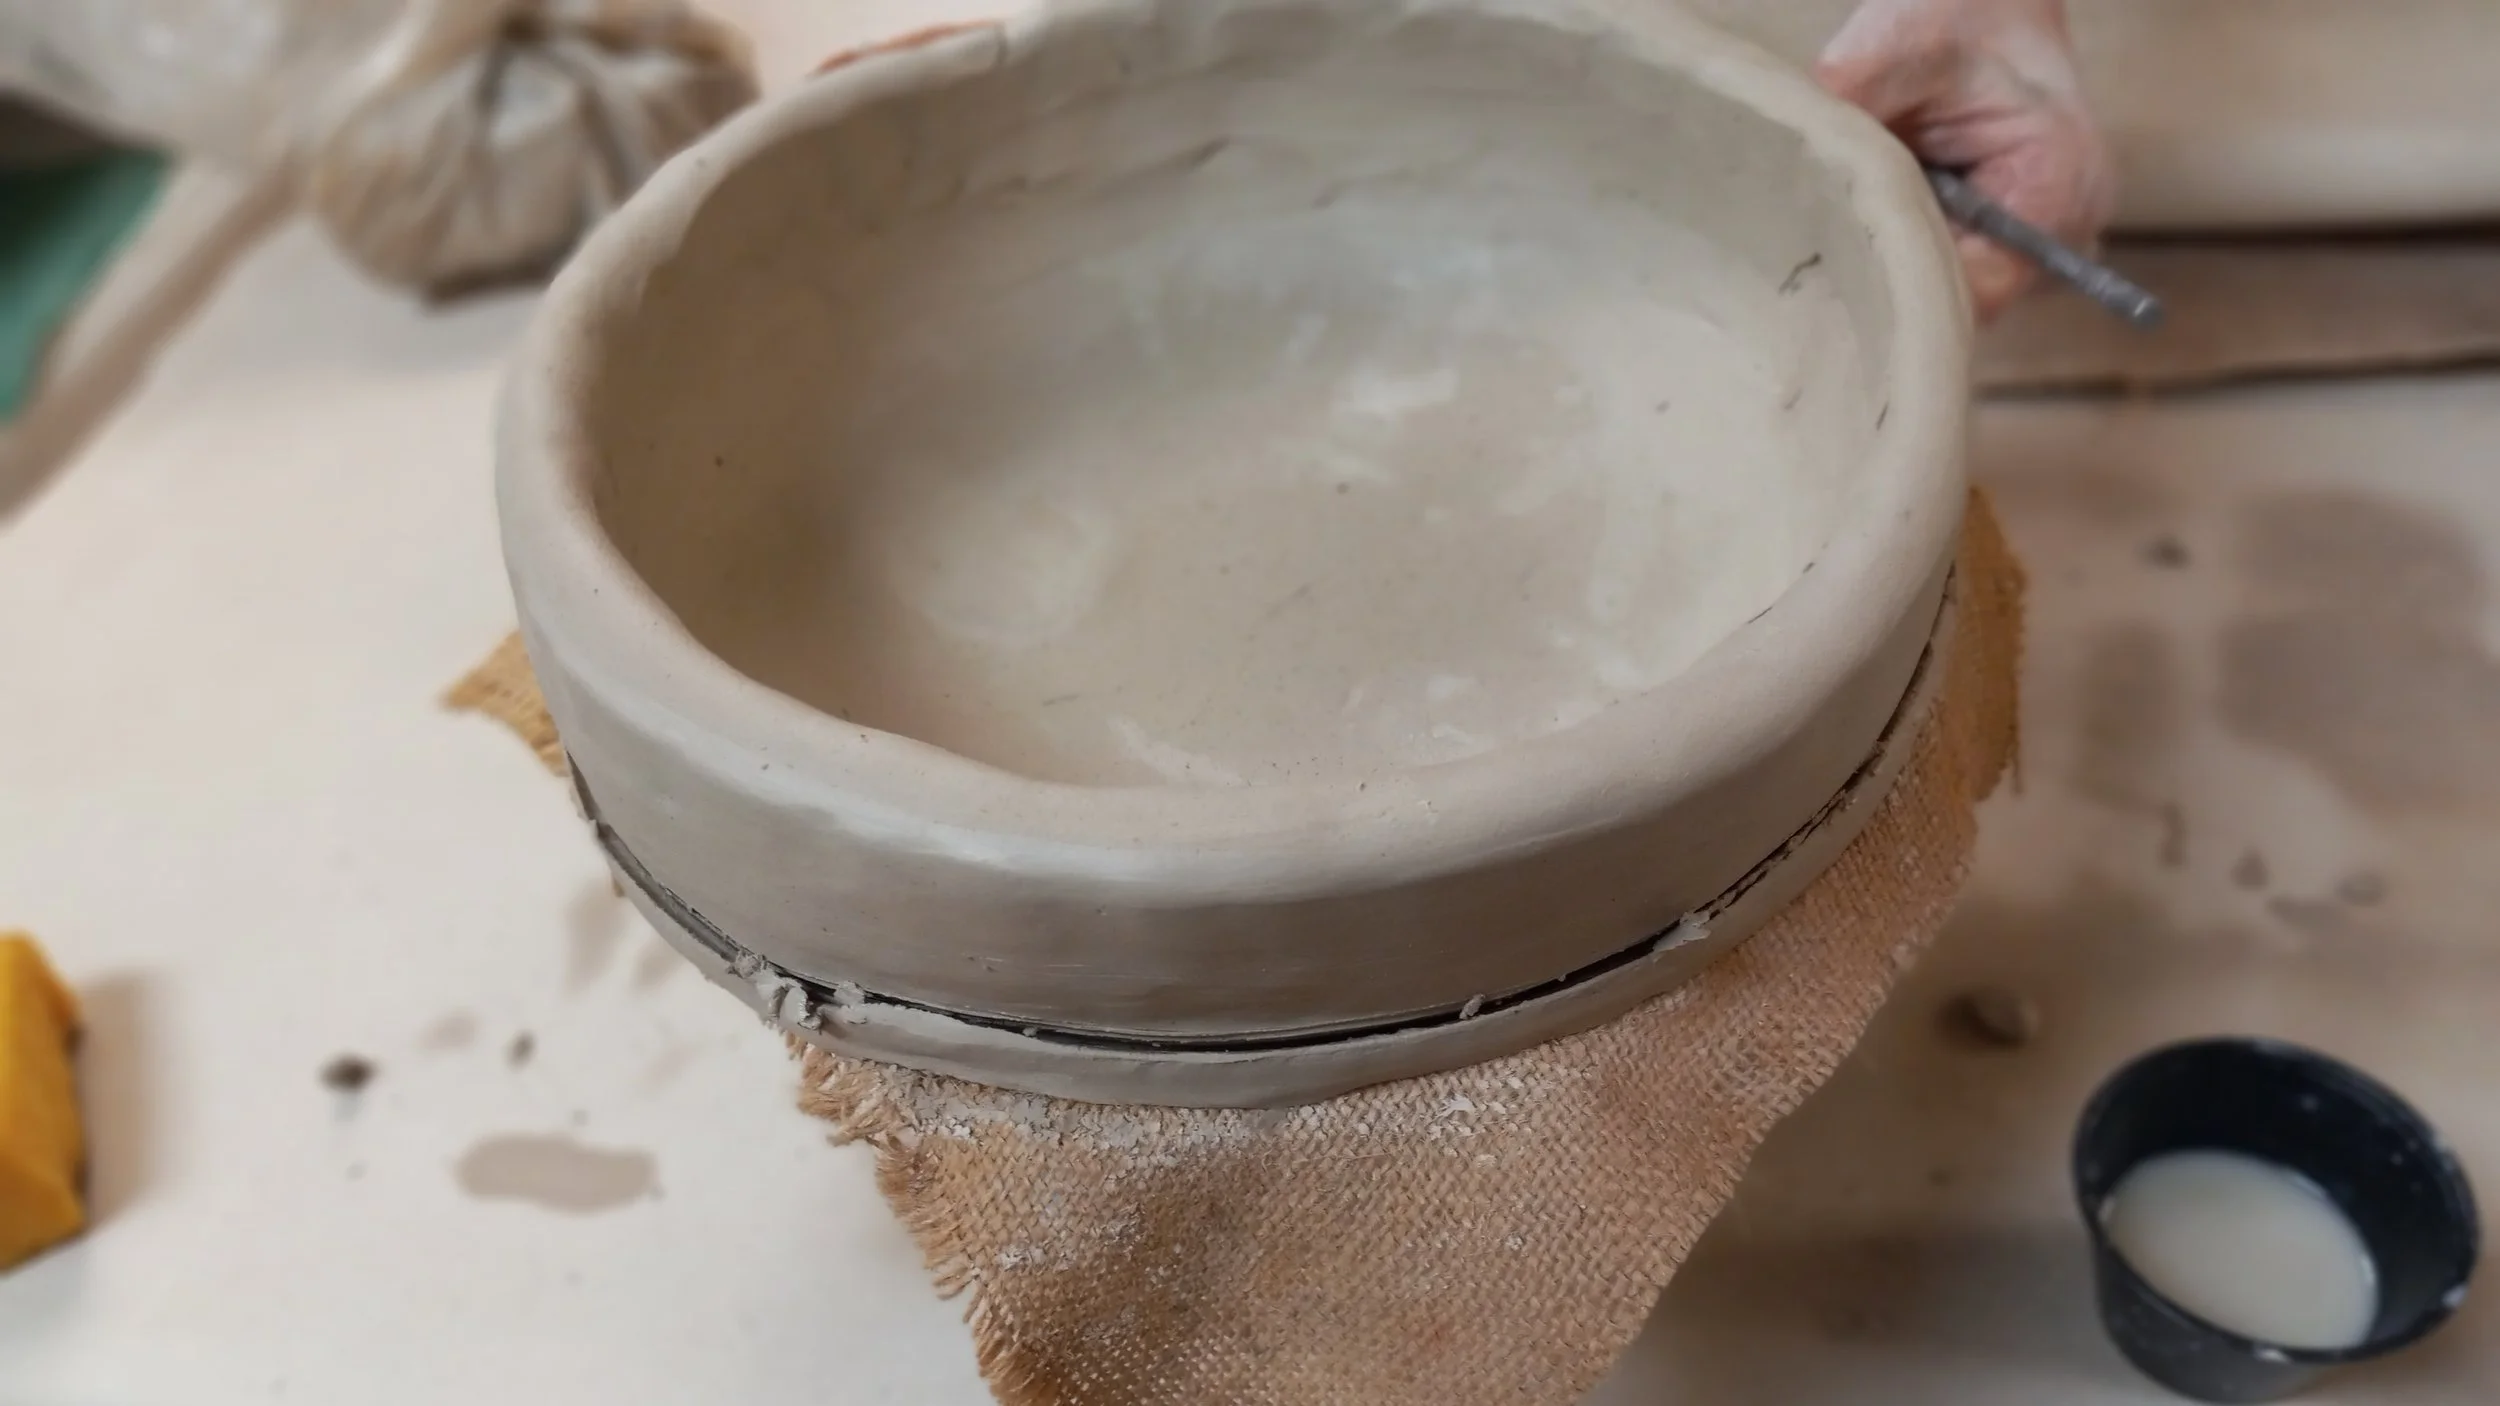
Connecting the two halves together:
Since the top half was too soft to flip without risk of it falling apart, we decided to keep it upside down and put the bottom half on top.
Here was the process:
-score pretty deeply and generously the bottom half, add water with paint brush several times (if one piece if softer than the other, score the harder pieces first so it has a bit of time to wake up)
-then scored the top half
-Make a very generously large coil:
Big mistake made here in class- the coil was too small. It has to be big enough to smear on the inside, outside AND attach to the other piece. Next time coil needs to be thicker.
-added coil onto the top part
-put the bottom piece on top, take the wooden spoon and hit the side to help zipper the two pieces together. Make sure that the harder bottom piece has some moisture in the scoring.
-then we used another pizza stone to flip it over. The top edge was very messy.
-I had to use a needle tool to clean up the sides and edges- being careful not to let the pieces fall down into the drum. A moist sponge also helps clean and capture those tiny clay pieces. Trim also the outer edge so it isn’t sharp.
-Flipped it back over so the tongues wouldn’t cave in
Add coil to the outside of the tongue drum so you can lift it easily:
This added coil helps with picking up the instrument and is a practical thing to add on.
Here was the process:
-take a string and measure the outside, then use a chalk to draw on the canvas- then you know how long the coil has to be
-soft clay onto soft clay doesn’t need scoring, however when you smear the bottom and top parts do or they might flake off. Add coil- smear the top and bottom (may be easier to flip to do the top edge)
-Add some nice texture to the outside of the coil for a decorative touch
PICTURES OF THE TONGUE DRUMS COMING SOON!