Unearthing the Udu
The first instrument I decided to make in my Mud Meditation journey was an udu, a Nigerian instrument, also sometimes called abang mbre, kimkim, or idudu egu. The udu is a clay pot with a round hole on the side. It is not an instrument I specialize in, but I really love its bubbling aquatic quality and I play it sometimes in my sound naps.
I’m definitely not an expert on the culture surrounding the udu, but am very intrigued by the instrument for a number of reasons based on what I have I have read about it. The udu is traditionally made and played by women. My impression is that this is pretty rare, as percussion seems to be such a male dominated instrument in many cultures - certainly in my personal experience in western classical percussion. I was also really intrigued that the instruments seem to appear in all kinds of shapes and sizes, and I loved the idea of having quite a bit of freedom in how to create it. If you would like to learn more about the udu and other ceramic instruments, I would highly recommend reading From Mud to Music by Barry Hall.
To begin this journey, I began taking a wonderful ceramics class at the Fairmount Center for the Arts in March 2022. Two things struck me very strongly while taking this class:
There is an undeniable meditative and almost addictive aspect to working with clay
AND
Making ceramics is REALLY HARD
I wasn’t expecting it to be easy, but yea, it was really hard…
At first, I thought I would have to learn how to throw pots on the wheel as this is how I assumed udus were made. After 2 sessions of throwing, what my teacher told me during the first session really sunk in-that it would take years of practice to be able to throw something the size I was hoping to make. Feeling a little impatient and thinking this project would take much longer than anticipated, I gained some hope when it was revealed in Barry Hall’s book that the udu could be made a different way - through coiling!!!
Though udus are sometimes thrown on a wheel, coiling is apparently the traditional way of making them. The best news was that with this technique, I could make my udu in a matter of weeks!!! With the coiling technique, I rolled out clay into coils and gradually smeared them one on top of each other, gradually building up the udu. It felt sometimes a little bit like throwing in super slow motion. As I watched my teacher demonstrate how to make coils I thought, ‘oh yea I can do this, this looks way easier than the wheel.’ But as I tried to make my first coils the lumpy uneven rolls looked vastly different from my teacher’s perfectly even coils. To say the least, she made it look easy, and it is NOT.
Every week I went for a 2.5-hour class, and the time just whipped by. I wasn’t sure I would be able to finish my udu, but by the end of the 8th week, I had finished just in the nick of time.
Below are a few photos where you can see my progress.
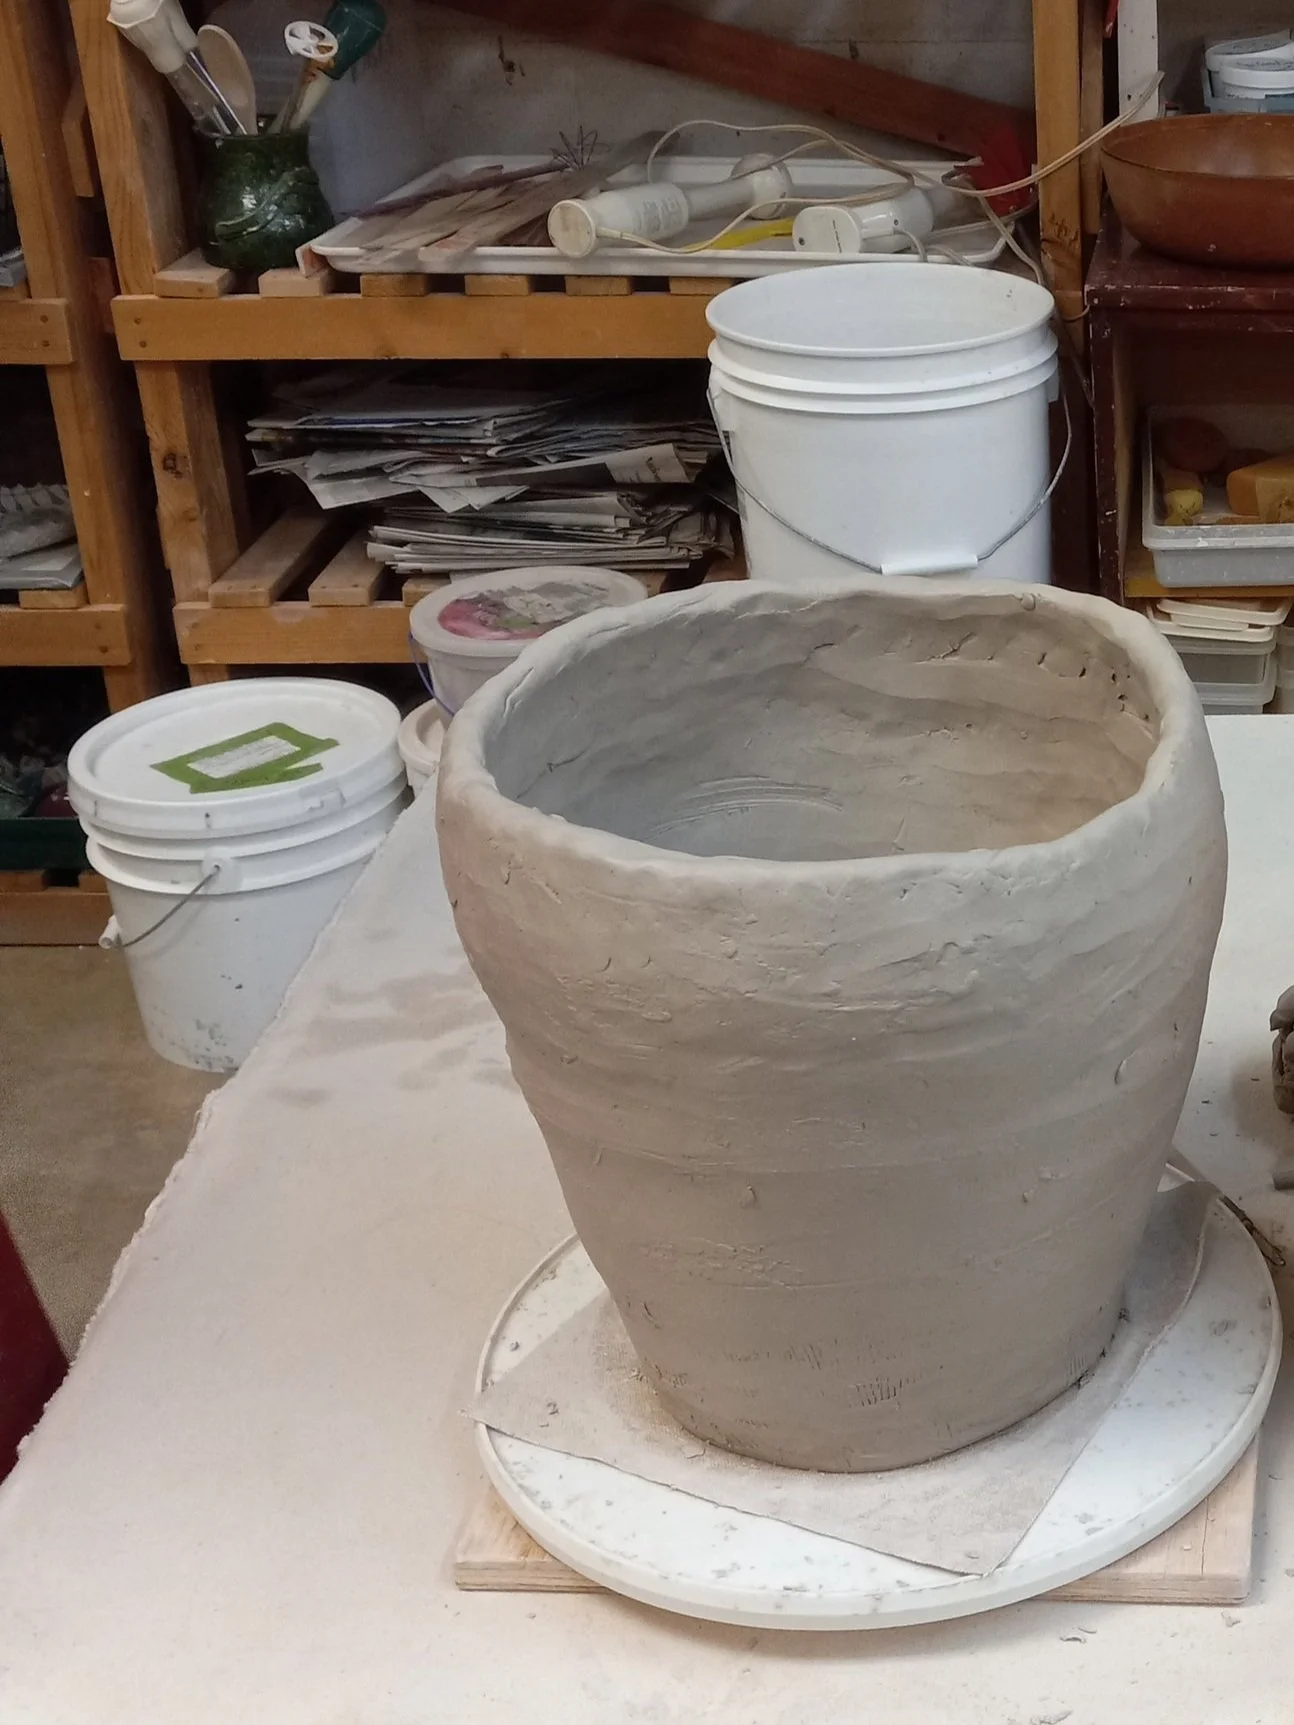
Here is the progress after the second session of coiling.
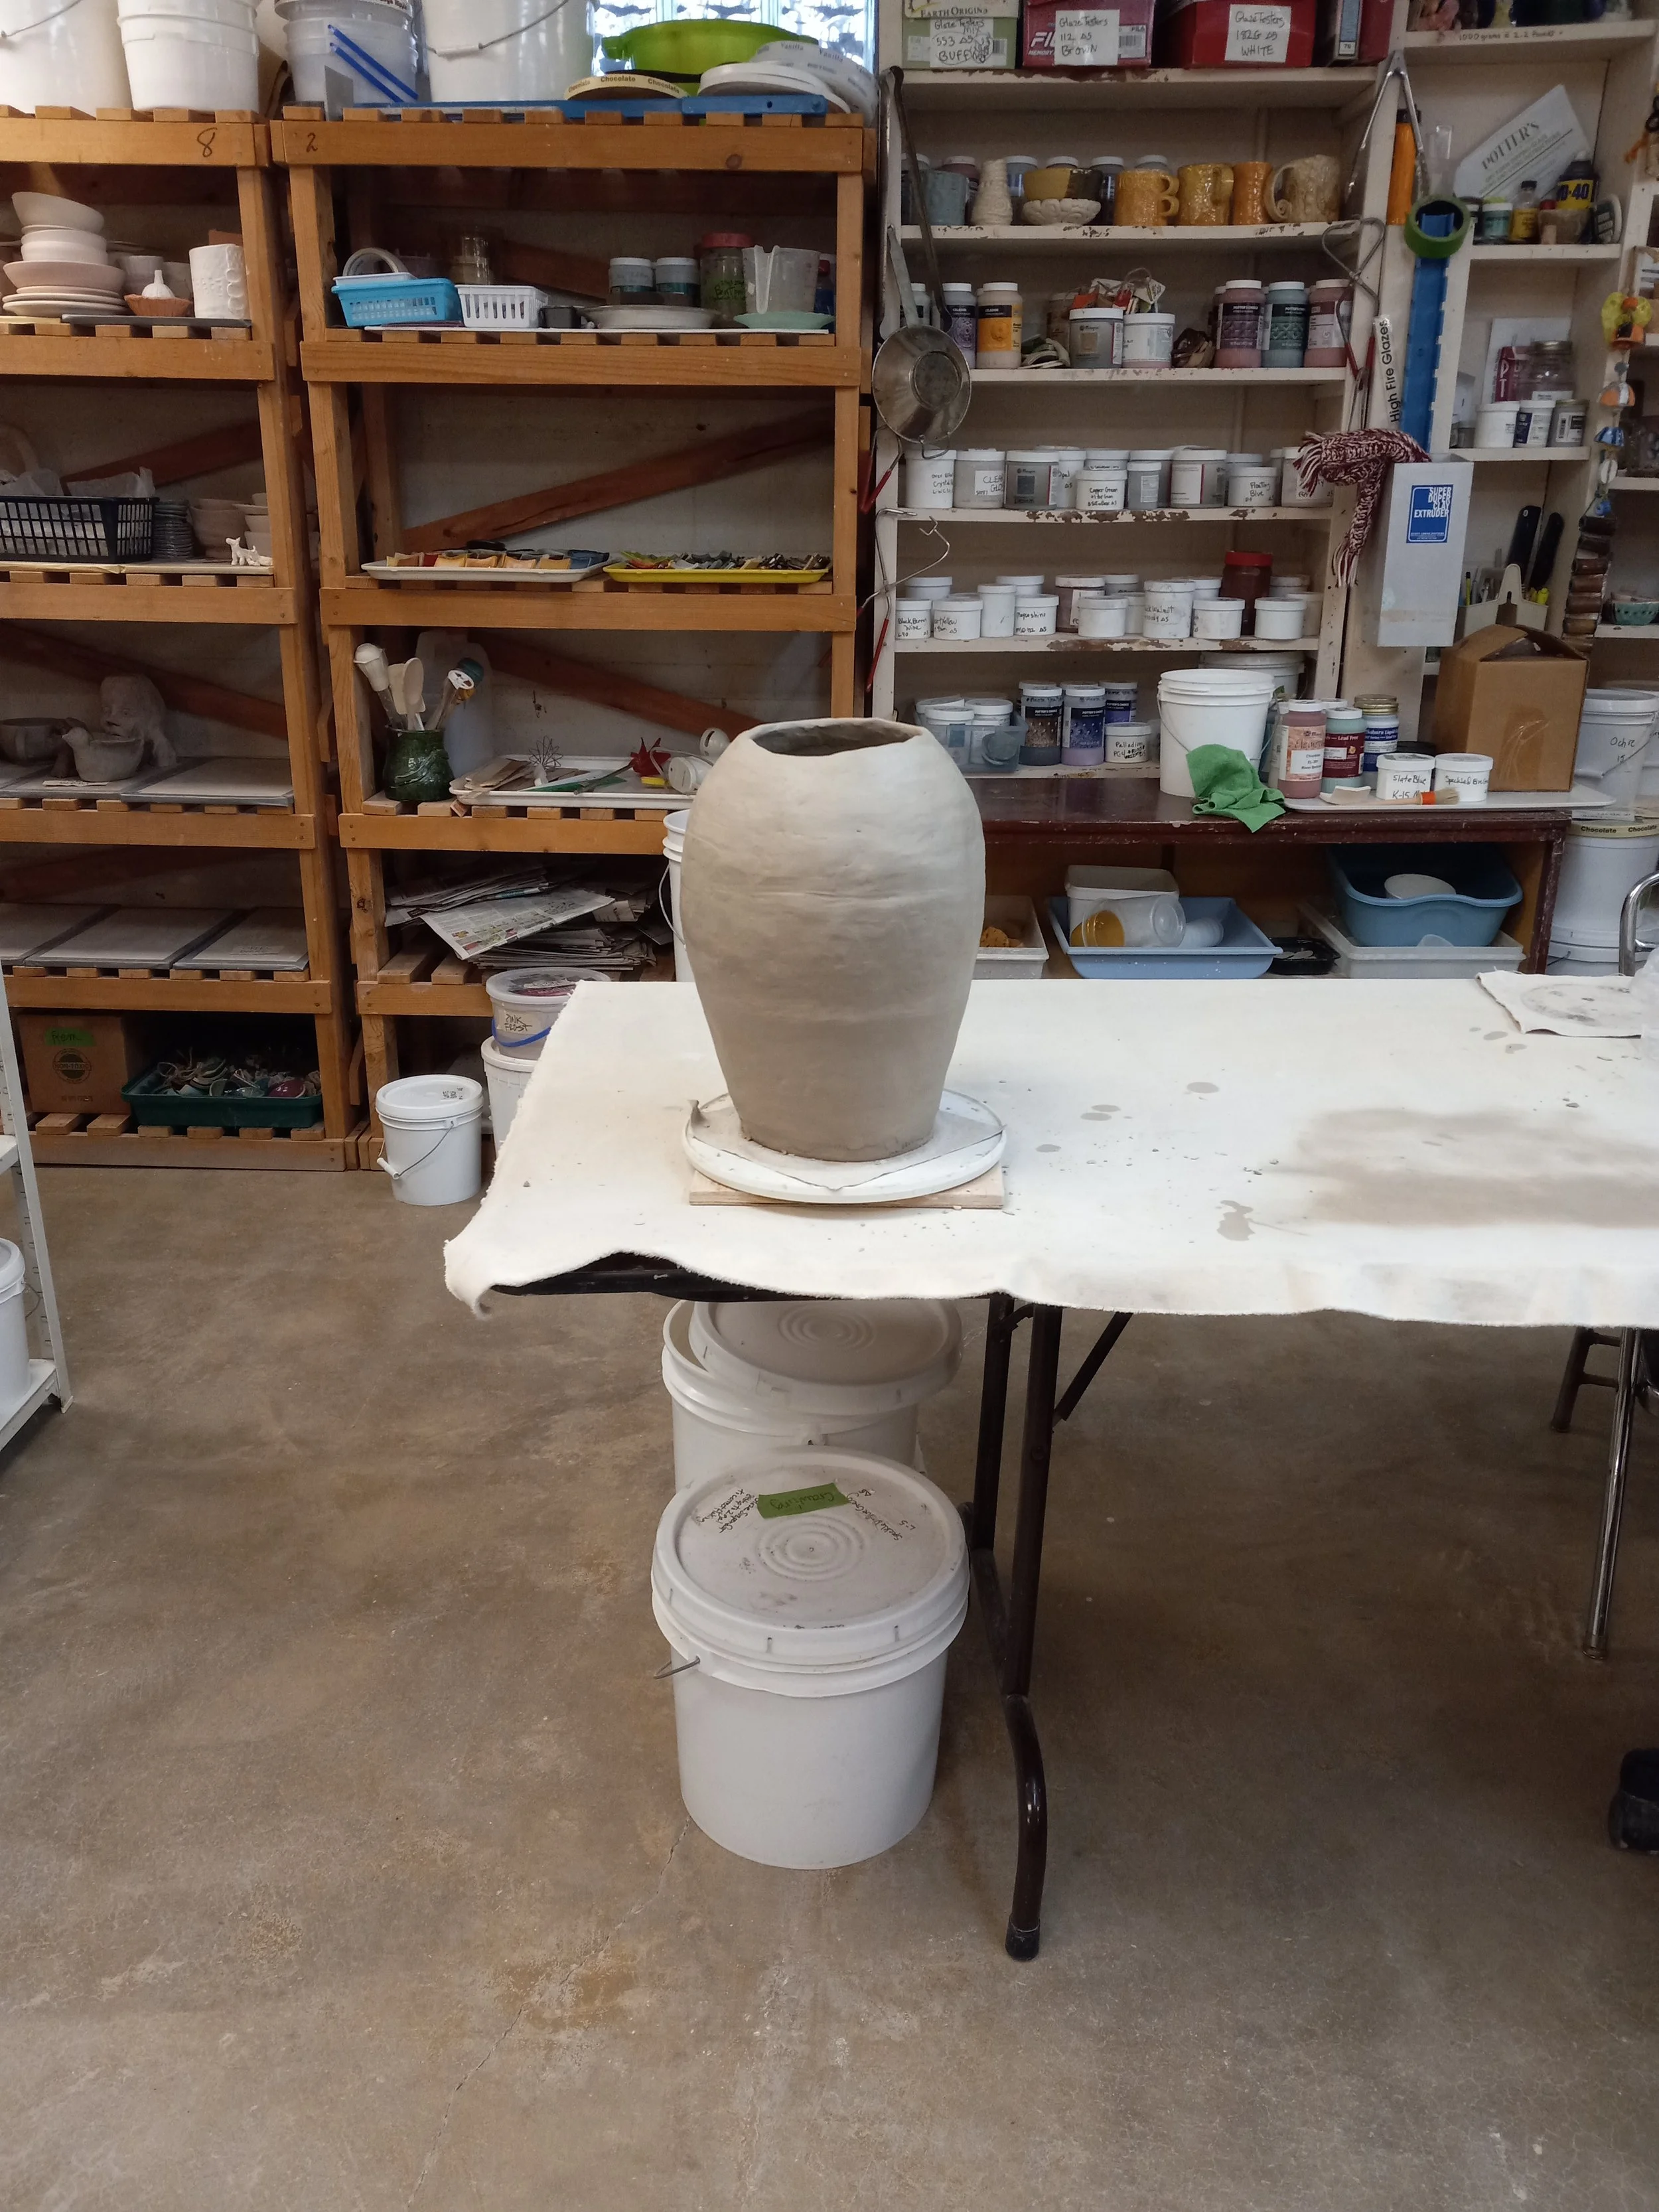
Here is the progress after the third session of coiling.
I also did quite a bit of paddling (hitting the clay with a paddle) to even out the shape.
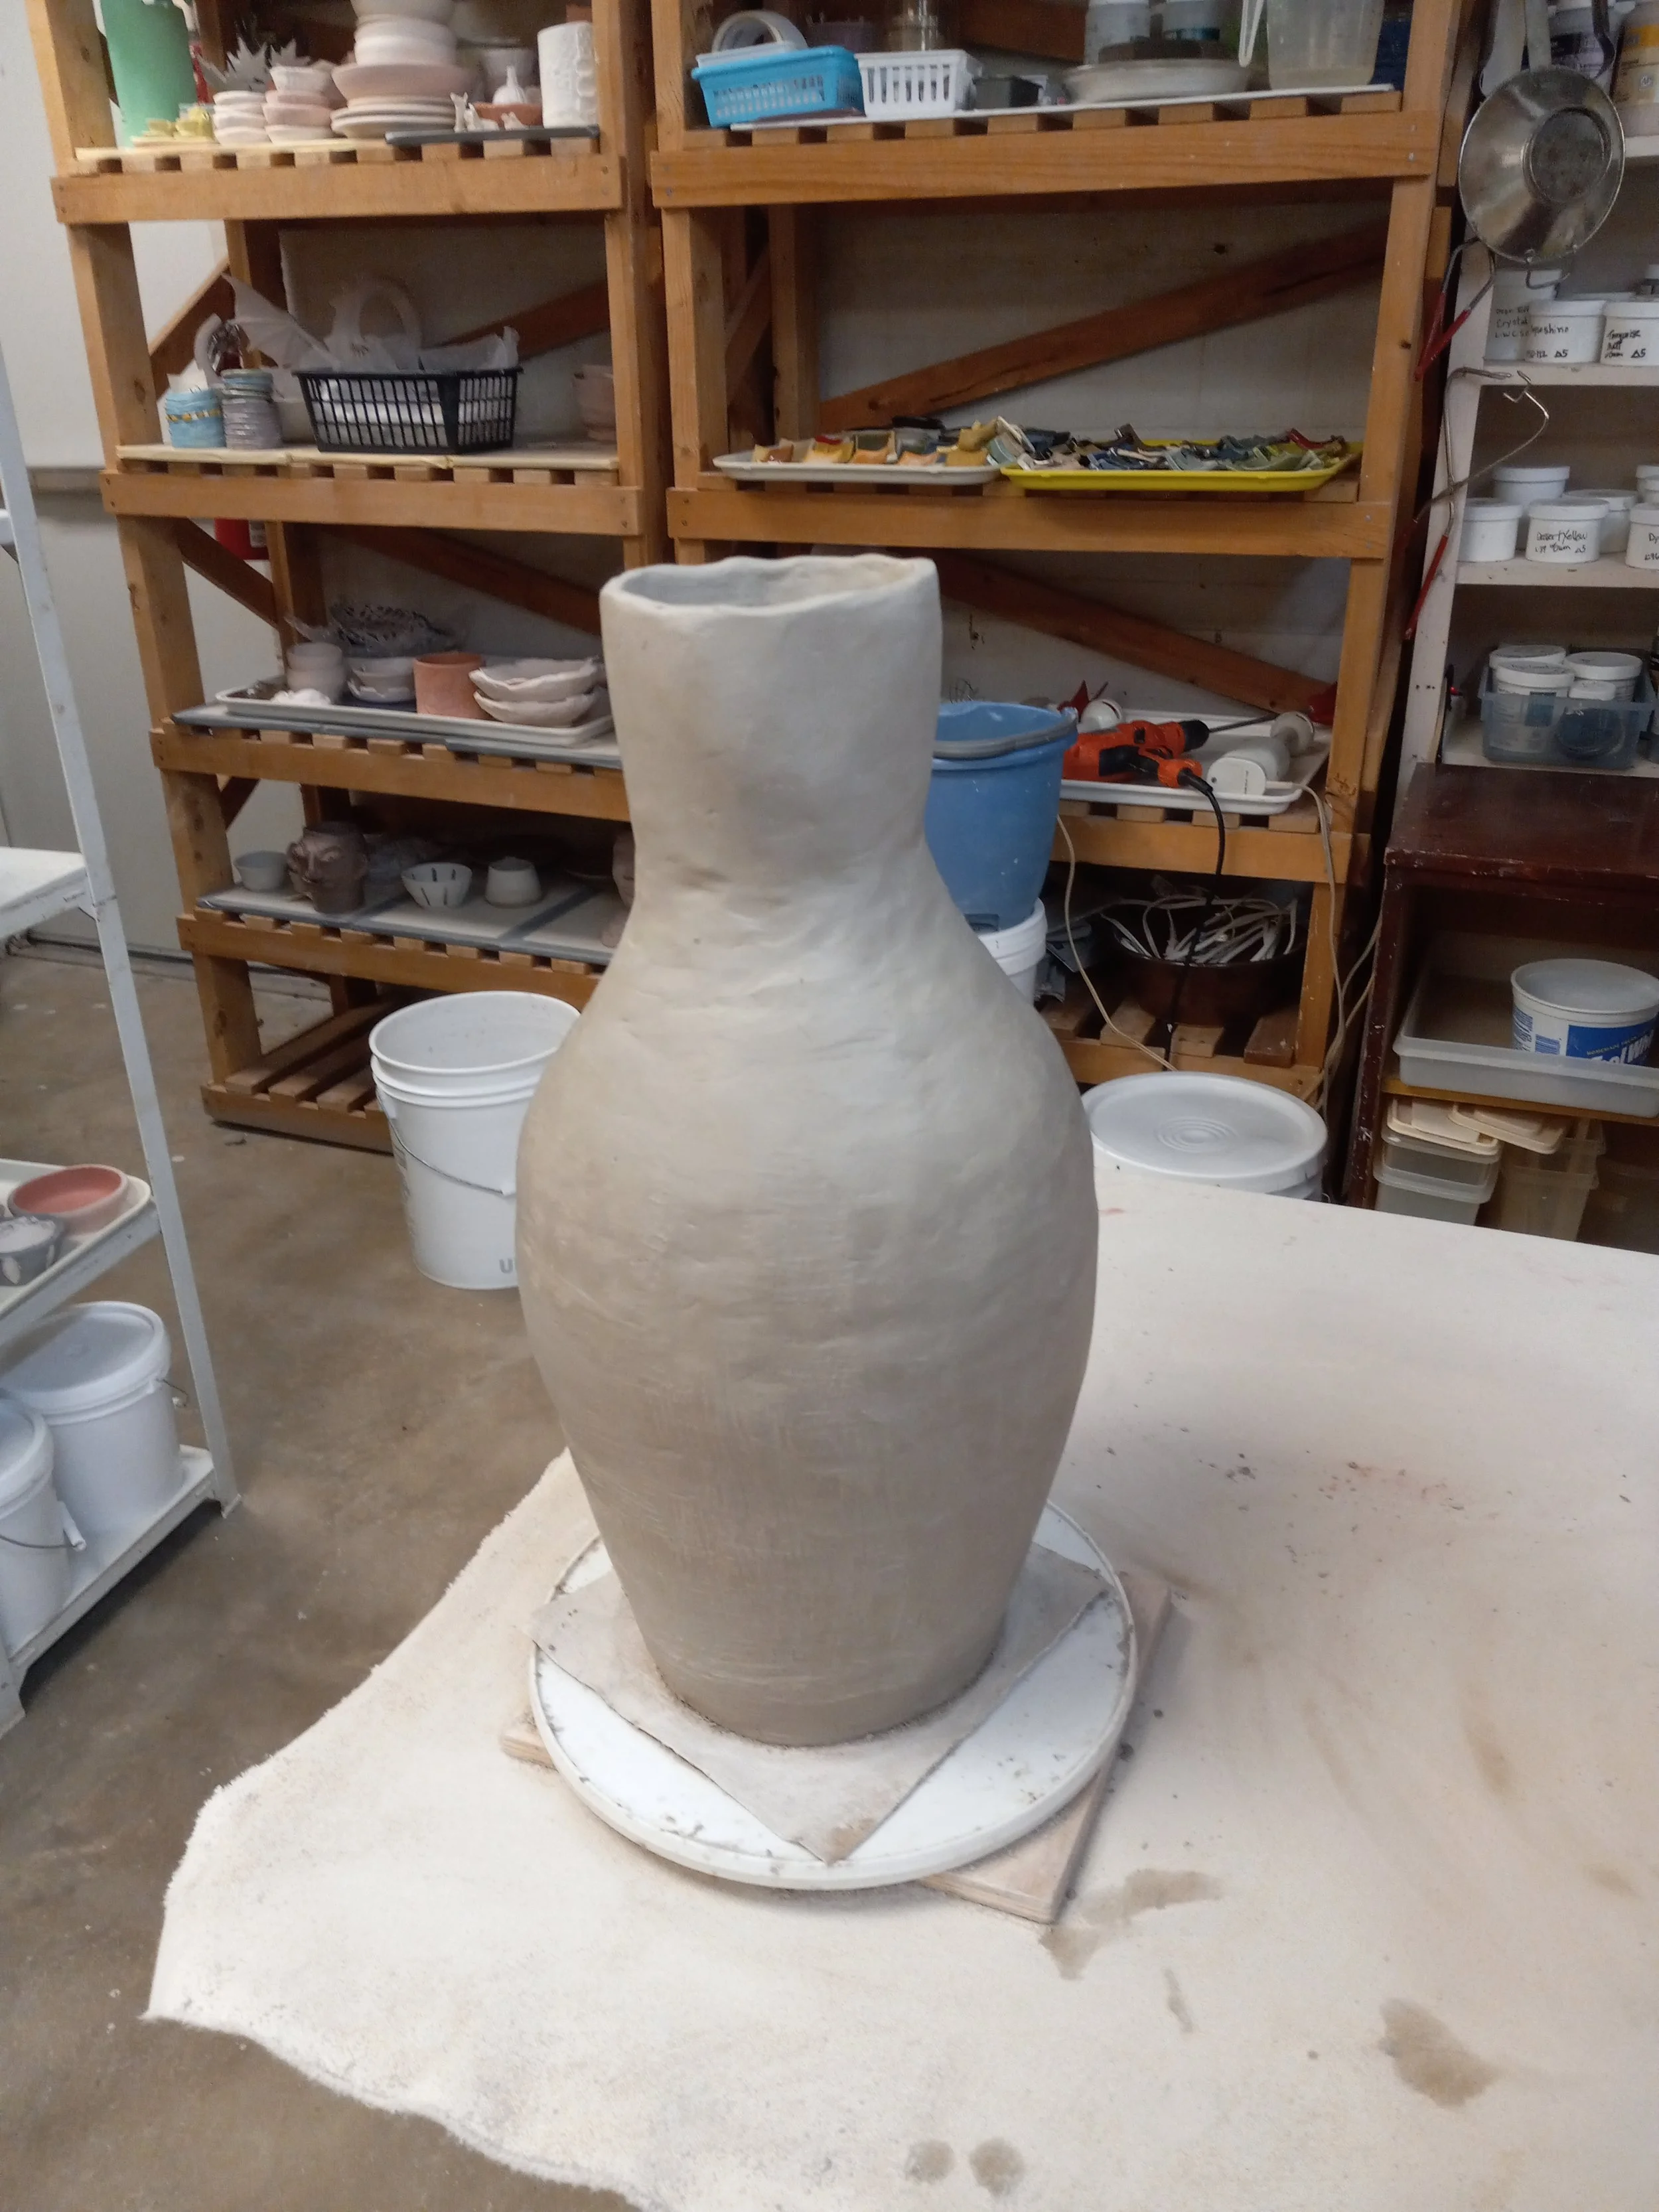
Here the neck of the instrument has been added on.
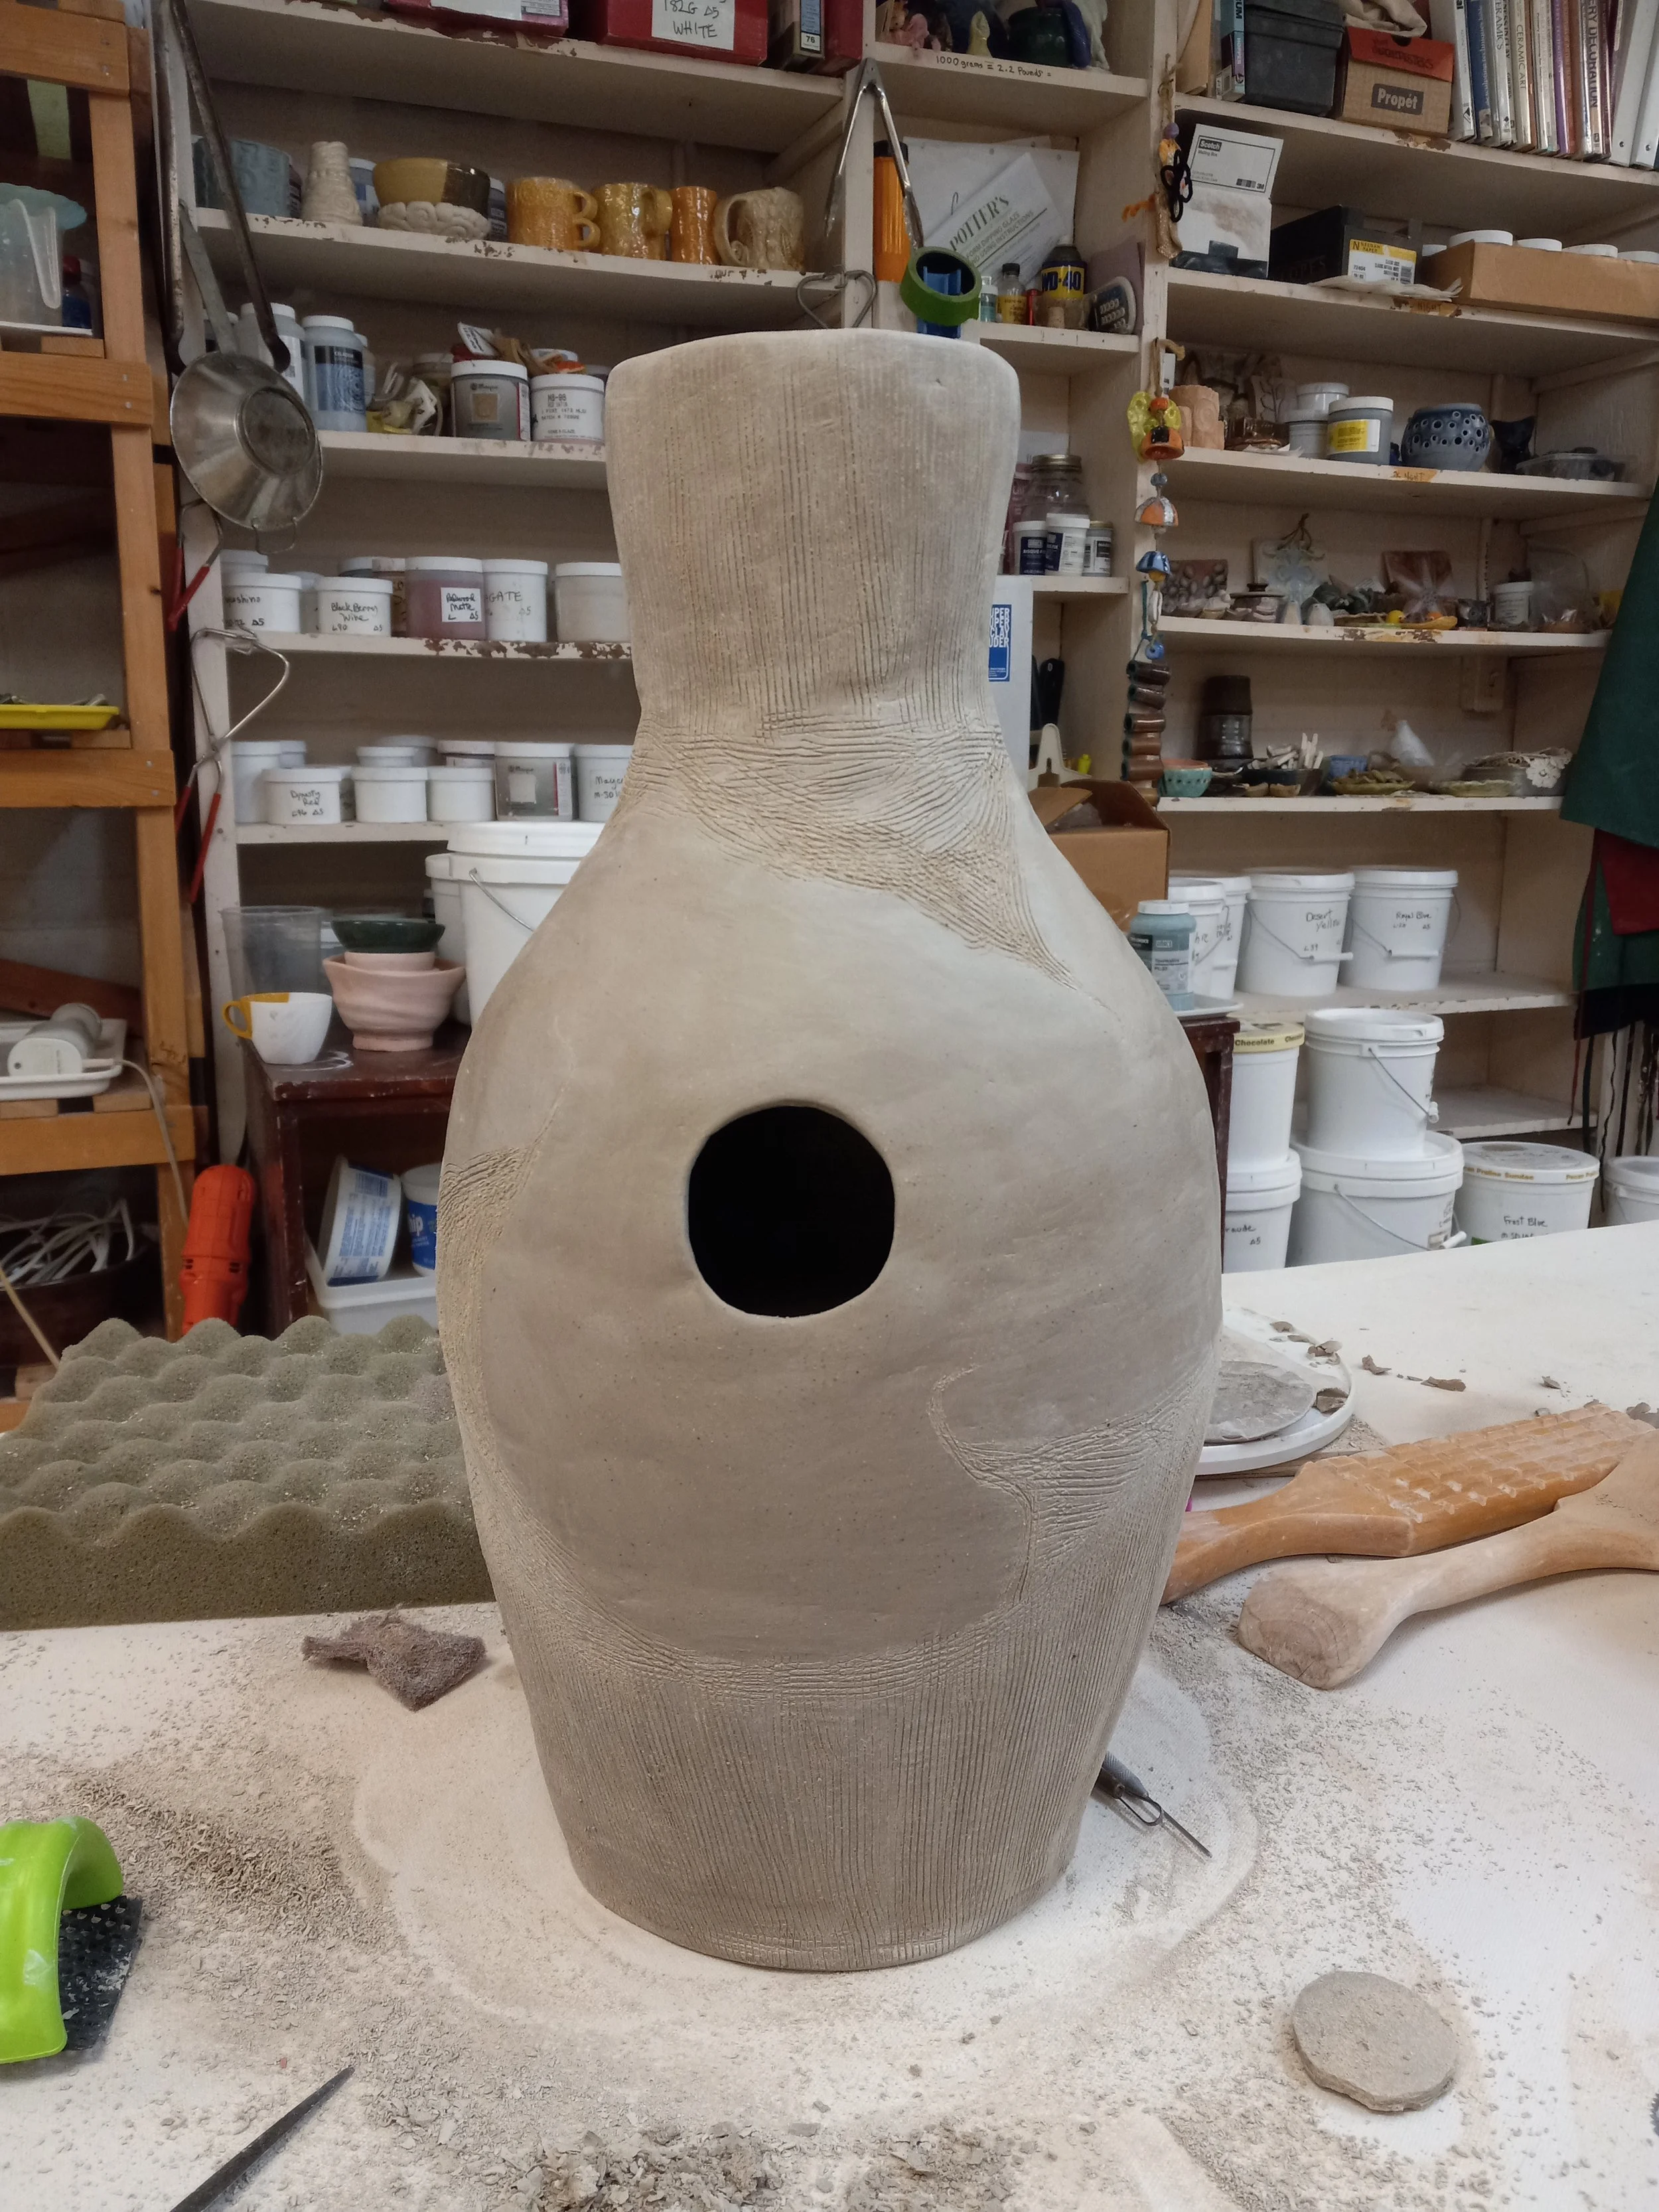
The last session was quite a rush to get everything done.
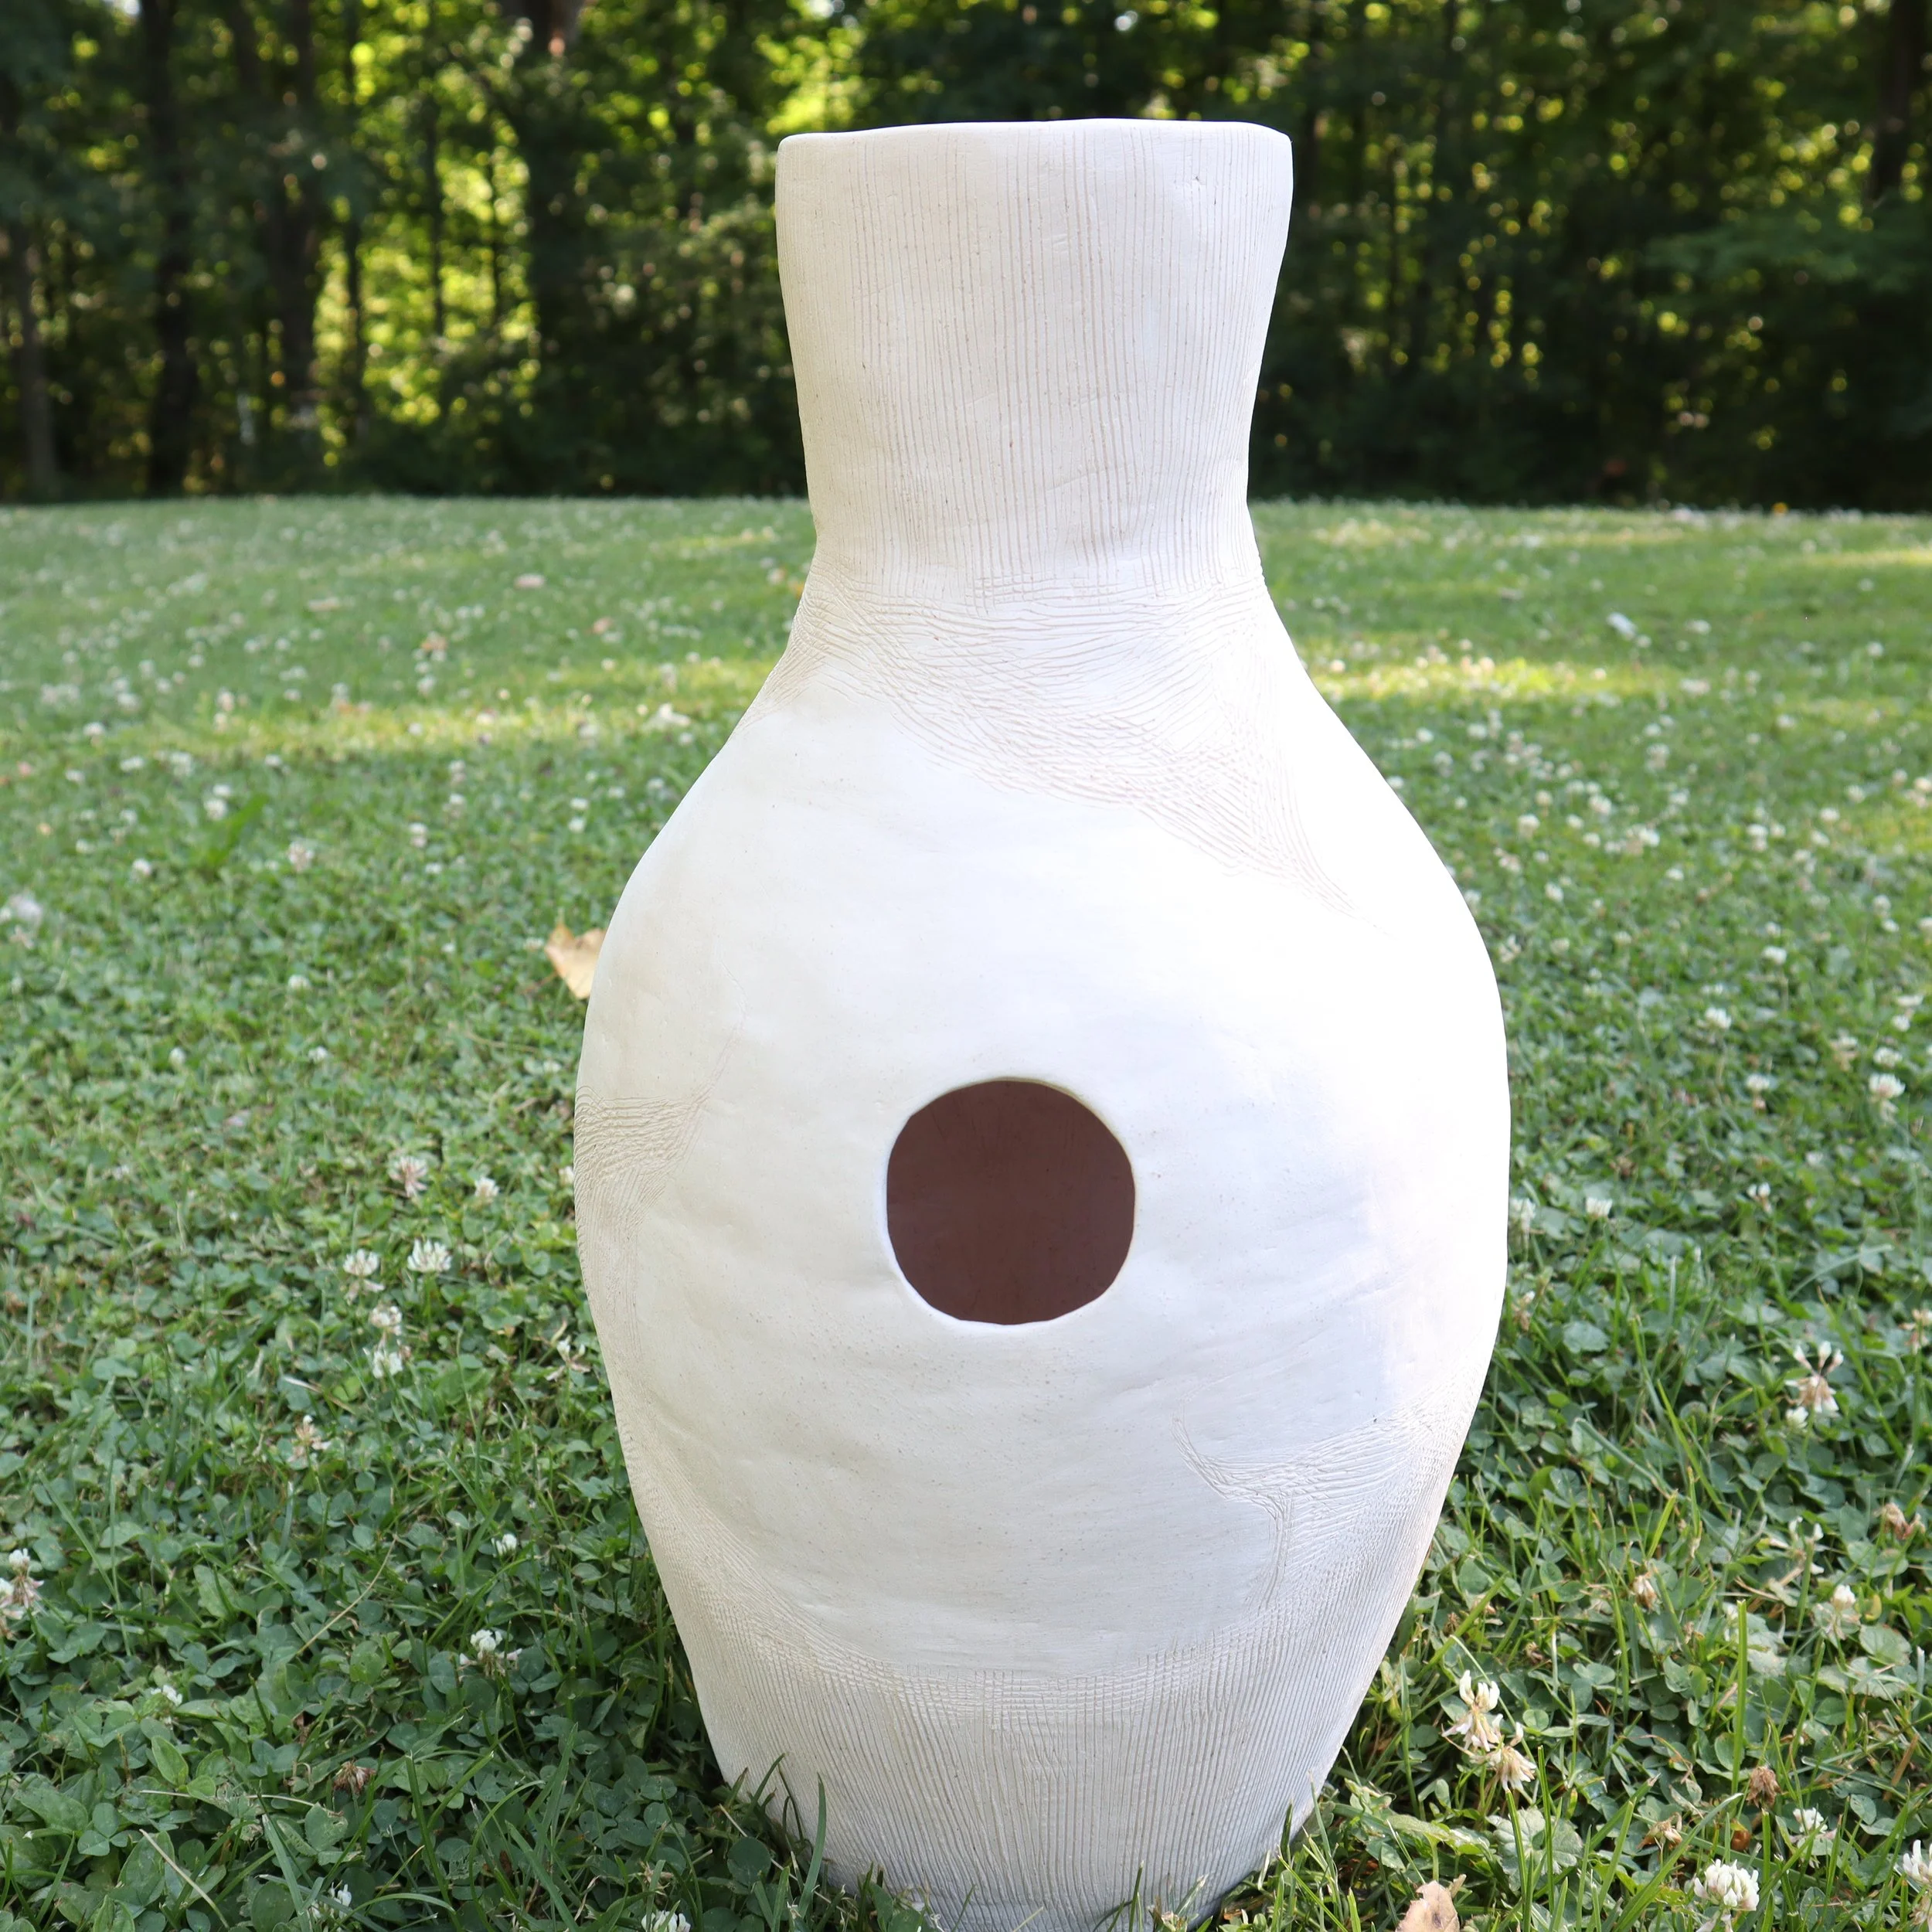
Cutting out the hole took a lot longer than expected, about 30 minutes, as to be sure to try to cut as evenly as possible. The hole had to be cut slightly bigger, as when firing it will shrink. You can see the cut-out clay lying next to the udu on the table.
Next, I had to even out the flawed areas that varied in thickness, as consistent thickness is important to the sound production.
Finally came the decoration. My teacher gave the very good advice to add some texture, which I did with a metal toothed tool. I tried to make some swirls to give it an interesting look.
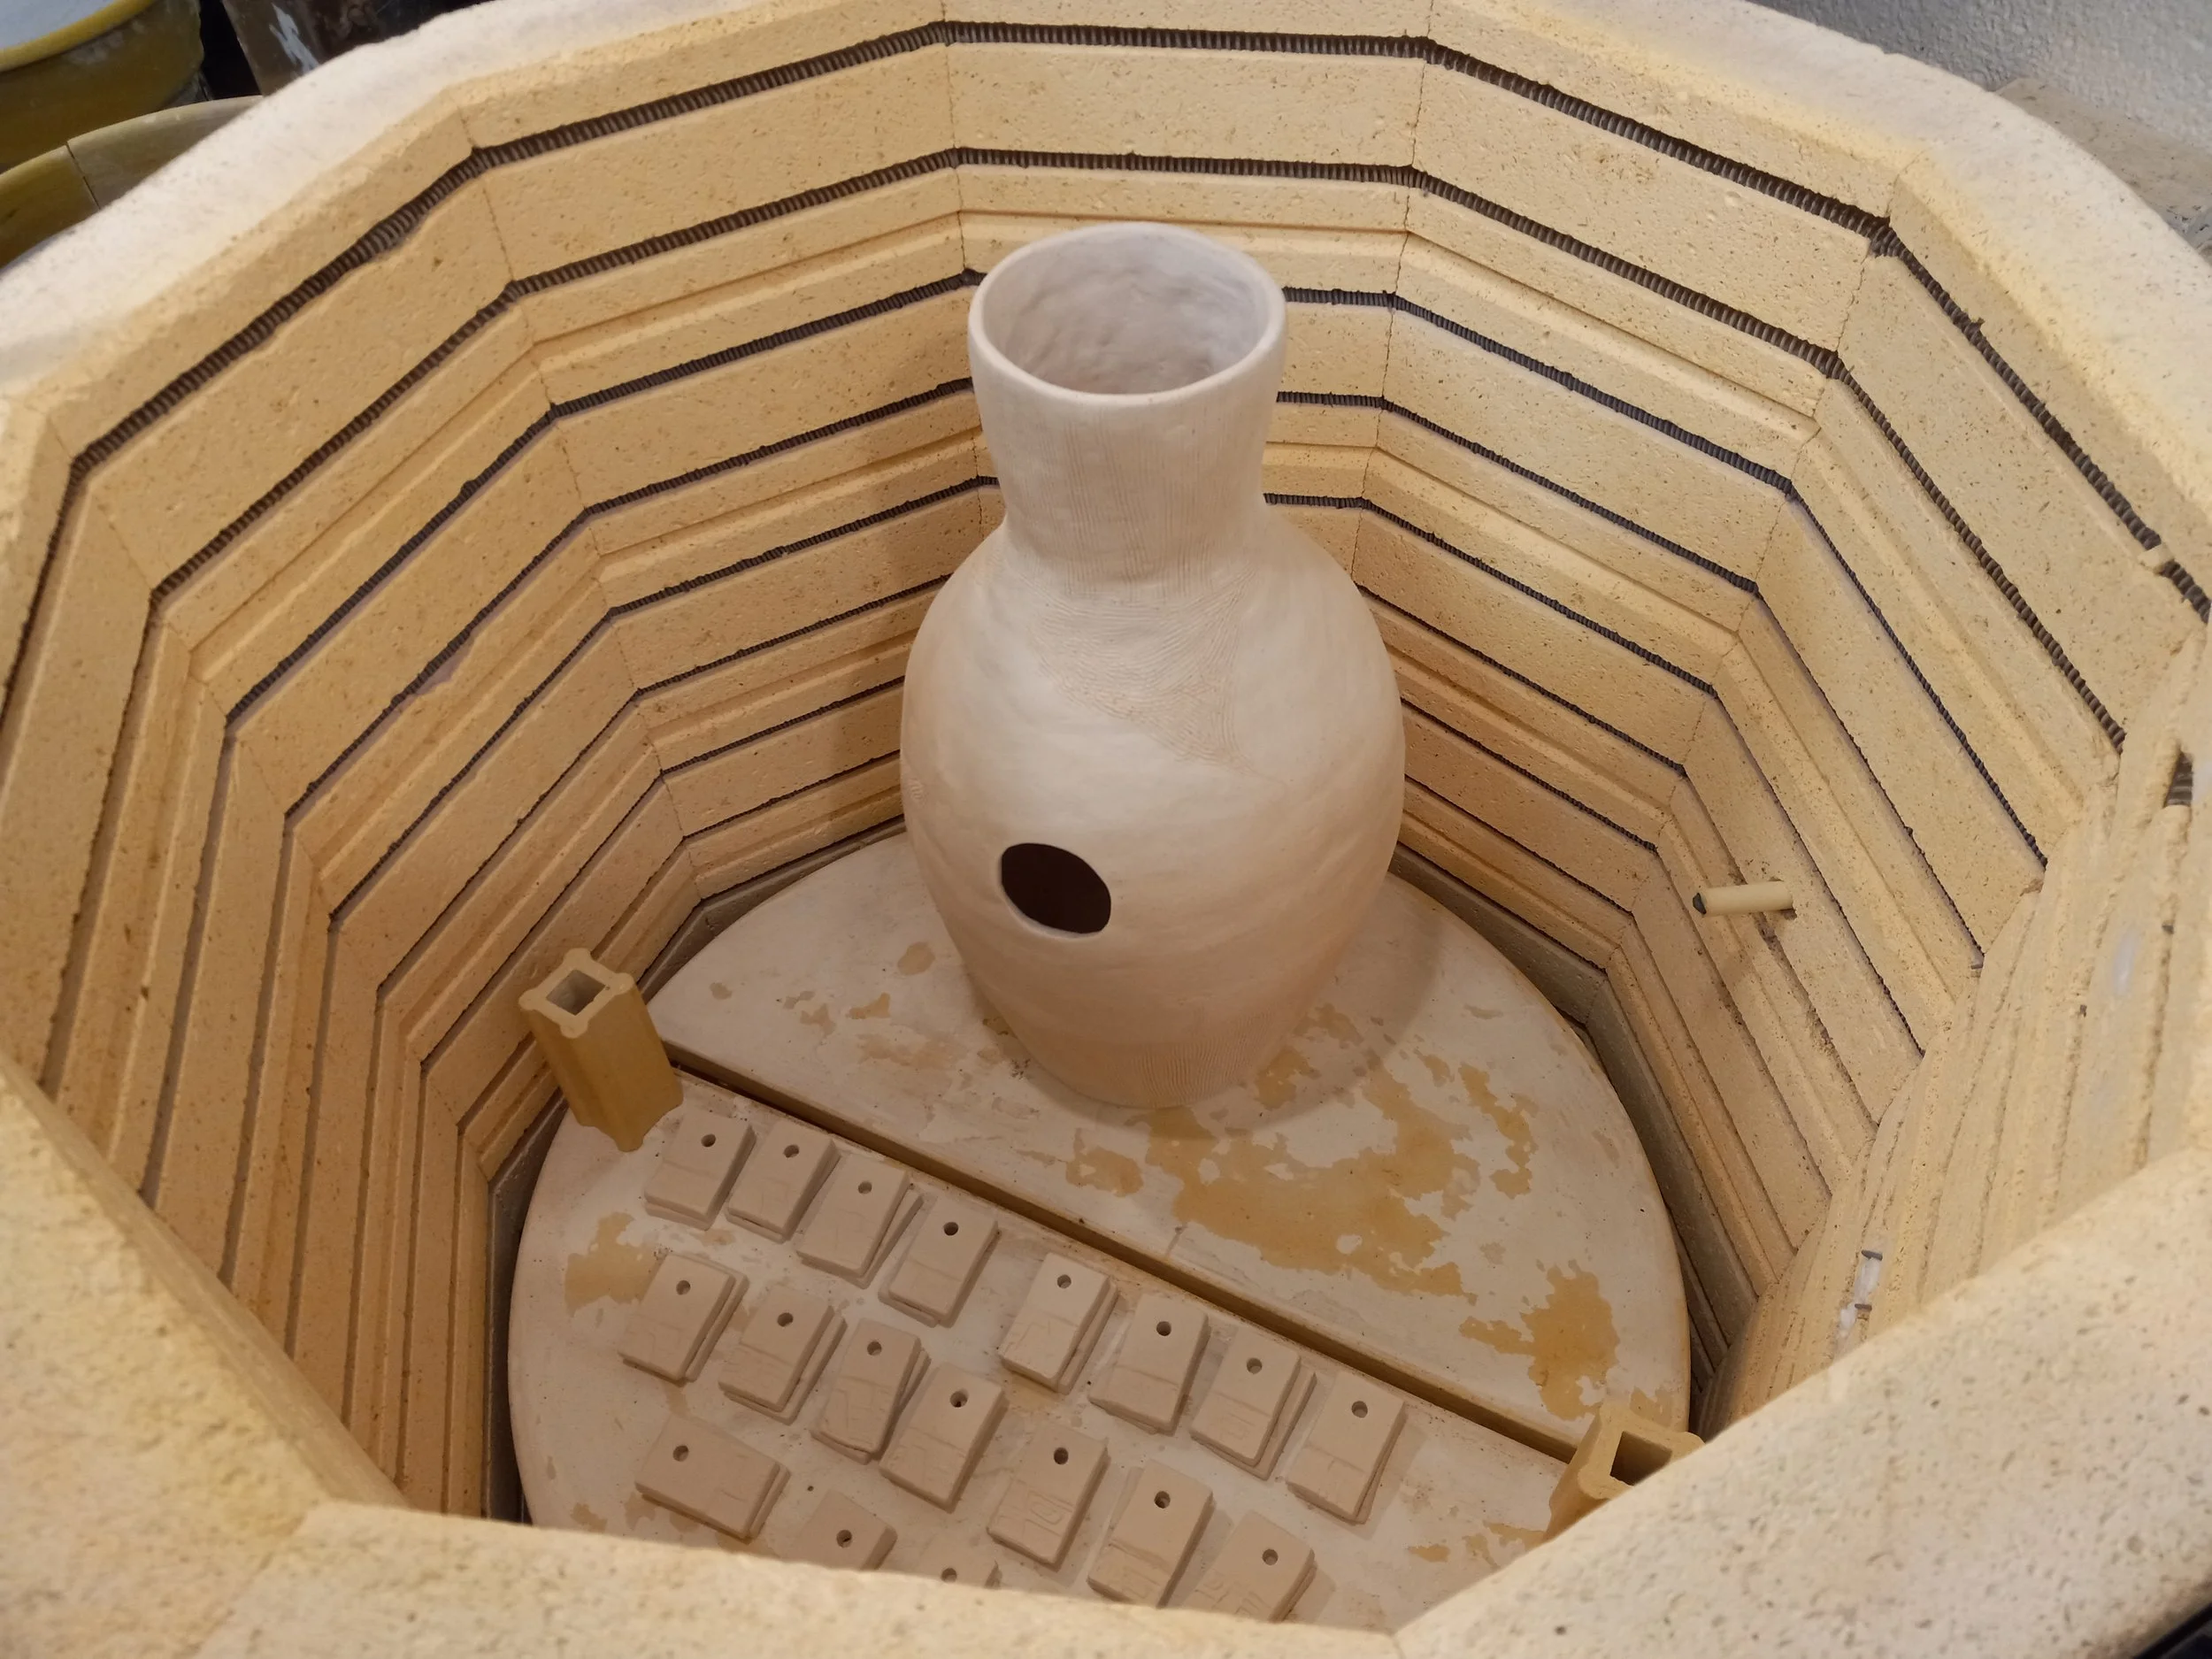
Exciting / Scary moment of pulling the udu out of the kiln for the Bisque firing!
Out of the kiln with no major cracks!
Not sure at the moment of I will stain it or not.
To be continued…